Have you ever walked through a farmer’s market, admiring the vibrant colors and scents of fresh cut flowers? You might have thought about how delightful it would be to bring that beauty into your own home — and even share it with others. The good news is that you can cultivate your own cut flower garden right in your backyard, turning that dream into reality.
Growing cut flowers is not only a fulfilling hobby but also an opportunity to generate some income. Imagine waking up to a garden bursting with blooms, ready for you to snip and arrange. With a little knowledge and effort, you can create stunning floral arrangements and even sell them at local markets or online, sharing your passion with others while making some extra cash on the side.
Table of Contents
- What Is Growing Cut Flowers?
- How It Works
- Benefits of Growing Cut Flowers
- Steps to Grow Cut Flowers
- Advanced Tips for Success
- Tools and Resources
- FAQs
- Conclusion
What Is It?
Growing cut flowers at home involves cultivating various flower species specifically for the purpose of cutting and arranging them. This practice allows you to enjoy the beauty of flowers indoors while also providing the opportunity to sell your creations. Whether you have a sprawling garden or a small balcony, you can grow a variety of flowers that thrive in your environment.
To begin your journey, it’s important to understand the types of flowers that are best for cutting, as well as the growing conditions they require. From annuals to perennials, each flower species has unique characteristics that make it suitable for cutting. With the right care and attention, you can create a stunning floral display that adds charm to your home and potentially earns you some extra income.
- Cut flowers can be grown in various environments, including gardens and containers.
- Understanding the seasonal blooming patterns is essential for a continuous supply.
- Some flowers are more suitable for cutting than others.
How It Works
The process of growing cut flowers begins with selecting the right seeds or seedlings based on your climate and soil type. Flowers typically thrive in well-drained soil with adequate sunlight, which is essential for their growth and vitality. Once planted, regular maintenance such as watering, weeding, and fertilizing will ensure that your flowers reach their full potential.
As flowers bloom, it’s crucial to harvest them at the right time to maximize their longevity in arrangements. This involves cutting the stems at a specific angle and at the right moment during their bloom cycle. With a little practice, you can master the art of harvesting and arranging, allowing you to enjoy beautiful bouquets both at home and for sale.
- Flowers need specific light, water, and nutrient levels for optimal growth.
- Timing is key when harvesting flowers for cutting.
- Regular maintenance is essential to ensure healthy blooms.
Key Benefits
- Enhanced Home Aesthetics — Growing cut flowers brings vibrant colors and delightful scents into your home. Fresh floral arrangements can brighten up any room, creating a more inviting and joyful atmosphere for you and your guests.
- Stress Relief — Engaging with nature through gardening has been proven to reduce stress and improve mental well-being. Tending to your flowers can be a therapeutic activity, helping you unwind and connect with nature.
- Sustainability — By growing your own cut flowers, you reduce the carbon footprint associated with transporting flowers from farms to stores. You also have control over the growing methods, allowing you to choose organic practices.
- Income Potential — Selling cut flowers can provide an additional source of income. Whether you choose to sell at local farmers’ markets or online, homegrown flowers are often in demand and can fetch good prices.
- Learning Experience — Growing cut flowers is a fantastic way to learn about botany, ecology, and sustainable practices. You’ll gain hands-on experience in caring for plants, which enhances your gardening skills.
Step-by-Step Guide
Step 1: Choose Your Flowers

Start by selecting the types of flowers you want to grow. Consider factors such as your local climate, the growing season, and the flowers’ suitability for cutting. Popular options include sunflowers, zinnias, and dahlias, which are not only beautiful but also have long vase lives. Research each flower’s growth habits and flowering times to ensure a diverse and continuous bloom throughout the season.
Additionally, you might want to create a balance between annuals, which bloom in the first year, and perennials, which return year after year. This way, you can enjoy a vibrant garden for many seasons to come.
Example: If you live in a warmer climate, consider planting sunflowers and zinnias for their resilience and beauty.
Pro Tips:
- Start with easy-to-grow varieties if you’re a beginner.
- Mix different colors and shapes for a more interesting garden.
- Consider your selling strategy when selecting flowers.
Step 2: Prepare Your Soil

Healthy flowers start with healthy soil, so take the time to prepare your garden bed or containers. Begin by clearing any weeds or debris from the area, then use a garden fork to loosen the soil. This aeration will help roots grow deeper and access essential nutrients. You can also mix in organic compost to enrich the soil, providing your flowers with a nutrient-dense environment.
Testing your soil pH can also be beneficial. Most flowers thrive in slightly acidic to neutral soil (pH 6-7). If your soil is too acidic or alkaline, consider adding lime or sulfur to adjust it accordingly. Once your soil is prepared, it’s time to plant your seeds or seedlings.
Example: Use a mixture of compost and topsoil to create a rich growing medium for your cut flowers.
Pro Tips:
- Avoid compacting the soil when preparing it.
- Incorporate organic matter to improve moisture retention.
- Consider raised beds for better drainage.
Step 3: Plant Your Seeds or Seedlings

Once your soil is ready, it’s time to plant your selected seeds or seedlings. If you’re starting with seeds, follow the instructions on the packet for planting depth and spacing. Generally, you’ll want to plant seeds at a depth of two to three times their size. For seedlings, dig a hole that’s slightly larger than the root ball and gently place the plant in, ensuring that the crown is at soil level.
Water the area thoroughly after planting to help settle the soil around the roots. Keep an eye on your newly planted flowers and protect them from pests and harsh weather conditions until they establish themselves. Regularly check for moisture and adjust your watering schedule as necessary.
Example: Plant sunflower seeds about 1 inch deep and 6 inches apart to ensure they have room to grow.
Pro Tips:
- Plant during the optimal time for your chosen flowers, usually in spring.
- Consider staggered planting for continuous blooms.
- Label your plants to keep track of different varieties.
Step 4: Water Regularly

Watering is crucial for the health of your cut flowers, especially during their early growth stages. Establishing a consistent watering schedule will help ensure that your flowers receive the moisture they need to thrive. As a general rule, aim to water your flowers deeply once or twice a week, depending on the weather and soil conditions.
It’s important to water at the base of the plants, avoiding overhead watering, which can promote fungal diseases. Early morning is often the best time to water, as it allows plants to absorb moisture before the heat of the day. Keep an eye on your flowers, and adjust your watering routine based on their appearance and the weather.
Example: Check the soil moisture by sticking your finger about an inch into the soil; if it feels dry, it’s time to water.
Pro Tips:
- Use a soaker hose or drip irrigation for efficient watering.
- Mulch around your flowers to retain moisture.
- Monitor for signs of overwatering, such as yellowing leaves.
Step 5: Fertilize Periodically

To encourage healthy growth and abundant blooms, fertilizing your flowers regularly is essential. Start by selecting a balanced fertilizer that is suitable for flowering plants. Follow the instructions on the label regarding how often and how much to apply. During the active growing season, you might fertilize every 4-6 weeks.
It’s best to apply fertilizer when the soil is moist, as this helps prevent root burn. You can use a liquid fertilizer for quick absorption or a slow-release granular type for sustained feeding. Keep track of how your flowers respond, adjusting your fertilization schedule based on their growth and health.
Example: Apply a balanced 10-10-10 fertilizer at the beginning of the growing season for best results.
Pro Tips:
- Use organic fertilizers to promote healthy soil biology.
- Observe your plants for nutrient deficiencies, such as yellowing leaves.
- Consider foliar feeding for a quick nutrient boost.
Step 6: Harvest at the Right Time

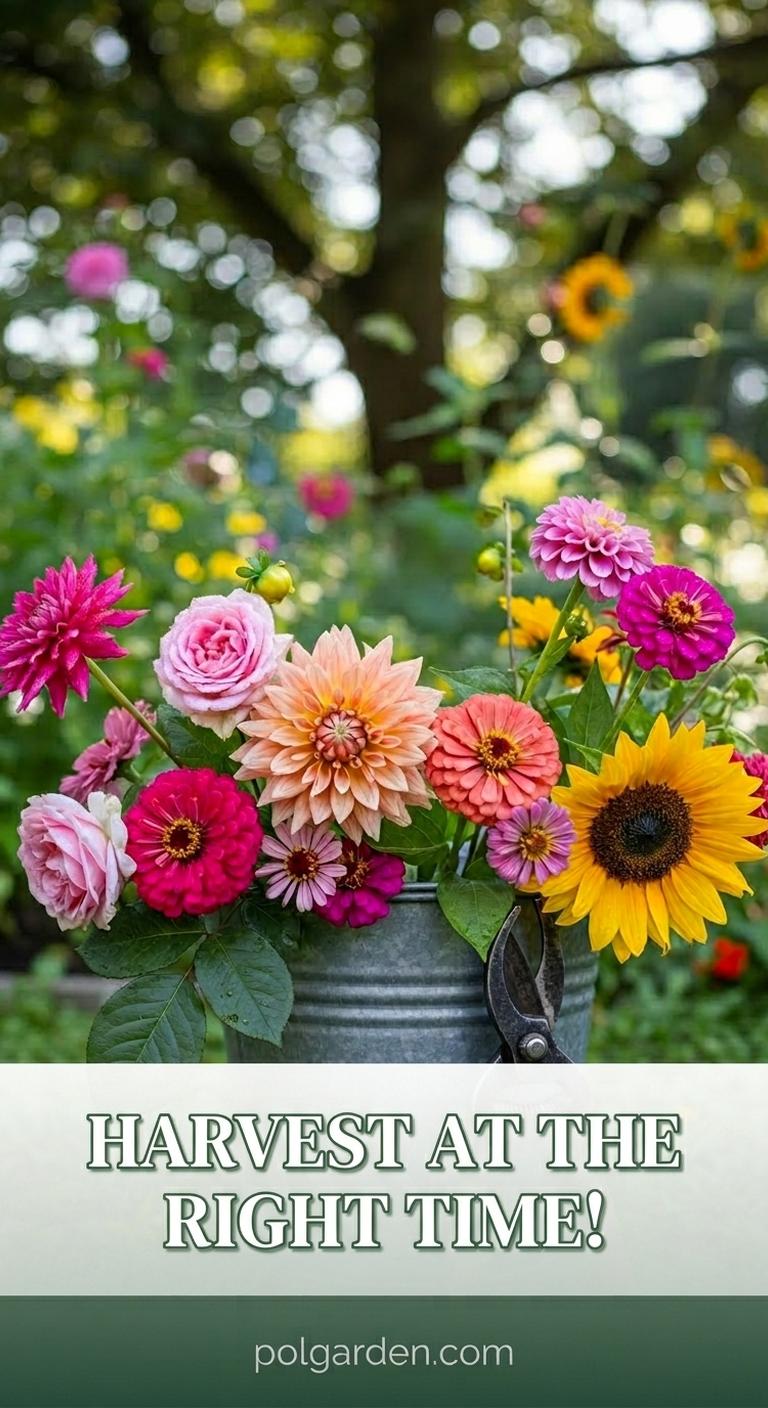
Knowing when to harvest your cut flowers is vital for ensuring they last in arrangements. Generally, flowers should be harvested in the morning when they are fully hydrated and before the heat of the day causes them to wilt. Look for flowers that are just beginning to open, as these will continue to bloom after being cut.
Use sharp garden shears to cut the stems at an angle, which helps the flowers absorb water more easily. Remove any leaves that will be submerged in water to prevent rot. After cutting, place the flowers in a bucket of water immediately to help maintain their freshness until you’re ready to arrange them.
Example: Cut zinnias when they have fully opened but before the petals start to fade.
Pro Tips:
- Harvest flowers regularly to encourage more blooms.
- Experiment with harvesting at different times of the day for best results.
- Keep your tools clean to avoid spreading diseases.
Step 7: Arrange Your Bouquets

Once you have harvested your flowers, the next step is to create stunning arrangements. Begin by selecting a variety of flowers that complement each other in color, shape, and size. Start by placing the largest blooms at the center or base of the arrangement, then add medium-sized flowers, and finish with smaller filler flowers and greenery.
Use a clean vase filled with fresh water, and consider adding a floral preservative to extend the life of your arrangement. Trim the stems at an angle before placing them in the vase to maximize water absorption. Take your time experimenting with different styles and techniques to find what works best for you.
Example: Create a vibrant bouquet by combining sunflowers, zinnias, and eucalyptus.
Pro Tips:
- Use odd numbers of flowers for a more natural look.
- Incorporate seasonal foliage to enhance your arrangements.
- Experiment with different vase shapes and heights.
Step 8: Sell Your Flowers

If you’re looking to sell your cut flowers, start by identifying your target market. You may choose to sell at local farmers’ markets, craft fairs, or even online through platforms like Etsy. Make sure to create attractive displays that highlight the beauty of your flowers and consider offering a variety of arrangements to appeal to different tastes.
Promote your flowers through social media or local community boards, showcasing your unique offerings. Engage with customers by sharing your gardening journey and the care that goes into your flowers. With passion and dedication, you can turn your love for cut flowers into a thriving side business.
Example: Set up a booth at a local farmer’s market to sell your bouquets and arrangements.
Pro Tips:
- Create an eye-catching display to attract customers.
- Offer seasonal bouquets to keep your offerings fresh.
- Consider pricing strategies that reflect the quality of your flowers.
Advanced Tips
Experiment with Succession Planting
To ensure a continuous supply of flowers throughout the growing season, consider practicing succession planting. This involves planting new seeds every few weeks, allowing you to stagger blooms and maintain a fresh supply. This technique is especially beneficial for annuals, as it maximizes your garden’s productivity and reduces the wait time between harvests.
Create a Pollinator-Friendly Garden
Incorporating a variety of flowering plants that attract pollinators will not only enhance the beauty of your cut flower garden but also improve the overall health of your plants. Bees, butterflies, and other pollinators play a crucial role in the growth of flowers, so consider planting a mix of native species alongside your cut flowers to create a thriving ecosystem.
Explore Dried Flowers
Don’t overlook the potential of dried flowers! Many cut flowers can be dried and used for arrangements or crafts. Consider growing varieties known for their drying qualities, such as strawflowers or statice, and experiment with creating beautiful dried arrangements. This adds another income stream and allows you to offer unique products to your customers.
Utilize Companion Planting
Companion planting can enhance the growth of your cut flowers while deterring pests. Certain plants, like marigolds, are excellent companions for many flowers as they repel harmful insects. Research companion planting strategies to create a more diverse and resilient garden, promoting overall health and yields.
Tools & Resources
- Garden Shears — Essential for cutting flowers and maintaining your garden. A sharp pair of garden shears makes harvesting easier and cleaner, ensuring the health of your plants. — Available at: Home Depot, Amazon
- Soil Test Kit — A soil test kit helps you determine the pH and nutrient levels in your soil, allowing for better management and growth of your flowers. — Available at: Lowe’s, Amazon
- Fertilizer — Using the right fertilizer can greatly enhance the growth and blooming of your flowers. Look for balanced formulas suitable for flowering plants. — Available at: Home Depot, local garden centers
- Watering Can — A watering can provides precision when watering your flowers, ensuring you deliver the right amount of moisture without overdoing it. — Available at: Walmart, Amazon
- Vases and Floral Supplies — Stocking up on vases, floral foam, and other supplies will help you create beautiful arrangements for your home or for selling. — Available at: Michaels, Joann Fabrics
Frequently Asked Questions
What flowers are best for cutting?
Some of the best flowers for cutting include sunflowers, zinnias, dahlias, and cosmos. These varieties are not only beautiful but also have long vase lives, making them perfect for arrangements. When selecting flowers, consider their size and bloom time to ensure a diverse garden that blooms throughout the season.
Additionally, you can incorporate herbs like basil or mint, which add unique fragrances, and foliage plants that provide texture to your arrangements.
How often should I water my cut flowers?
The frequency of watering depends on the climate and soil conditions. Generally, you should water your flowers deeply once or twice a week. Always check the top inch of soil; if it feels dry, it’s time to water. Early morning is the best time to water, as it allows plants to absorb moisture before the sun heats the soil. During particularly hot or dry spells, you may need to adjust your schedule to prevent wilting.
Can I grow cut flowers in containers?
Absolutely! Growing cut flowers in containers is a great option, especially if you have limited space. Choose pots that are at least 12 inches deep to accommodate root growth, and ensure they have drainage holes to prevent waterlogging. Select compact flower varieties or those specifically suited for container gardening, and remember to water and fertilize regularly to keep them thriving.
How do I extend the life of cut flowers in a vase?
To extend the life of cut flowers, start by cutting the stems at an angle and removing any leaves that will be submerged in water. Place them in a clean vase filled with fresh water, ideally with a floral preservative added. Keep the arrangement in a cool location away from direct sunlight and drafts. Regularly change the water and re-cut the stems every few days to keep them fresh and vibrant.
Is selling cut flowers profitable?
Selling cut flowers can indeed be profitable, especially if you offer unique varieties and high-quality arrangements. Research local markets to understand demand and pricing. With proper marketing and a solid business plan, you can turn your passion for flowers into a sustainable side income or even a full-time business. Factors such as location, seasonality, and customer engagement will play a significant role in your success.
Growing cut flowers at home is not just about beautifying your space; it’s a rewarding endeavor that can bring joy, relaxation, and even a source of income. By following the steps outlined in this guide, you’ll be well on your way to creating a flourishing flower garden that can be enjoyed by you and others.
So, roll up your sleeves, dig into that soil, and start your journey into the wonderful world of cut flowers. You have the tools and knowledge to succeed, and remember, every bloom is a step towards sharing beauty with the world. Happy gardening!