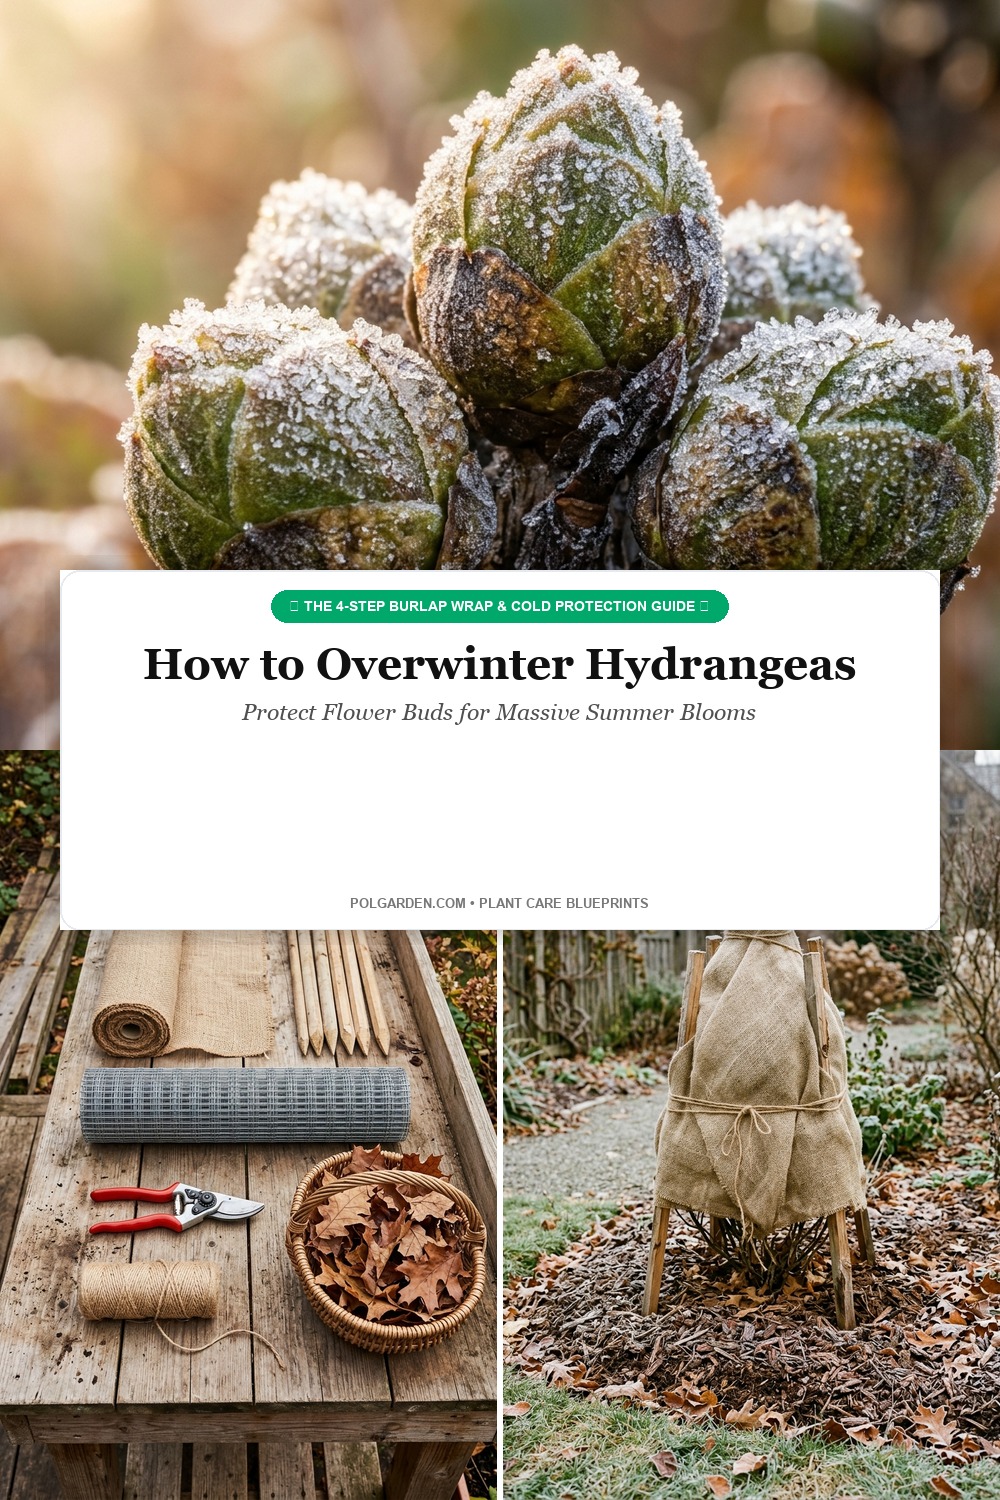
There is nothing quite as magnificent in the summer landscape as the opulent, billowy mophead and lacecap blossoms of a flourishing hydrangea bush anchoring a garden border. Yet every June, millions of passionate gardeners face a devastating disappointment: a vigorously growing hydrangea that produces lush, deep emerald foliage but not a single flower blossom. This notorious “flowerless summer” phenomenon is rarely caused by poor fertilizer or bad soil—it is almost always the tragic result of harsh winter cold and desiccating icy winds freezing and killing the tender, dormant embryonic flower buds set along the branches the previous autumn.
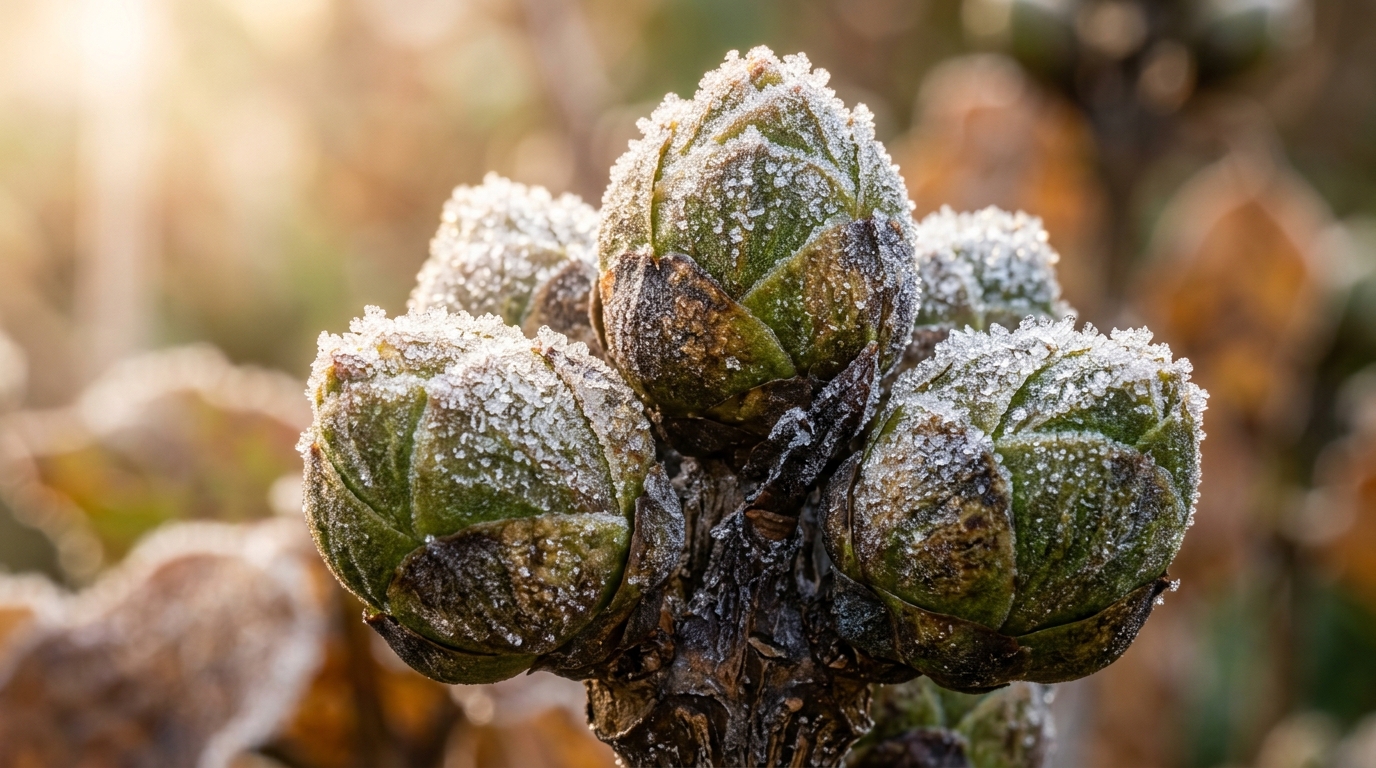
To successfully overwinter hydrangeas and guarantee an avalanche of blooms next season, you must first understand the crucial botanical distinction between “old wood” and “new wood” varieties. Panicle hydrangeas (Hydrangea paniculata, such as ‘Limelight’) and Smooth hydrangeas (Hydrangea arborescens, such as ‘Annabelle’) bloom on fresh growth produced in spring; they are cold-hardy down to USDA Zone 3 and require zero winter wrapping. Conversely, Bigleaf hydrangeas (Hydrangea macrophylla, including classic blue and pink mopheads), Mountain hydrangeas (Hydrangea serrata), and Oakleaf hydrangeas (Hydrangea quercifolia) set their fragile flower buds inside plump terminal stem tips during late August and September. In USDA Zones 4 through 6, sub-zero winter temperatures dipping below 0°F to 10°F (-18°C to -12°C) or freezing polar winds regularly destroy these exposed buds. By implementing a disciplined 4-step winterization shield—utilizing perimeter wire caging, insulating leaf stuffing, breathable burlap windbreaks, and deep root mulching—you can guarantee 100% bud survival regardless of how brutally cold the winter becomes.
Why You’ll Love This Hydrangea Winterization Protocol
- Guaranteed Next-Summer Bloom Bounty: Insulating terminal stems shields over 95% of delicate embryonic flower buds from lethal winter freeze-kill.
- Zero Stem Snapping & Snow Damage: A sturdy freestanding wire cylinder prevents heavy, wet snowdrifts and ice storms from splaying and crushing the shrub’s core.
- Protection Against Desiccating Polar Winds: Breathable burlap screens defuse gale-force winter gusts that pull moisture from dormant canes when frozen roots cannot supply it.
- Comprehensive Container Plant Survival: A proven indoor and sheltered protocol prevents potted hydrangea root balls from freezing through container walls.
Key Supplies & Pre-Winter Prep Station

Assemble these essential garden supplies in mid-autumn before your region experiences its first hard, ground-freezing freeze:
- Galvanized Wire Mesh or Welded Wire Fencing (36 to 48 Inches Tall): Sturdy 1-inch to 2-inch grid fencing creates a freestanding structural cylinder that holds insulating fill firmly around the canes without crushing dormant buds.
- Stout Wooden Stakes (3 to 4 Feet Tall): Untreated hardwood or cedar garden stakes driven into the soil outside the drip line to anchor the cylinder against gale-force winter gales.
- Dry, Non-Matting Autumn Leaves or Clean Pine Straw: Dry oak, beech, or maple leaves and long-needle pine straw provide millions of tiny insulating air pockets. Avoid wet, matted lawn leaves that trap soggy fungal moisture.
- Natural Breathable Burlap Fabric: Heavy-duty open-weave jute burlap blocks freezing winds while allowing full moisture vapor exchange to prevent mold.
- Heavy-Duty Jute Twine & Cable Ties: Used to bundle floppy outer stems inward and secure burlap seams tightly around the exterior framework. For complementary border defense methods, review our blueprints for winterizing garden roses with burlap mounding and protecting lavender from winter moisture.
Step-by-Step Walkthrough to Overwinter Hydrangeas
1. Step One: Timing, Cleanup & The 4-Inch Pine Bark Mound: Timing is everything. Do not wrap your hydrangeas in early fall while leaves are still green and temperatures remain mild. Wait until several hard autumn frosts have completely defoliated the shrub and pushed it into deep dormancy (typically mid-November in cold zones). Rake away all fallen leaves and debris around the base of the plant to eliminate fungal spores. Next, mound a generous 4- to 6-inch layer of coarse shredded pine bark, wood mulch, or aged compost over the root crown and lower 6 inches of stems. This insulating blanket shields the critical basal nodes and root crown from freeze-thaw soil heaving.
2. Step Two: Erect the Freestanding Wire Mesh Cylinder: Gently gather the hydrangea canes toward the center using a loose loop of soft jute twine to streamline the shrub’s profile. Drive 3 to 4 sturdy wooden stakes into the ground roughly 4 to 6 inches outside the plant’s branches. Unroll your galvanized wire fencing around the stakes, forming a wide cylinder that completely encircles the shrub and extends at least 4 inches taller than the highest branch tips. Fasten the wire mesh securely to the stakes with zip ties or wire ties.

3. Step Three: Pack with Dry Insulating Leaves & Wrap in Burlap: Fill the wire cylinder with dry, fluffy oak leaves or clean pine straw. Gently pack the material around and between the canes, ensuring every branch tip is cushioned, but avoid packing it down with heavy downward force, which can snap fragile terminal buds. Once filled, wrap 2 to 3 layers of natural burlap around the exterior of the wire cage. Tie several horizontal bands of jute twine around the circumference to secure the fabric against winter blizzards. This multi-layered barrier reduces temperature fluctuations by up to 20°F and blocks wind chill completely.
4. Step Four: Overwintering Potted Hydrangeas: In container gardening, roots are separated from sub-freezing outdoor air by only a thin plastic or ceramic wall. In USDA Zones 6 and colder, container soil freezes solid within hours, killing delicate root systems even if top canes are wrapped. After a hard frost induces dormancy, move potted hydrangeas into an unheated garage, shed, or basement that stays between 32°F and 45°F (0°C to 7°C). Water sparingly once a month just to prevent the root ball from becoming bone-dry. If containers must remain outdoors, cluster them together on sheltered ground and bury them beneath a mountain of wood mulch. For companion fruit and woody perennial care, compare this with our protocols for winterizing fruit trees against frost cracks and overwintering potted rosemary plants.
3 Botanist Secrets for Non-Stop Summer Hydrangea Blooms
1. Never Wrap Hydrangeas in Plastic Tarps or Bubble Wrap: Wrapping outdoor shrubs in impermeable clear or black plastic is the most catastrophic mistake a gardener can make. On bright sunny winter days, plastic creates a powerful greenhouse effect, trapping solar heat that causes temperatures inside to spike into the 60s. This fools the plant into breaking bud dormancy prematurely in January. When nighttime temperatures plunge back to 5°F (-15°C), the soft, sap-filled buds freeze and turn black instantly. Plastic also traps condensation, inviting fungal gray mold (Botrytis cinerea) that rots the canes.
2. Leave the Top of the Cylinder Open or Capped with Airy Pine Boughs: While canes must be insulated from lateral winds, excess humidity must be allowed to escape upwards. Do not seal the top of the cage with an airtight cap. Instead, lay several evergreen conifer boughs (pine, spruce, or fir) across the top opening. The needles deflect heavy snow loads and torrential winter rain while maintaining steady air ventilation.
3. Never Prune Stems in Autumn: Unless you are removing dead, diseased, or broken wood, never cut back the canes of bigleaf or oakleaf hydrangeas in the fall. Terminal flower buds reside on the top few inches of stems; pruning canes down in autumn guarantees a flowerless summer next year. Review our comprehensive guide on pruning hydrangeas in fall: old wood vs new wood to avoid accidental bud removal.
Spring Unwrapping & Early Season Bloom Care

When late winter turns toward spring, resist the temptation to dismantle winter protection during the first warm thaw in March. Late spring frosts are notorious bud killers:
- The Phased Spring Awakening: In early spring, remove the outer burlap wrap to improve air circulation, but leave the wire cage and loose leaves in place to buffer against sudden April cold snaps.
- Complete Unwrapping After Last Hard Freeze: Once evening temperatures reliably stay above 32°F (0°C) and native daffodils finish blooming, remove the wire cage and gently scoop away the insulating leaves. Pull the root mulch back from the crown to a standard 2-inch depth.
- Wait Before Trimming Canes: What appears to be dead, brittle brown sticks in early April will often burst with plump green leaves by May. Wait until the entire shrub has leafed out completely before using clean bypass shears to trim away any tips that failed to produce new growth. Pair this care with our guide to planting fall bulbs for spring flower explosions.
Troubleshooting Common Winter Hydrangea Problems
- Lush Green Leaves in Summer but Zero Flowers: Classic symptom of winter flower bud kill. The root system survived and produced vigorous new basal shoots, but the older canes carrying flower buds froze. Install a leaf-filled cage and burlap wrap next fall.
- Black, Slimy Stems Inside Leaf Cage: Fungal rot caused by using wet, matted maple leaves or grass clippings as fill. Always use dry oak leaves, clean pine straw, or coarse straw that drains freely and does not compact into soggy mats.
- Canes Snapped Down at the Root Crown: Heavy winter snowdrifts or ice sheets collapsed the shrub’s center. Erecting a sturdy wire cylinder distributes snow loads onto the stakes and ground rather than the fragile stems.
Frequently Asked Questions
Do all hydrangeas need winter protection?
No. Only “old-wood” bloomers—primarily Bigleaf (H. macrophylla), Mountain (H. serrata), and Oakleaf (H. quercifolia) hydrangeas grown in USDA Zones 4 through 6—require winter wrapping to preserve delicate flower buds. Panicle and Smooth hydrangeas bloom on new spring wood and thrive in Zone 3 without protection.
When should I wrap my hydrangeas for winter?
Wait until mid-to-late November after multiple hard frosts have stripped the leaves and forced the plant into dormancy. Wrapping too early while temperatures are mild can cause mold or prevent proper hardening off.
What is the best material to insulate hydrangeas?
Dry oak leaves and clean pine straw are the gold standard because their coarse structure resists compaction and allows air circulation. Pair them with a wire mesh cage and outer breathable natural burlap wrap.
How do I protect potted hydrangeas during freezing winter?
Move potted hydrangeas into an unheated garage, shed, or sheltered crawlspace that stays between 32°F and 45°F (0°C to 7°C) after they drop their leaves. Water lightly once a month just to keep the roots hydrated.
Save This Winter Garden Guide for Later
Love this guide? Save this pin to your Pinterest gardening, hydrangea care, flower border, or winter garden protection board so you have the 4-step bud survival schedule ready whenever freezing weather threatens!