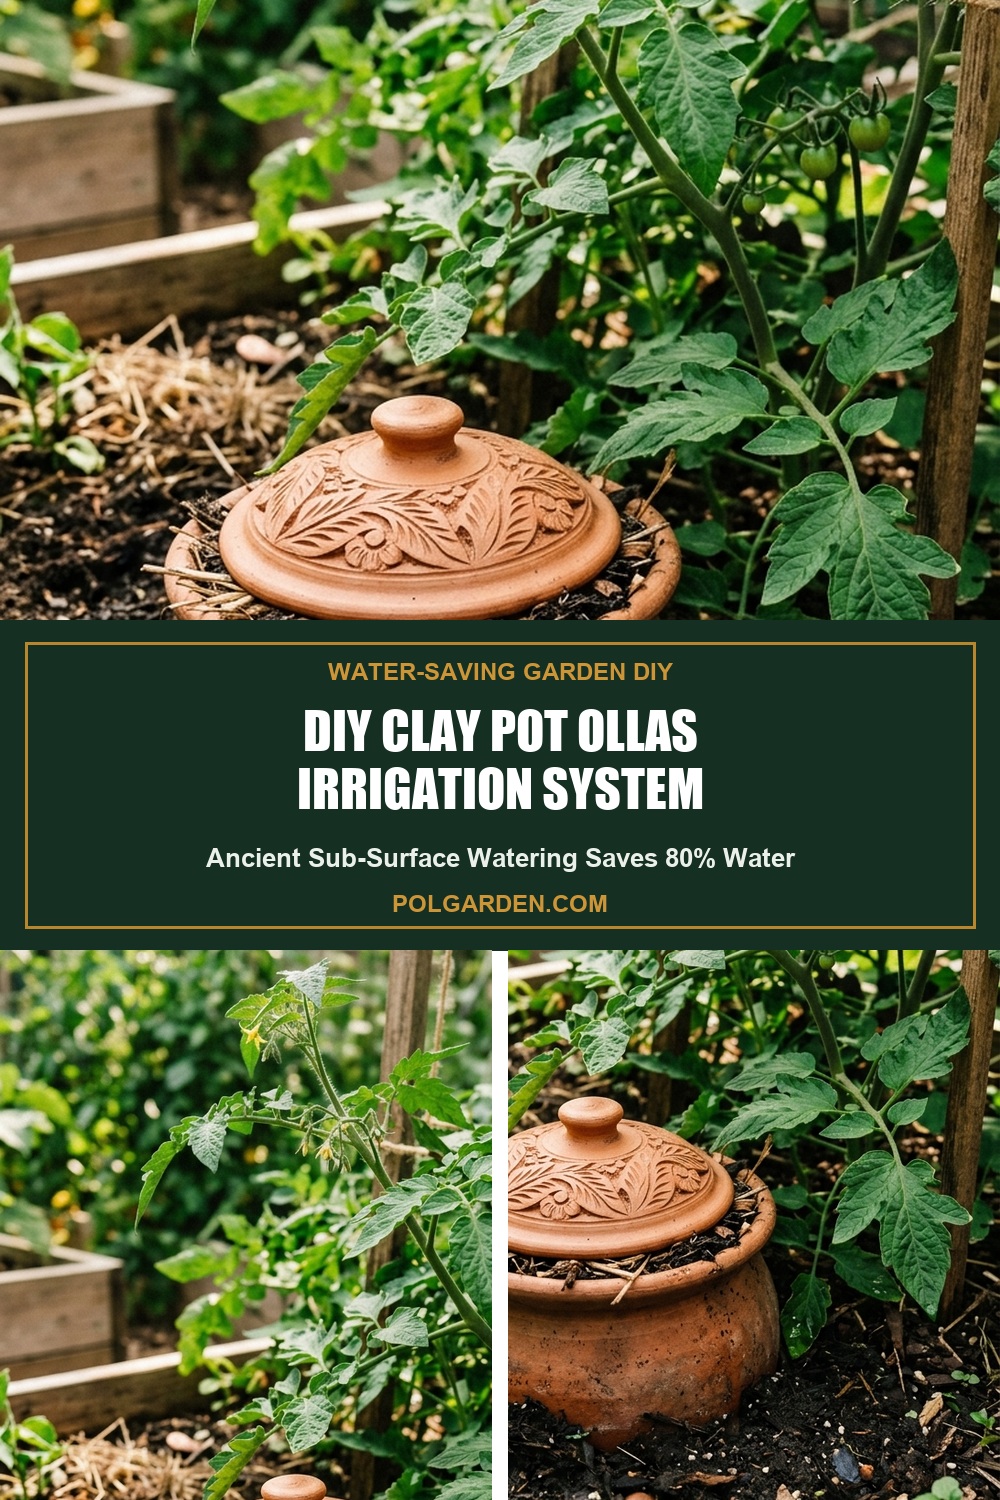
As heatwaves intensify and water restrictions tighten, surface sprinklers and hose watering lose up to 50% of moisture to wind drift and atmospheric evaporation. Used for over 4,000 years in ancient agricultural civilizations, subterranean unglazed clay ollas provide an ingenious, zero-electricity irrigation system that cuts water consumption by up to 80% while keeping plant roots deeply hydrated.
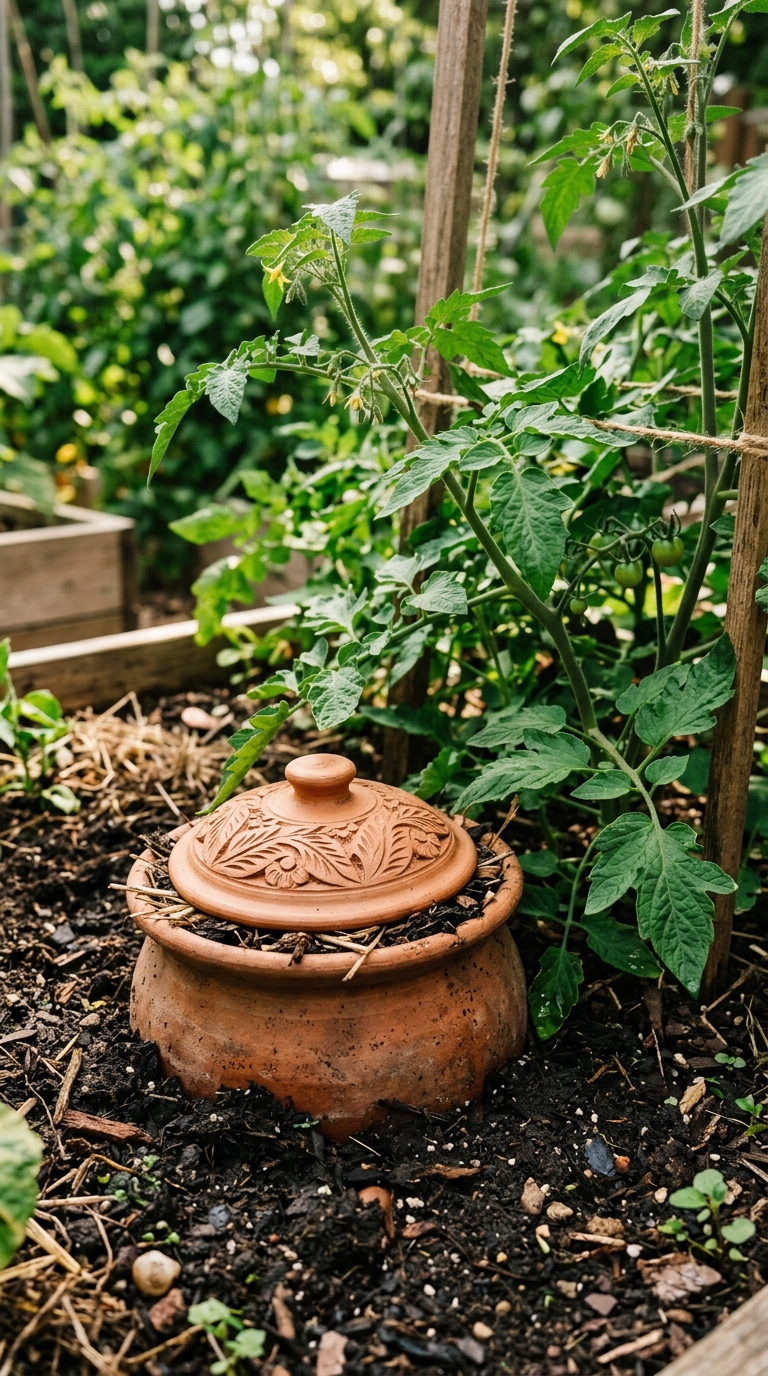
Unglazed terracotta clay is naturally micro-porous. When buried in soil and filled with water, moisture does not gush out; instead, it is drawn out solely by soil moisture tension (matric potential). As plant roots grow around the clay pot, they drink water on demand through soil suction.
- Difficulty: Easy DIY
- Build Time: 10 Minutes
- Material Cost: Under $5.00 per olla
- Water Savings: Up to 70%–80% vs Surface Sprinklers
- Effective Root Radius: 18 to 24 Inches
Why You’ll Love This Method
- Near Zero Evaporative Loss: Delivers 100% of moisture directly to the root zone under a protective soil blanket.
- Self-Regulating Soil Suction: Plants pull moisture only when dry; clay stops releasing water when soil is moist.
- Eliminates Weed Seed Germination: Keeps the top 2 inches of soil bone-dry, starving surface weed seeds of moisture.
- Prevents Foliar Fungal Diseases: Leaves and stems stay completely dry, preventing blight and powdery mildew.
Essential Materials, Tools & Smart Swaps
- Two 8-Inch or 10-Inch Unglazed Terracotta Pots: Ensure pots are 100% natural unglazed earthenware with zero sealants or paint.
- 100% Pure Silicone Caulk or Cork Stopper: Waterproof, food-safe silicone to seal the bottom drainage holes.
- Unglazed Terracotta Saucer (Lid): Covers the top opening to prevent evaporation and keep mosquitoes out.
- Sandpaper (100 Grit): For roughing up pot rims to achieve a secure silicone bond.
Step-by-Step Practical Walkthrough
1. Seal the Bottom Drainage Hole: Plug the drainage hole of the lower terracotta pot with a silicone-coated cork or food-grade silicone plug; let cure 24 hours.
2. Join the Two Pots Rim-to-Rim: Sand the rims smooth, apply a generous bead of silicone caulk along the rim of the bottom pot, and press the top pot inverted over it to form an urn shape.
3. Test for Waterproof Seam: Fill the olla with water in a sink; check that water seeps only through the porous clay walls, not leaking at the silicone seam.
4. Bury in Garden Bed or Raised Box: Dig a hole and bury the olla up to its top neck, leaving only the top opening 1 inch above soil grade.
5. Surround with Crops and Fill with Water: Plant thirsty vegetables in an 18-inch circle around the olla, fill the pot with water, and place the terracotta saucer lid on top.
3 Master Gardener Secrets for 100% Success
1. Never Use Glazed or Painted Pots: Glaze completely blocks the microscopic clay pores; only raw, red-orange terracotta allows soil matric suction to function.
2. Fill Frequency Guidelines: In mild weather, refill ollas once every 5 to 7 days; during 95°F+ summer heatwaves, refill every 2 to 3 days.
3. Winterize in Freezing Climates: In regions with freezing winter ground, empty ollas or dig them up in autumn to prevent expanding ice from cracking the clay.
Top Heavy-Drinker Crops for Olla Irrigation
- Tomatoes & Peppers: Prevents blossom end rot caused by irregular surface moisture fluctuations.
- Cucumbers & Summer Squash: Keeps sprawling vines hydrated without wetting leaves to prevent mildew.
- Eggplants & Melons: Produces sweet, juicy, crack-free fruits through constant subsurface capillary hydration.
- Leafy Greens & Herb Clusters: Sustains tender lettuce and basil beds through scorching midsummer heatwaves.
Seasonal Timing, Storage & Maintenance
- Winter Protection: Cover empty buried ollas with thick straw mulch, or store indoors in freezing zones.
- Mineral Descaling: In hard water areas, soak clay pots in a 1:1 vinegar-water bath once every two seasons to dissolve calcium deposits in pores.
- Mosquito Prevention: Always keep the top saucer lid securely in place to prevent standing water mosquito breeding.
Frequently Asked Questions
How many plants can one 10-inch olla support?
A 10-inch olla creates an active 24-inch moisture diameter, easily supporting 4 tomato/pepper plants or a dozen leafy green plants.
Can I use ollas in container pots?
Yes! A single inverted clay pot olla works brilliantly in large patio planters and deck containers.
Do I still need to water from the top when seeds are germinating?
Yes. Until young seedling roots grow 4 to 6 inches deep to reach the clay olla walls, provide light surface watering for the first 10 days.
Pin This Gardening Guide for Later
Save this ancient DIY olla irrigation tutorial to your Garden DIY Hacks or Water-Wise Gardening Pinterest board to slash your water bill!