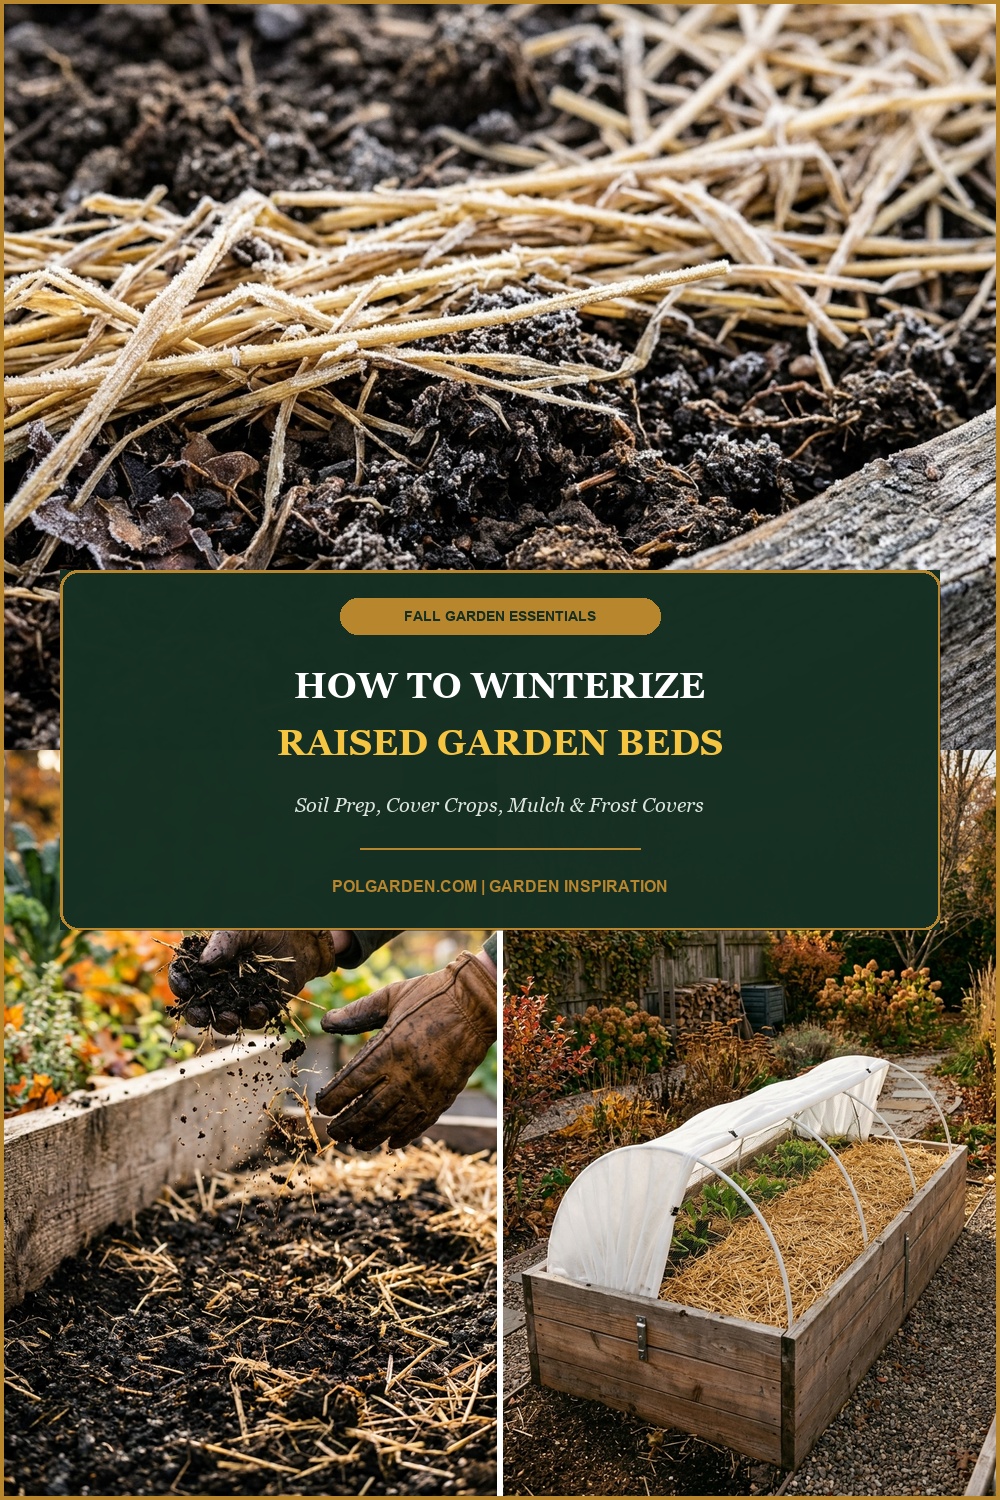
As late autumn frosts settle across the garden and harvest season draws to a close, your raised garden beds face their most vulnerable transition of the entire year. Leaving raised bed soil bare and exposed through the freezing months is one of the costliest mistakes a gardener can make: driving rains leach precious nitrogen and potassium deep past root zones, sub-zero winds erode vital topsoil, and relentless freeze-thaw cycles compact airy potting mixes into dense, lifeless bricks. Winterizing your raised beds in late fall is not simply an end-of-season chore—it is an active investment in your soil food web, earthworm populations, and next spring’s bumper harvest. By following this proven four-step winterization blueprint, you will protect beneficial microbes, enrich the root zone with slow-release nutrients, and guarantee warm, weed-free, fertile soil ready for planting weeks ahead of traditional ground plots.
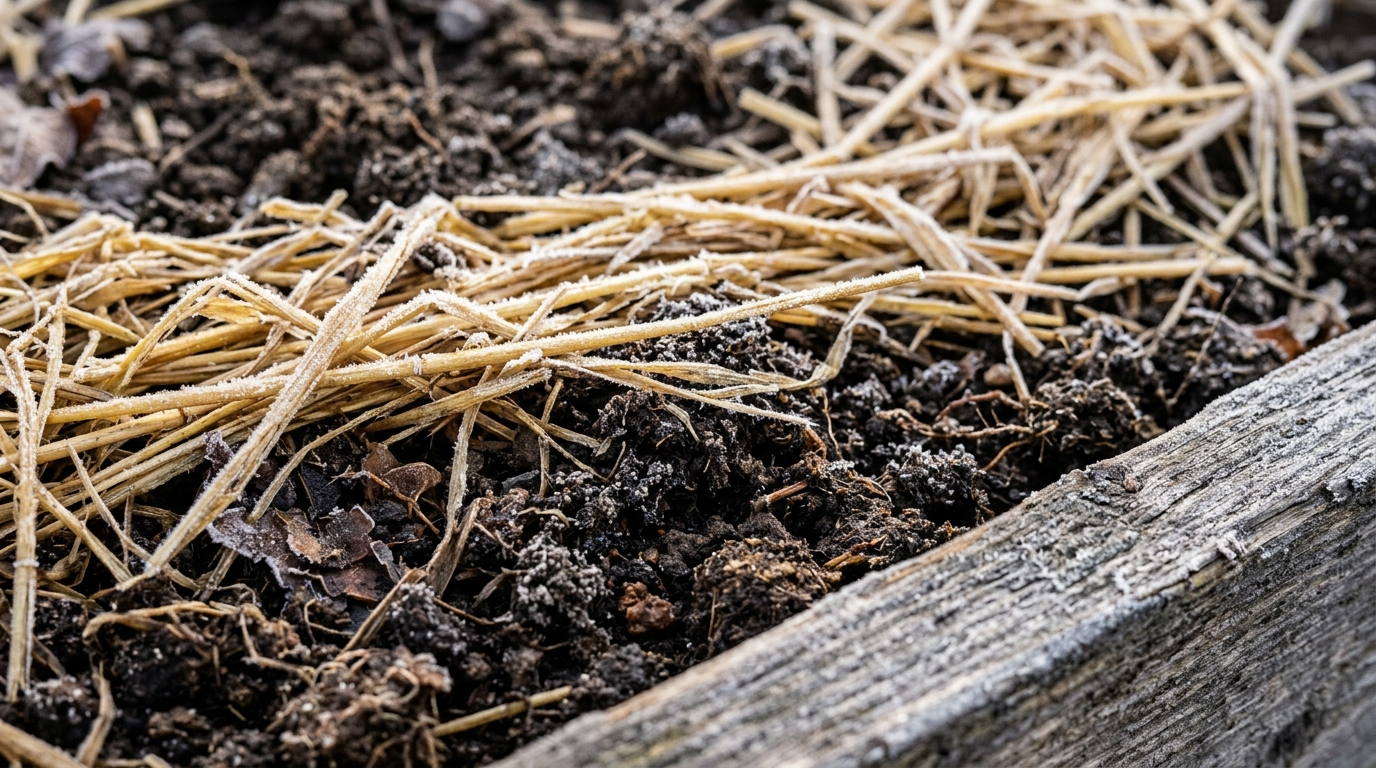
Unlike native garden soil anchored deep within the earth’s natural thermal mass, raised garden beds operate under distinct thermal and drainage physics. Elevated timber, metal, or masonry sidewalls expose raised soil mixes to ambient winter chills from four directions simultaneously. Consequently, raised bed soil freezes earlier in autumn and undergoes sharper temperature swings during sudden mid-winter thaws. Furthermore, the light, well-draining organic soil mixes ideal for vigorous summer root growth are inherently prone to nutrient leaching during prolonged winter rain and snowmelt. Taking deliberate action before the ground freezes solid ensures that your soil biology remains dormant and safe rather than starved and eroded.
Why Winterizing Your Raised Beds Matters: The 4 Core Benefits
- Halts Severe Nutrient Leaching: Unprotected soil loses up to 40% of its soluble nitrogen and potassium to winter rain runoff. A protective cover crop or thick carbon mulch acts as a natural biological sponge, locking nutrients firmly in the root zone.
- Protects the Living Soil Food Web: Beneficial mycorrhizal fungi, nitrogen-fixing bacteria, and earthworms require insulation to survive harsh winter extremes. A winterized bed stays 5°F to 8°F warmer beneath mulch, allowing microbial decomposition to continue slowly all winter.
- Breaks Pest and Disease Cycles: Clearing dead tomato vines, squash foliage, and brassica stumps eliminates overwintering spores for early blight, powdery mildew, and destructive pest pupae like cucumber beetles and squash bugs.
- Fast-Tracks Spring Planting by 2 to 3 Weeks: Insulated raised beds shed excess snow moisture cleanly and warm up much faster under early spring sunshine, giving you a head start for sowing sweet peas, spinach, and cool-season brassicas.
Essential Winterizing Supplies & Smart Swaps

- Bypass Hand Pruners & Garden Knife: Required for severing spent annual crops cleanly at the soil line rather than violently wrenching roots from the soil.
- Spading Fork or Broadfork: For gentle soil aeration without disrupting established fungal mycorrhizae through harsh mechanical rototilling.
- Finished Compost or Aged Manure: 2 to 3 inches of rich, weed-free compost feeds microbes and settles naturally over winter (smart swap: mature homemade leaf mold).
- Organic Soil Amendments: Bone meal, kelp meal, or agricultural lime to balance pH and replenish phosphorus before spring demand.
- Clean Insulating Mulch: Seedless wheat straw, chopped deciduous leaves, or untreated pine shavings (smart swap: clean corrugated brown cardboard layered under straw).
- Winter Cover Crop Seeds (Optional): Winter rye, crimson clover, or hairy vetch for active living roots in milder zones.
- Low-Tunnel Hoops & Floating Row Covers: 1/2-inch flexible PVC pipes or galvanized conduit paired with medium-weight frost cloth (AG-30 or AG-50) for overwintering hardy crops like garlic or winter spinach.
Step-by-Step 4-Step Walkthrough to Winterize Raised Beds
Step 1: Sanitize and Clear Spent Summer Crops (Cut, Never Yank). Begin your late fall bed prep on a dry afternoon. Inspect every plant carefully. Sever spent tomato vines, pepper plants, bean stalks, and cucurbits cleanly at the soil line using sharp bypass pruners. Never violently yank root balls out of raised bed soil; leaving non-diseased root systems undisturbed preserves delicate soil structure, protects earthworm tunnels, and allows decaying organic fibers to feed soil life underground. If any foliage displays signs of fungal blight, powdery mildew, or bacterial wilt, bag and dispose of it immediately—never toss infected debris into your home compost pile.
Step 2: Aerate Gently and Top-Dress with Living Organic Amendments. Years of mechanical rototilling decimate soil structure and bring buried weed seeds to the surface. Instead, insert a spading fork every 8 to 10 inches across the bed and rock it backward slightly just 2 inches. This relieves surface compaction, allows autumn precipitation to penetrate evenly, and introduces oxygen into deep soil layers. Next, broadcast a light application of organic bone meal (for root establishment) and worm castings across the surface before top-dressing with a generous 2- to 3-inch layer of rich, well-cured compost.

Step 3: Establish a Living Cover Crop or Blanket with Deep Carbon Mulch. Bare soil is an unnatural state in nature; if you do not cover it, weeds will. If you have 4 to 6 weeks before your first hard freeze (typically early to mid-autumn), broadcast cold-hardy cover crop seeds such as winter rye or hairy vetch directly over the compost layer, raking lightly to ensure soil contact. In late autumn when freezes have already begun, opt for the deep mulch strategy: apply a clean 4- to 6-inch blanket of seedless oat straw, weed-free shredded autumn leaves, or untreated wood shavings directly across the bed surface. This carbon blanket acts like a goose-down duvet, mitigating extreme ground freezes and stopping winter erosion in its tracks.
Step 4: Install Winter Microclimate Covers (Hoops & Low Tunnels). In regions subject to heavy snowfall or torrential freeze-thaw cycles, winter weather can saturate raised bed soil into a soggy anaerobic swamp. Insert flexible 1/2-inch conduit or PVC hoops into the inner corners of your raised bed frame. Secure floating row cover fleece or 4-mil clear greenhouse plastic across the hoops, anchoring the sides with clamps or timber batten boards. This simple low-tunnel structure sheds heavy snow loads, shields soil from torrential downpours, and creates a protected microclimate that keeps soil 8°F to 12°F warmer than surrounding open ground.
3 Master Secrets for Raised Bed Longevity & Soil Vitality
1. The “Cardboard Sheet Lasagna” Weed-Smothering Hack. If your raised beds struggled with persistent perennial weeds like bindweed, crabgrass, or dandelions during summer, lay down a double layer of plain brown corrugated cardboard (remove all plastic packing tape) directly over the soil before adding compost and straw mulch. By spring, the cardboard completely smothers weed seeds, blocks winter germination, and thoroughly decomposes into soft cellulose that earthworms greedily consume.
2. Treat and Seal Exterior Timber Sidewalls Before the First Deep Freeze. Autumn moisture combined with freezing temperatures can cause unsealed cedar, redwood, or pine raised bed corners to crack and split under expanding ice pressure. Take 15 minutes to inspect your raised bed frame. Tighten corner brackets and coat exterior wooden surfaces with raw linseed oil or non-toxic tung oil. This repels winter rain and extends the structural lifespan of wooden raised beds by 5 to 7 additional years.
3. Strictly Enforce the “No-Step” Rule During Winter Wetness. Raised bed soil remains light and airy precisely because gardeners do not tread on it. In winter, when raised beds are saturated with moisture, walking, leaning heavily, or kneeling directly on the soil surface causes catastrophic compaction that squeezes out microscopic air pockets. Always work from perimeter pathways and use wooden planks laid across sidewalls if you need to reach center plantings.
Cover Crops vs. Deep Mulch vs. Low Tunnels: Choosing the Right Strategy

Selecting the optimal winterization method depends on your geographic hardiness zone, your fall timeline, and what you plan to grow first when spring returns:
- Deep Carbon Mulch (Best for Beginners & Cold Climates): Clean straw or shredded leaves require zero maintenance throughout winter. Simply pull the mulch back in late March to let the sun warm the dark earth before direct seeding. Ideal for USDA Zones 3 through 7.
- Winter Cover Crops (Best for Nutrient Enhancement): Sowing winter rye, crimson clover, or Austrian winter peas adds massive organic biomass and fixes atmospheric nitrogen naturally. This requires termination (mowing or tarping) 3 weeks before spring planting. Best suited for USDA Zones 6 through 9.
- Hoop House Low Tunnels (Best for Active Harvests & Fall Garlic): Ideal if you planted cold-hardy greens (spinach, kale, mache) or fall garlic. The fabric cover shields delicate shoots from sub-zero wind desiccation while capturing free passive solar heat.
Spring Reactivation: How to Wake Up Your Raised Bed in March
When late winter snow begins to melt and daytime temperatures consistently touch 45°F to 50°F, it is time to wake up your sleeping raised beds. Begin by pulling back the top 4 inches of straw or leaf mulch toward the perimeter edges or into pathways. Exposing the dark, compost-rich soil surface to direct spring sunshine warms the top 6 inches of soil up to 10°F faster than mulch-covered ground, accelerating the germination of early spring radishes, arugula, and peas. If you grew winter cover crops, use a sharp weed scythe or string trimmer to chop the foliage at ground level 3 weeks before your planned spring planting date, allowing the green manure to incorporate naturally into the topsoil.
Frequently Asked Questions
Should I remove all soil from my raised garden beds for winter?
Never remove soil from raised beds for the winter season. Raised bed soil is a living biological ecosystem filled with beneficial bacteria, mycorrhizal networks, and earthworms that thrive across multiple seasons. Removing and replacing soil every year is unnecessarily costly, destroys established microbial colonies, and wastes valuable organic matter. Simply amend and winterize the top 3 inches each autumn.
Is it better to leave dead tomato plants in raised beds or pull them?
Always remove the above-ground stems, leaves, and fruit of tomato and pepper plants in late fall. Solanaceous crops frequently harbor spores for early blight, late blight, and Septoria leaf spot that survive harsh winter freezes inside plant tissue. Cut the plants at ground level, dispose of the foliage in municipal yard waste bins (or burn if permitted), and leave the clean root systems underground to decay into natural organic humus.
Can I plant winter garlic in my raised beds during winterization?
Yes, winterizing raised beds is the ideal time to plant hardneck garlic! In late October or early November, dibble your garlic cloves 3 to 4 inches deep, top-dress with finished compost, and apply 4 to 6 inches of clean straw mulch over the top. The raised bed ensures superior winter drainage, preventing clove rot during heavy winter rains.
Explore Related Seasonal Gardening Guides
- How to Plant Garlic in Fall: Clove Spacing, Trench Depth & Straw Mulch Guide
- Best Mulch for Autumn: How to Insulate Garden Beds & Protect Soil for Winter
- How to Winterize Perennial Herbs: Thyme, Sage, Oregano & Mint Crown Protection Guide
- How to Winterize Strawberry Beds: Renovation, Straw Mulch & Frost Protection Guide
Pin This Gardening Guide for Later
Love this guide? Save this pin to your Pinterest gardening board so you have these tips and expert soil prep solutions ready whenever you need them!