
Few garden shrubs command greater admiration than camellias (Camellia japonica and Camellia sasanqua), affectionately celebrated as the “queens of the winter garden.” Blooming precisely when the rest of the landscape lies dormant and barren—from late autumn through the chill of mid-winter and early spring—their opulent, rose-like blossoms and lustrous, deep evergreen foliage bring peerless elegance to woodland borders and sheltered foundation beds. However, this miraculous cool-season blooming habit also exposes camellias to acute environmental peril. Because flower buds swell and open during the most turbulent months of the year, sudden sub-freezing cold snaps, desiccating arctic winds, and intense morning winter sun can turn swollen flower buds brown, cause premature bud drop, split woody bark, and scorch broadleaf foliage. Much like the protective protocols applied when winterizing rhododendrons and azaleas, learning how to protect camellias in winter empowers gardeners to safeguard tender flower buds, insulate shallow root zones, and shield glossy leaves against windburn, ensuring your shrubs deliver a breathtaking floral display through the coldest months of the year.
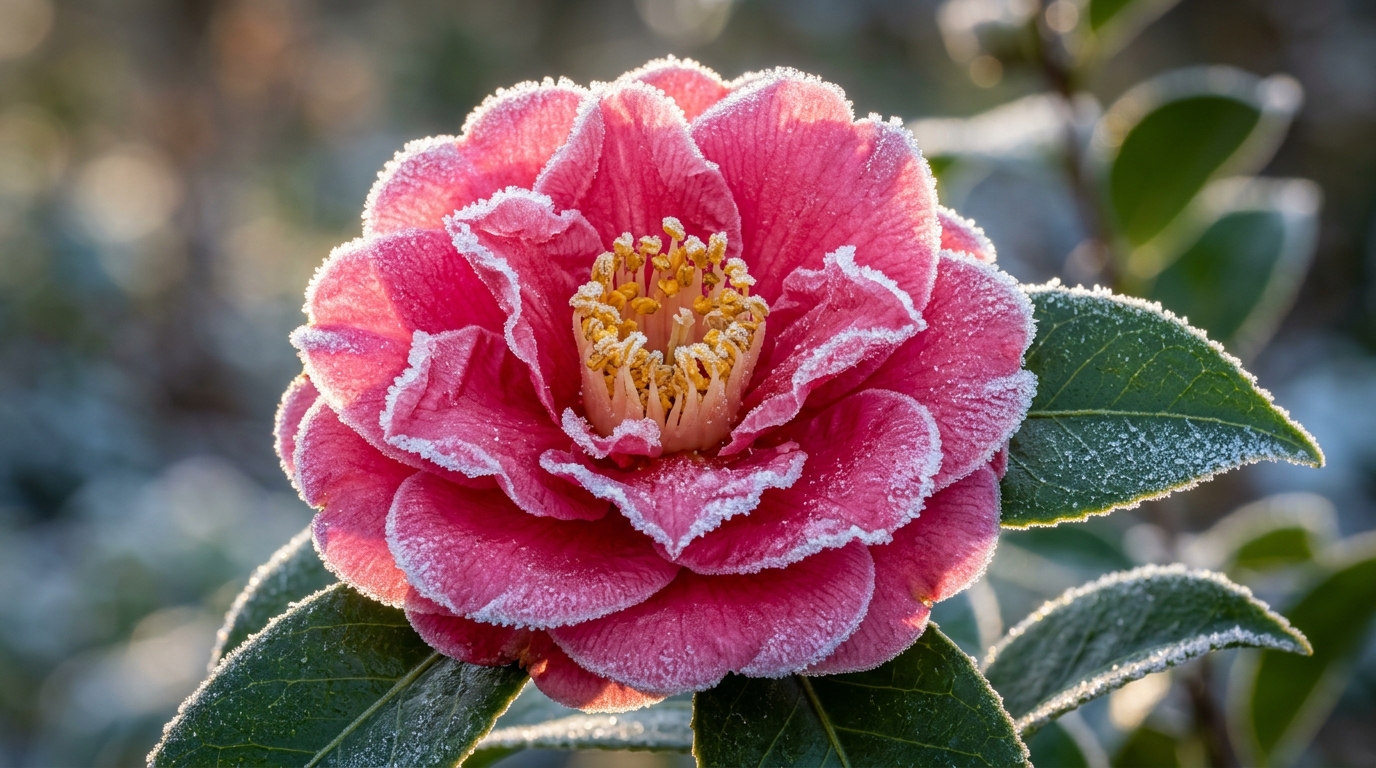
To successfully protect camellias throughout the winter, gardeners must appreciate the delicate balance between their moderate cold hardiness and their shallow, vulnerable root architecture. Most established Camellia japonica varieties tolerate temperatures down to 10°F (-12°C) without substantial leaf injury, while autumn-blooming Camellia sasanqua varieties generally prefer milder conditions around 15°F (-9°C). However, the real threat rarely stems from ambient cold alone; rather, it is rapid temperature fluctuations and winter desiccation that devastate camellias. Because broadleaf evergreens never enter complete dormancy, their thick leaves constantly transpire moisture into dry winter air. When the ground freezes into a solid crust, the shrub’s shallow fibrous roots—which concentrate predominantly in the top 4 to 6 inches of soil—cannot absorb liquid water to replenish what freezing winds strip away. Similar to wrapping Japanese maple trunks or shielding boxwood shrubs from winter burn, erecting a physical windbreak and establishing an acidic thermal root blanket provides essential microclimate security.
Why Winter Protection Prevents Bud Drop, Foliar Scorch & Bark Split
- Elimination of Winter Bud Blast & Flower Browning: Swollen flower buds are far more sensitive to frost than vegetative shoots. Unshielded buds exposed to sudden hard freezes develop necrotic brown petals and drop to the ground without opening.
- Prevention of Rapid Morning Thawing Injury: When morning winter sun hits frozen buds and leaves, cells thaw too rapidly before root sap flow resumes, rupturing cell walls and causing scorched, papery margins.
- Thermal Root Protection for Shallow Root Systems: Camellias feature fibrous, shallow root systems that readily suffer severe frost-heaving during oscillating freeze-thaw cycles without an adequate mulch layer.
- Protection Against Bark Splitting and Limb Breakage: Sudden temperature drops can freeze sap inside young trunks, causing the outer bark to split vertically near ground level, leaving the shrub vulnerable to fungal entry.
Essential Supplies & Smart Winterizing Toolkit

- Natural Coarse Burlap Fabric: The gold-standard shielding fabric. Burlap baffles freezing gusts and filters intense winter sunlight without trapping radiant heat or restricting air circulation.
- Pointed 2×2-Inch Wooden Garden Stakes: Driven firmly into the soil outside the branch canopy to support freestanding protective screens without resting heavy fabric against delicate buds.
- Acidic Pine Straw or Shredded Pine Bark Mulch: The ideal natural root mulch for ericaceous and acid-loving plants. As explored in our guide to the best winter mulches, pine needles insulate roots while sustaining the 5.5 to 6.5 soil pH camellias demand.
- Heavy-Duty Staple Gun & Natural Jute Twine: Fastens burlap tightly to the exterior stakes to withstand gale-force winter storms.
- Horticultural Anti-Desiccant Spray (e.g., Wilt-Pruf): An optional organic wax coating applied in late autumn to seal stomata and reduce foliar moisture loss by up to 50% in windy exposures.
Step-by-Step Camellia Winter Protection Walkthrough
Step 1: Deep Pre-Freeze Hydration
Before the first sustained hard freeze locks your garden soil, provide your camellias with a deep, thorough watering. Moisten the entire soil profile under the drip line down to a depth of 8 to 10 inches. Water acts as an extraordinary thermal buffer: wet soil stores and slowly releases geothermal heat up through the canopy during freezing nights, and plump, fully hydrated leaf cells resist sub-zero freeze-drying exponentially better than thirsty foliage.

Step 2: Spread a 3- to 4-Inch Acidic Mulch Blanket
Spread a generous 3- to 4-inch blanket of clean pine straw or shredded pine bark mulch across the entire root perimeter, extending 6 to 12 inches beyond the shrub’s outer drip line. Critically, maintain a 3-inch clear ring around the base of the main trunk. Piling mulch directly against woody bark creates a damp, suffocating microclimate that fosters collar rot and invites burrowing rodents to chew on protective bark.
Step 3: Construct a Freestanding Staked Burlap Windbreak
For camellias situated in exposed northern or western exposures, or those receiving direct morning winter sun, construct a protective windscreen. Drive three or four pointed wooden stakes into the ground 6 to 8 inches outside the branch tips. Stretch heavy natural burlap around the windward sides and staple securely. Leave the top completely uncovered so ambient light, rain, and snow reach the plant naturally. Never wrap fabric tightly like a mummy directly against the branches!
Step 4: Emergency Freeze Covering for Arctic Blasts
When local meteorological forecasts predict unusual arctic vortex drops below 15°F (-9°C) for Camellia japonica, drape a frost cloth or heavy burlap sheet over the wooden stake structure late in the afternoon, anchoring the fabric edges to the ground with bricks or stones to trap ground warmth. Remove the top covering as soon as daytime temperatures rebound above freezing to prevent overheating.
3 Master Secrets for Flawless Camellia Blooms
1. Site Selection: Avoid Direct East-Facing Morning Sun: The single most destructive factor for winter camellia blooms is rapid morning thawing. When frozen petals and leaves are struck by intense, direct morning sunrise, the sudden thaw ruptures cellular walls, leaving petals blackened. Plant camellias in dappled northern or western exposures where natural shading allows frozen tissues to thaw gradually before direct light touches them.
2. Cease All Nitrogen Fertilization by Mid-Summer: Never feed camellias with high-nitrogen fertilizers after July. Late summer feeding triggers a flush of tender, succulent green growth that will fail to harden off and lignify before freezing autumn weather arrives. This unripened wood freezes and dies back, taking vital flower buds with it.
3. Never Wrap Camellias in Impermeable Plastic: Using clear or black plastic sheeting to protect camellias is a disastrous mistake. Plastic creates an intense greenhouse effect during sunny winter afternoons, overheating dormant buds. When night arrives, temperatures plummet instantly, and trapped condensation breeds botrytis flower blight and fungal rot. Always use porous, breathable woven fabrics.
Camellia Japonica vs. Camellia Sasanqua: Seasonal Differences

- Camellia Sasanqua (Autumn to Early Winter Bloomers): Displays smaller, graceful blooms and finer foliage. Sasanquas bloom October through December, meaning many flowers open before severe winter freezes arrive. However, their wood is slightly less cold-tolerant (USDA Zones 7-9), making a thick root mulch essential.
- Camellia Japonica (Late Winter to Early Spring Bloomers): Features large, formal, rose-like flowers and thick, leathery leaves. Japonicas are hardier (USDA Zones 6-9), but because their swollen flower buds sit exposed on branches all winter, they require dedicated wind and sun shielding to prevent bud freeze.
- Cold-Hardy Hybrids (e.g., Winter’s Series, April Series): Bred by Dr. William Ackerman, these cultivars incorporate genetics from Camellia oleifera and survive temperatures down to -10°F (-23°C) in USDA Zone 6, making them ideal choices for northern gardeners.
- Potted / Container Camellias: Containerized root balls freeze solid at temperatures around 20°F (-7°C) because they lack soil insulation. Move potted camellias into an unheated garage, cool sunroom, or trench the pots directly into garden beds up to the rim for the winter.
Spring Uncovering & Post-Winter Awakening Protocol
- Dismantling Winter Screens: In early spring when prolonged sub-freezing spells end (typically late March or early April), remove the burlap windbreak on an overcast morning so leaves acclimatize smoothly to ambient light levels.
- Post-Bloom Pruning Schedule: Never prune camellias in autumn or early winter, as this removes pre-formed flower buds! Prune camellias immediately after blooming finishes in spring. Remove dead, broken, or crossed branches and thin out the interior canopy to improve light penetration.
- Spring Acidic Feeding: Once blooming concludes and new leaf growth begins, apply a slow-release organic fertilizer formulated specifically for acid-loving shrubs (containing sulfur, cottonseed meal, and iron).
- Comprehensive Shrub Care Synergy: Combine your spring garden awakening with our comprehensive companion guides on hydrangea winter care and winterizing boxwood hedges.
Frequently Asked Questions
Why do my camellia flower buds turn brown and drop off before opening?
The primary cause of premature bud drop is winter freeze injury. When swollen buds experience sub-freezing temperatures or rapid morning thawing, tender petal tissue dies inside the bud calyx. Other common contributors include erratic autumn soil moisture (underwatering during dry spells) and severe aphid or mite infestations.
Can camellias survive heavy snow and ice storms?
Camellia branches are sturdy but can snap under excessive loads of wet, heavy snow. Never use a heavy shovel to strike downward on frozen limbs. Instead, use a soft household broom to gently sweep snow upward from underneath the branches to relieve weight safely without damaging branch crotches.
How often should I water my camellia during winter?
During dry, snowless winters, check the soil once every 2 to 3 weeks. If the top 2 inches feel dry and the ground is not frozen solid, provide a light watering on a mild morning when temperatures are above 40°F (4°C). This replenishes moisture lost to winter transpiration.
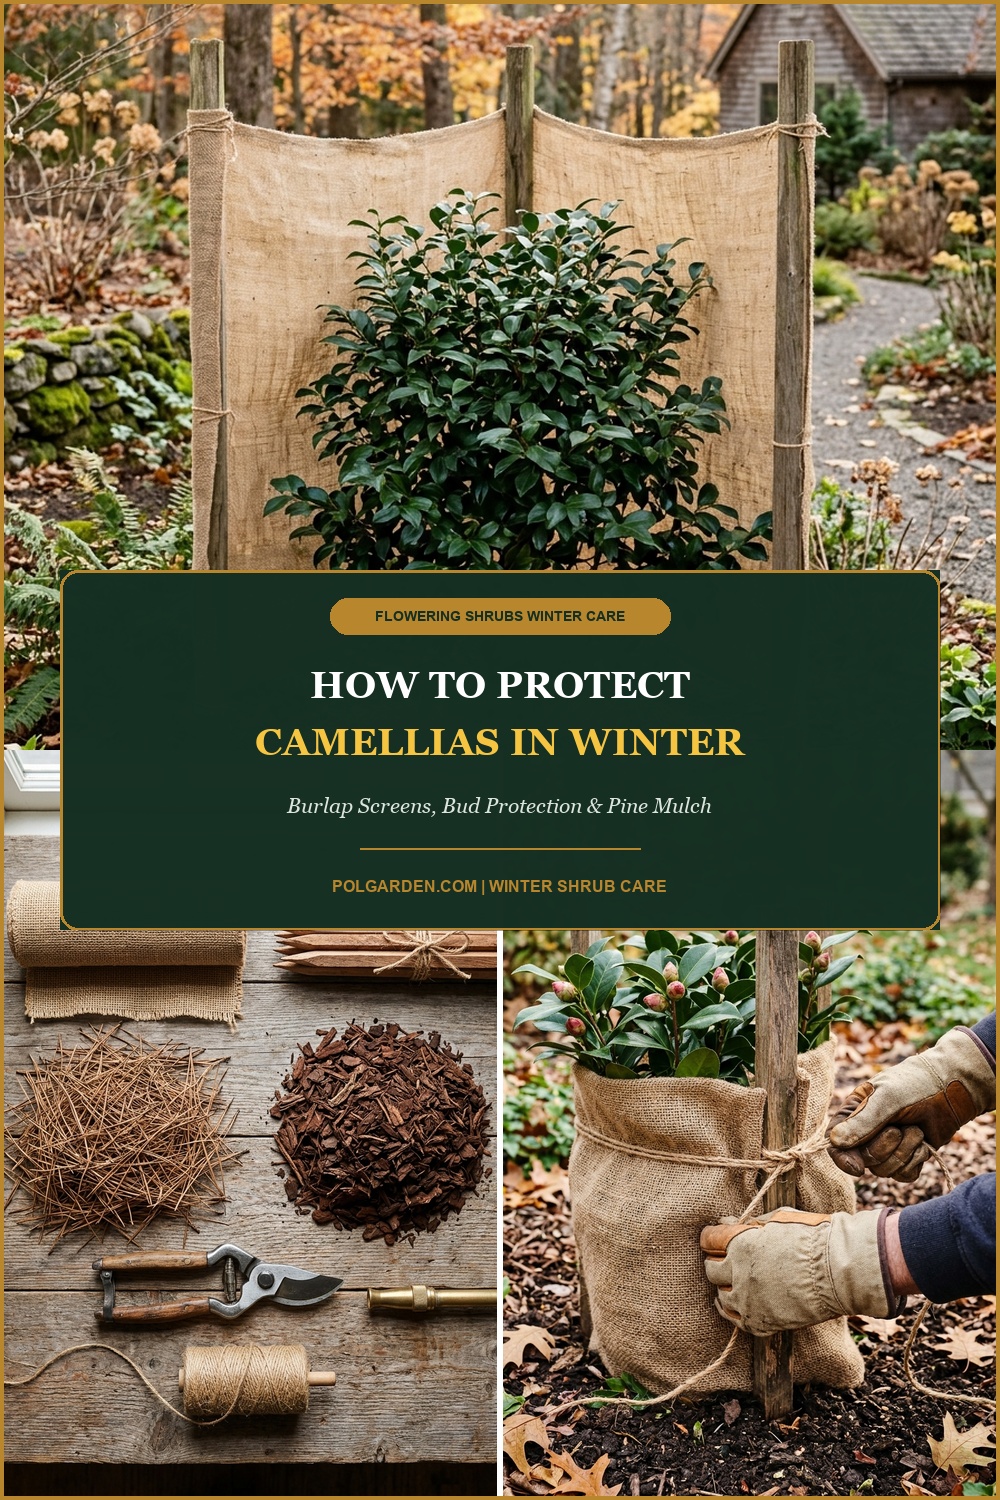
Pin This Camellia Winter Protection Guide for Later
Love this guide? Save this pin to your Pinterest gardening board so you have the staked burlap windbreak setup, bud frost protection tips, and acidic mulching steps ready before the first hard winter freeze!