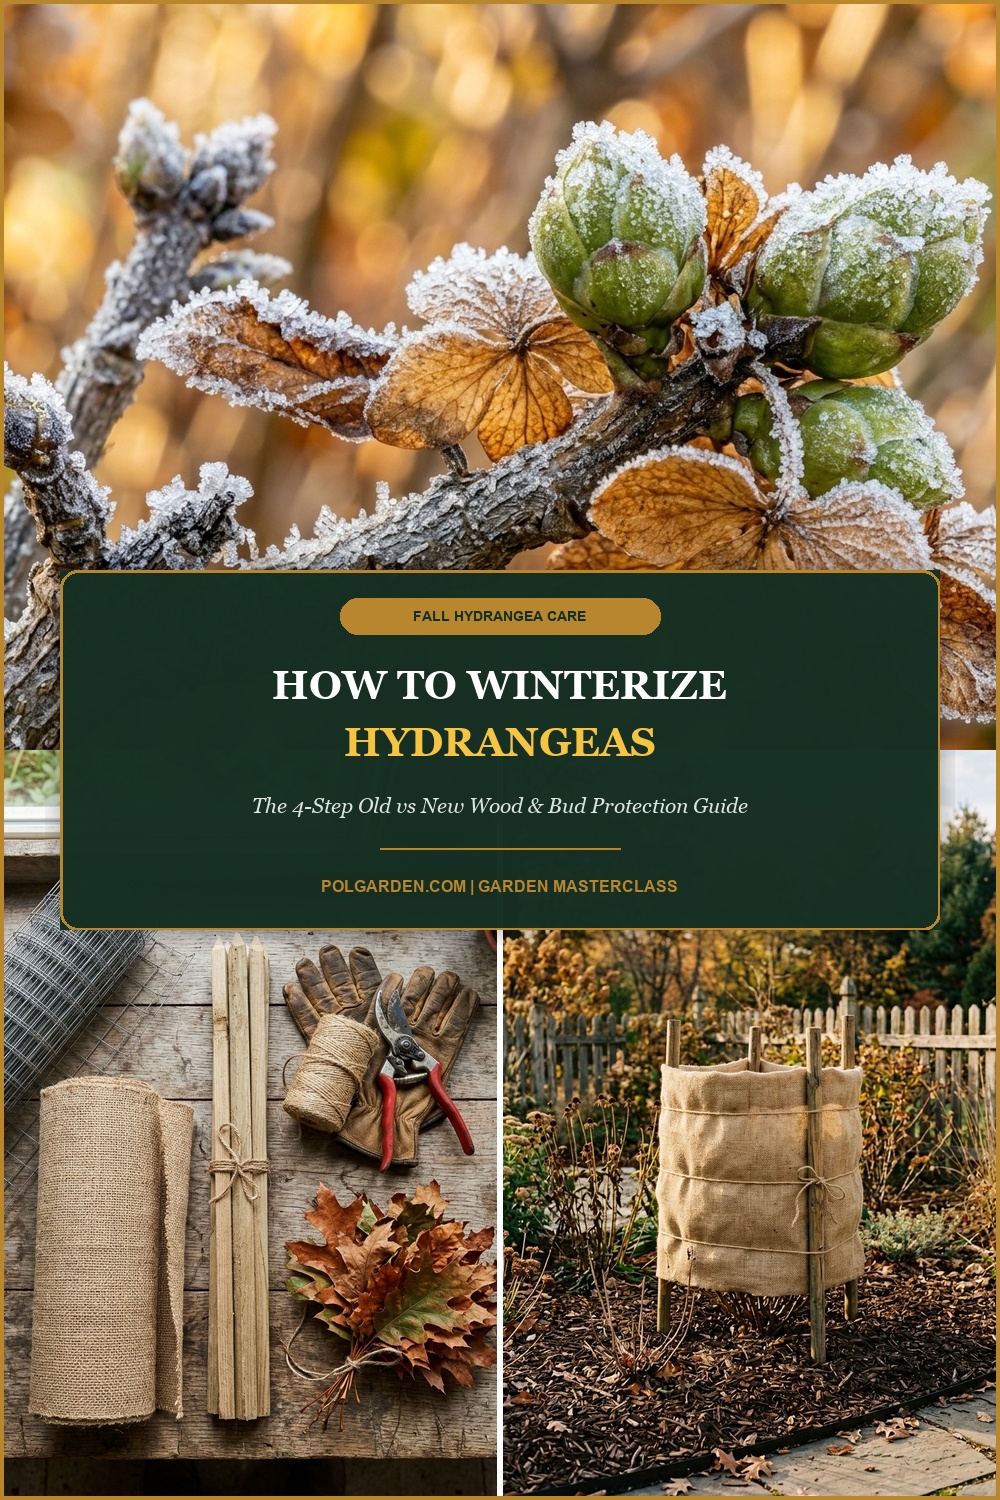
Hydrangeas are the crowning glory of summer landscapes, captivating gardeners with breathtaking displays of cerulean-blue mopheads, snowy white lacecaps, and colossal lime-green panicles. Yet when crisp October nights give way to biting polar gales and sub-zero freezes, these beloved woody shrubs face their most critical physiological vulnerability. Every year, millions of frustrated gardeners wonder why their lush hydrangea bushes produce hundreds of vigorous green leaves in spring but fail to produce a single flower bloom all summer. The devastating culprit is nearly always winter bud kill—and knowing how to properly winterize your specific hydrangea species in autumn is the single defining secret to unlocking an abundance of spectacular blooms next season.
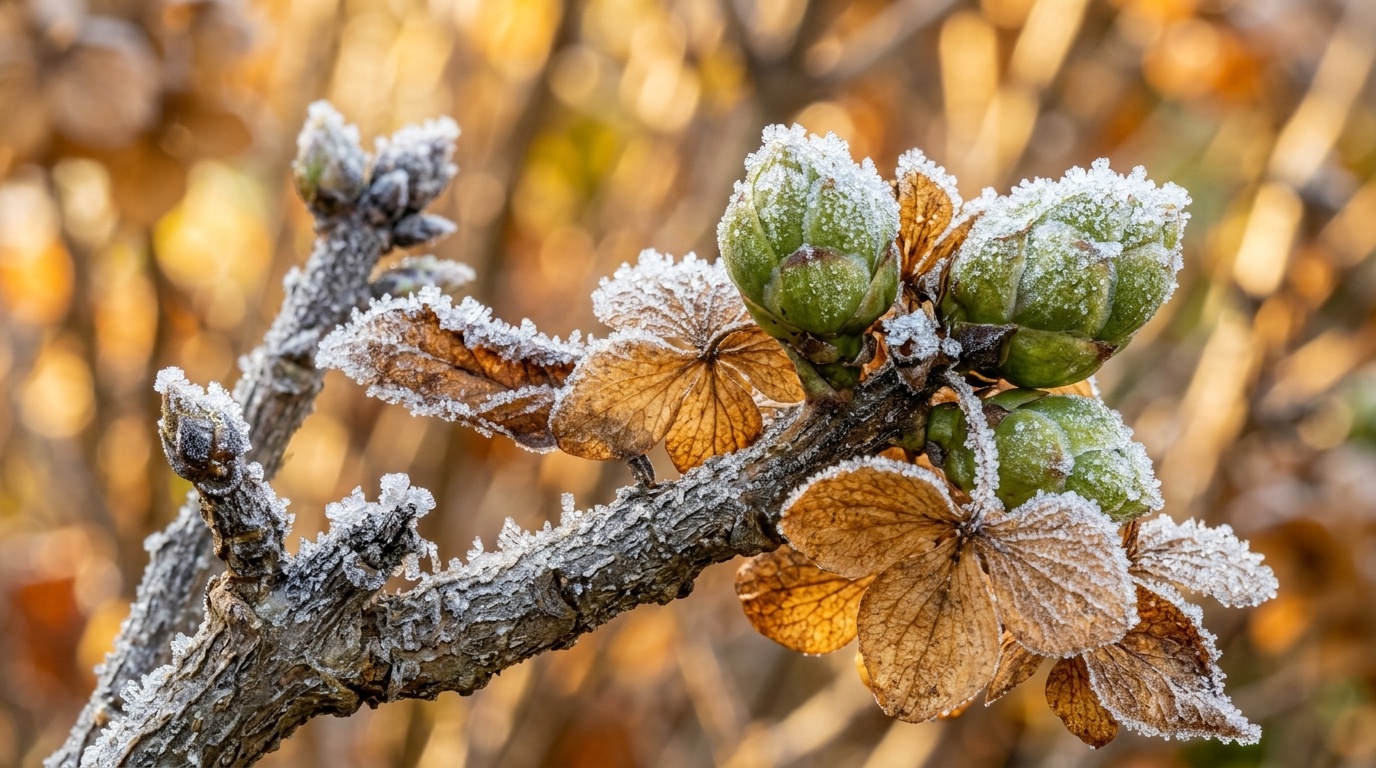
The botanical key to winterizing hydrangeas lies in one fundamental horticultural rule: you must distinguish between hydrangeas that bloom on “old wood” (last season’s stems) versus those that bloom on “new wood” (new growth produced in spring). Bigleaf hydrangeas (Hydrangea macrophylla), Mountain hydrangeas (H. serrata), and Oakleaf hydrangeas (H. quercifolia) set their delicate floral embryonic buds in August and September. These embryonic buds remain exposed on bare woody branches throughout the entire winter. A single harsh drop in temperature or desiccant winter gale below -5°F (-20°C) can freeze these buds to death, destroying next summer’s entire flower show before it even starts. Conversely, Panicle hydrangeas (H. paniculata) and Smooth hydrangeas (H. arborescens) flower entirely on new spring growth and require minimal cold shelter.
Why You’ll Love This Comprehensive Winterizing Strategy
- Guaranteed Summer Blooms: Completely shields vulnerable old-wood flower buds from extreme sub-zero cold snaps, ice storms, and desiccant winds.
- Zero Pruning Mistakes: Clarifies exactly which hydrangea varieties should be left untouched in fall versus those that benefit from autumn cleanup.
- Snowload & Stem Fracture Defense: Durable wire caging prevents heavy, wet blizzard snow from bending, snapping, and splintering brittle woody branches.
- Rodent & Frost-Heave Protection: Insulating root collars keeps soil temperatures steady, preventing shallow root systems from popping out of frozen beds.
Essential Hydrangea Winterizing Supplies & Gear
Protecting delicate hydrangea buds requires breathable, insulating natural barriers that block wind while preventing fungal moisture buildup.

- Galvanized Wire Mesh Fencing or Chicken Wire: A 36- to 48-inch tall roll of rigid wire fencing creates a sturdy circular cage around the shrub, keeping insulating materials securely in place without weighing down stems.
- Breathable Heavyweight Burlap: Natural woven jute burlap cuts bitter winter wind and diffuses harsh winter sun while allowing continuous air exchange to stop moisture condensation. Never use plastic tarps or bubble wrap, which trap heat and mold!
- Sturdy 4-Foot Hardwood or Rebar Stakes: Driven firmly into the soil outside the root zone, four stakes anchor your wire enclosure against 50 mph winter gusts.
- Dry Oak Leaves, Straw, or Pine Needles: The ultimate lightweight natural insulation. Crisp oak leaves are ideal because they resist matted compression and do not rot quickly under snow cover.
- Natural Jute Twine & Cable Ties: Heavy twine secures burlap snugly around the wire cage and holds bundled branches in place.
- Shredded Bark or Wood Chip Mulch: A 3- to 4-inch layer buffers root temperatures across freeze-thaw cycles.
Step-by-Step Hydrangea Winterizing Walkthrough
Follow these four chronological steps from late October through the first sustained ground-freezing conditions to ensure full flower bud survival.
Step 1: Identify Your Hydrangea Species (Old Wood vs. New Wood)
Before applying physical protection or picking up pruners, identify which botanical group your hydrangea belongs to:
- Group 1: Old Wood Bloomers (MANDATORY Winter Protection in Zones 4–6): Includes Bigleaf hydrangeas (H. macrophylla, such as ‘Nikko Blue’, mopheads, and lacecaps), Mountain hydrangeas (H. serrata), and Oakleaf hydrangeas (H. quercifolia). Critical rule: NEVER prune these shrubs in fall! Cutting stems in autumn removes the embryonic buds formed in late summer. Protect every single inch of woody branch over winter.
- Group 2: New Wood Bloomers (Minimal Protection Needed): Includes Panicle hydrangeas (H. paniculata, such as ‘Limelight’, ‘Vanilla Strawberry’, and ‘Bobo’) and Smooth hydrangeas (H. arborescens, such as ‘Annabelle’ and ‘Incrediball’). These cold-hardy powerhouses (hardy down to USDA Zone 3) produce flower buds exclusively on fresh green stems grown the following spring. They require only a 3-inch root mulch layer and optional staking to avoid heavy snow splitting.
Step 2: Deep Hydration & Crown Sanitation
Severe winter dieback is frequently caused by dehydration rather than cold temperatures alone. Frozen soil locks away liquid water, while dry winter winds strip moisture directly from exposed woody branches.
In late October, before the ground freezes solid, give your hydrangea shrubs a slow, deep soaking of 5 to 10 gallons of water around the root zone. Simultaneously, rake away all fallen, blackened summer foliage from the soil beneath the bush. Hydrangea leaves frequently harbor fungal spores such as Cercospora leaf spot and powdery mildew that overwinter in leaf litter and reinfect emerging spring leaves.
Step 3: Build the Wire Mesh Cage & Insulate
For bigleaf, mountain, and oakleaf hydrangeas in cold climates, building a protective wire cage provides the gold-standard level of winter defense.

Carefully gather the dormant branches inward toward the center of the bush and loosely tie them together using soft natural twine. Drive four wooden or metal stakes into the ground around the outer perimeter of the plant, staying 6 inches beyond the outermost stems.
Unroll your chicken wire or galvanized wire mesh around the stakes to form a sturdy cylinder that rises at least 6 to 12 inches taller than the highest branch tips. Secure the wire mesh to the stakes with zip ties or wire. Gently fill the interior of the cage with dry oak leaves, pine needles, or clean straw, dropping the material around and between the stems without crushing or snapping the brittle branches.
Step 4: Wrap with Breathable Burlap & Apply Root Mulch Collar
Once your wire cage is filled with insulating organic material, wrap the entire exterior of the cage with two layers of heavy-duty natural burlap. Secure the burlap with jute twine wrapped horizontally around the top, middle, and base of the cylinder.
Finish by spreading a generous 3- to 4-inch layer of shredded hardwood bark or pine bark mulch in a 3-foot circular collar around the exterior base of the cage. This thermal barrier prevents frost heaving, protects dormant feeder roots from freeze-thaw stress, and stops freezing winds from whistling beneath the wire structure.
3 Master Horticulturist Secrets for Flawless Hydrangea Blooms
Master these insider botanical techniques to elevate your hydrangea care to professional nursery standards:
1. The “Oak Leaf Over Maple Leaf” Rule: When selecting leaf insulation for your wire cages, exclusively use dry oak leaves or pine needles. Deciduous leaves with high moisture content and thin cell walls (such as sugar maple, ash, or fruit tree leaves) rapidly collapse into a slimy, soggy, rotting mat under winter moisture. Oak leaves contain high levels of structural tannins and lignin, remaining dry, curled, and aerated all winter.
2. Never Uncover Too Early in Spring: The single most common mistake gardeners make is removing winter burlap on the first warm 60°F (15°C) day in March. Early removal triggers premature sap flow and swelling of green flower buds, which are then decimated by late April spring frosts. Keep burlap protection firmly in place until the danger of hard late-spring freezes (below 28°F / -2°C) has completely passed and buds are actively swelling.
3. Winterizing Potted Hydrangeas: Hydrangeas grown in containers lack the natural thermal mass of the earth. An uninsulated pot will freeze solid, killing root balls in Zone 6 or colder. Move container-grown hydrangeas into an unheated garage, shed, or basement once dormant in late November. Water sparingly once every 4 to 6 weeks only when the soil is completely dry to prevent root desiccation.
Companion Care & Autumn Border Pairings
Hydrangeas are the architectural heart of cottage borders and shade gardens. Coordinate your late-autumn maintenance with these seasonal companion care guides:

- Vining Trellis Companions: Climbing hydrangeas and clematis often share vertical garden walls; harmonize your routine with our masterclass on pruning and winterizing clematis across Groups 1, 2, and 3.
- Fall Perennial Texture Partners: Feathery grasses and hydrangeas form an iconic autumn landscape vignette; coordinate your border prep with our guide on how to winterize ornamental grasses and tie protective sheaves.
- Late-Season Border Anchors: Hardy stonecrops nestled in front of mopheads require distinct autumn crown care; review our insights on winterizing sedum and managing winter seedheads.
- Cottage Flower Bed Bedding: Peonies planted alongside hydrangeas need rigorous fall cutbacks to eliminate overwintering botrytis spores; read our protocol for cutting back peonies in fall for disease-free spring vigor.
Spring Unwrapping & The Pruning Schedule
When spring temperatures reliably stabilize above freezing in mid-to-late April, begin the gentle unwrapping process. Choose an overcast day to avoid sun-scorching tender pale buds that have been shielded in darkness all winter.
Remove the jute twine, strip away the burlap, and open the wire cage. Gently extract the dry leaves using your hands, taking extreme care not to snap swollen terminal buds. Rake the leaves into the surrounding flower bed to serve as natural organic mulch.
Wait until mid-May before making any pruning cuts on old-wood hydrangeas! Many stems that appear gray, dry, and lifeless in April will miraculously leaf out along their upper nodes once warm weather arrives. Only prune stems that remain brittle and hollow once all surrounding branches have fully leafed out.
Frequently Asked Questions
Do I need to wrap my ‘Limelight’ or panicle hydrangeas for winter?
No. Panicle hydrangeas (Hydrangea paniculata) are extraordinarily cold-hardy down to USDA Zone 3 (-40°F / -40°C) and bloom strictly on new wood produced in spring. They do not require burlap cages or bud protection. However, many gardeners prune off the large spent dried flower heads in late autumn to prevent heavy wet snow from accumulating on the blooms and snapping branches.
Can I use plastic tarps or bubble wrap to winterize my hydrangeas?
Never wrap hydrangeas in impermeable plastic sheeting, plastic tarps, or bubble wrap. Plastic traps moisture and condensation inside, creating an anaerobic, humid greenhouse effect on sunny winter days. This invites severe fungal mold, stem rot, and premature bud break that leaves tender tissue vulnerable to freezing.
What should I do if my hydrangea stems died back to the ground over winter?
If an unseasonal deep freeze kills the top growth of an old-wood hydrangea down to the root line, do not despair. The root system is typically hardy enough to survive and will push up dozens of vigorous new green shoots in spring. While traditional cultivars will not bloom that year, modern “re-blooming” cultivars (such as the Endless Summer® series) will still produce flowers on their new spring growth by late summer.
When should I apply winter fertilizer to hydrangeas?
Never fertilize hydrangeas in late summer or fall! Applying nitrogen-rich fertilizer after August stimulates a surge of tender, succulent green growth that has no time to harden off before the first frost, guaranteeing severe winter injury. Resume balanced fertilization only in spring after new leaves have emerged.
Pin This Hydrangea Winterizing Guide for Later
Dreaming of colossal, abundant hydrangea blooms next summer? Save this pin to your Pinterest Gardening or Shrub Care boards so you always have the old vs. new wood guide and burlap caging blueprint at your fingertips every autumn!