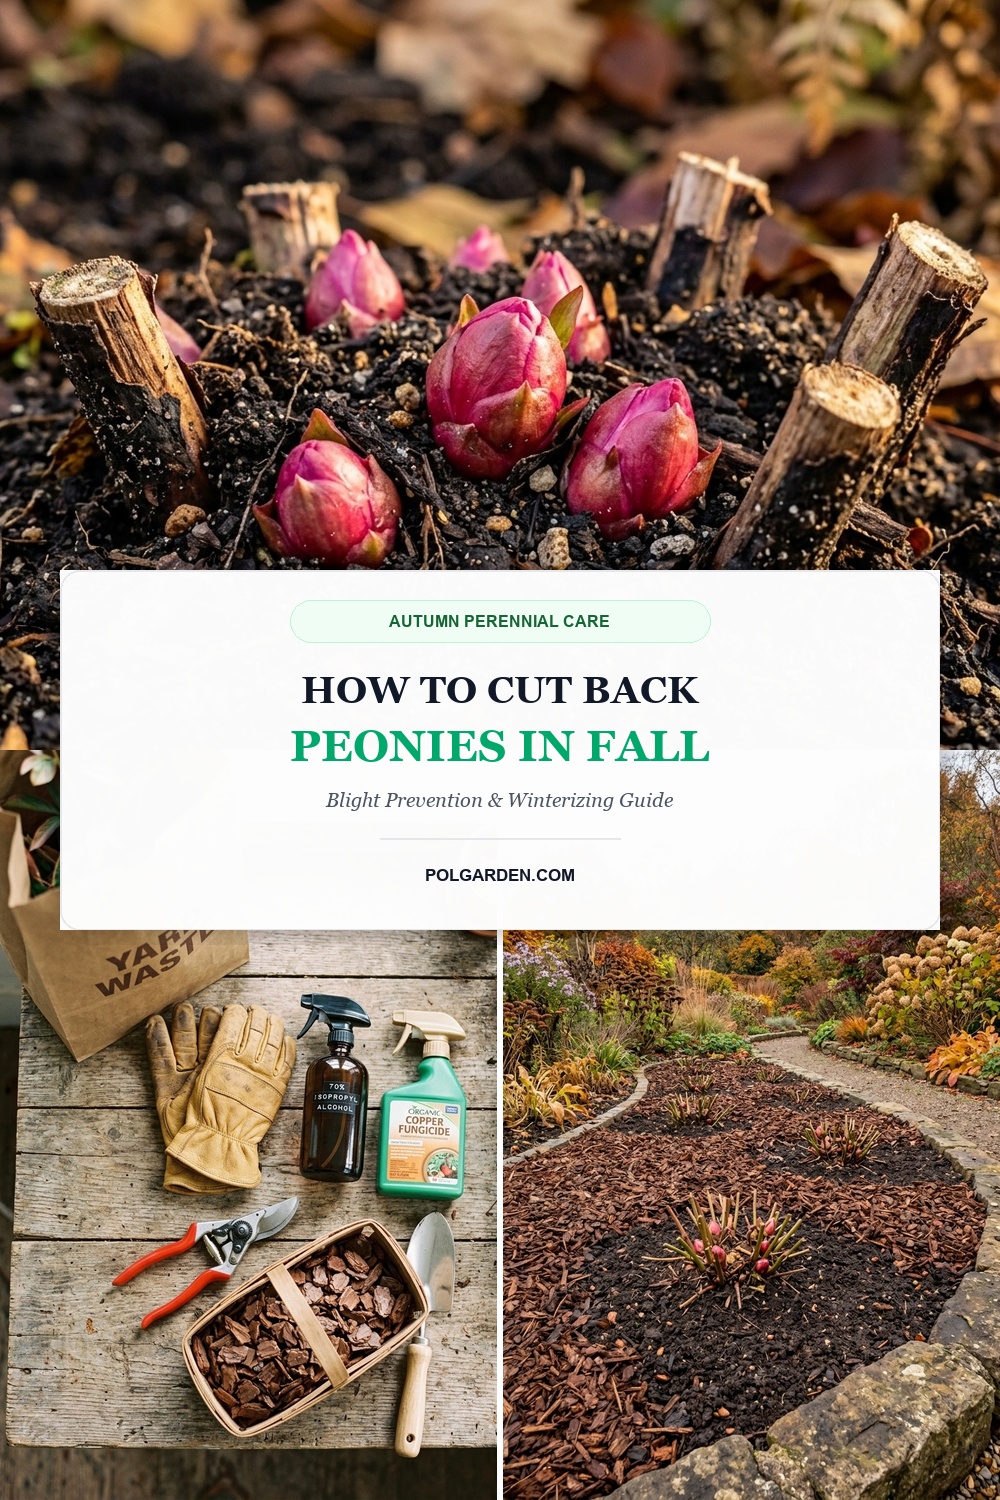
With their voluptuous bowl-shaped blossoms, intoxicating fragrance, and lush emerald foliage that endures long after their spectacular late-spring floral display, herbaceous peonies (Paeonia lactiflora) represent the crowning jewel of the traditional temperate perennial border. Capable of thriving for over a century in the exact same garden spot without dividing, peonies are remarkably resilient, cold-hardy perennials that actually require freezing winter chill to set their spring flower buds. However, autumn brings a critical vulnerability: as cooler nights and seasonal moisture arrive, dying peony foliage becomes the primary breeding ground for Botrytis paeoniae—the notorious fungal pathogen responsible for peony gray mold and spring bud blast. Fortunately, learning how to cut back peonies in fall is one of the easiest and most vital tasks in your seasonal garden routine: by timing the cutback after the first hard frost, pruning stems down to two inches, bagging all diseased foliage, and dialing in proper winter mulch depth, you safeguard your plants against fungal disease and guarantee a sensational burst of monster spring blooms.
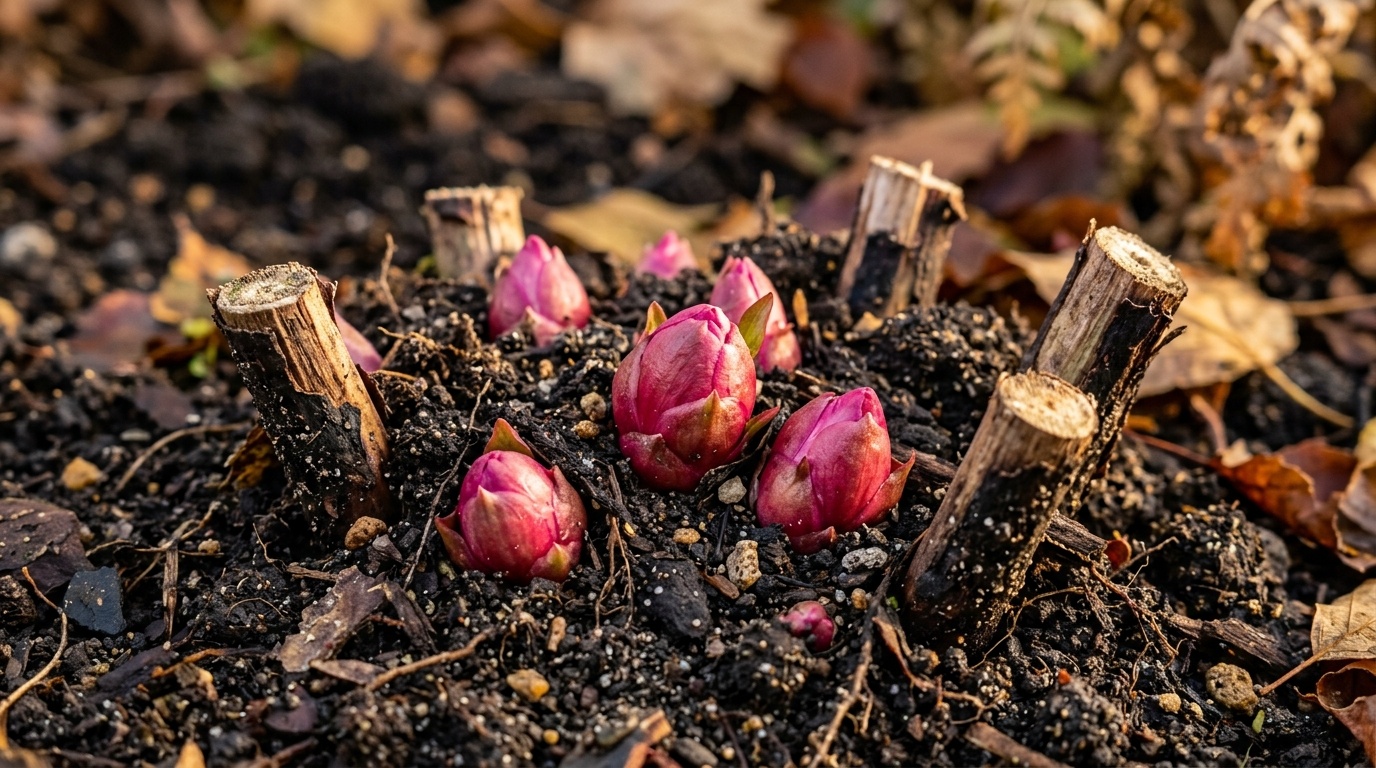
To cut back peonies correctly, gardeners must first distinguish between the three distinct types of garden peonies: herbaceous peonies, tree peonies, and intersectional (Itoh) hybrids. Standard herbaceous peonies naturally die back completely to the root crown each autumn; leaving their collapsed, moisture-soaked stems on the soil over the winter creates an incubator for fungal spores that reinfect emerging tender pink shoots next spring. In contrast, tree peonies (Paeonia suffruticosa) develop permanent, woody shrub branches and should never be cut to the ground in fall. Intersectional Itoh peonies fall in between, dying back to near ground level but retaining dormant growth eyes along the lower 4 to 6 inches of their semi-woody stems. By executing a simple four-phase autumn protocol—waiting for frost-induced dormancy, sanitizing tools, pruning clean stubs, and disposing of all top growth outside the compost pile—you protect your herbaceous crowns and establish ideal conditions for next season’s flower explosion, complementing autumn care for other border anchors in our perennial flower border design guide.
Why You’ll Love Cutting Back Peonies in Fall
- Complete Eradication of Botrytis Fungal Blight: Botrytis paeoniae spores overwinter almost exclusively on spent peony stems and dead leaves; removing and bagging this foliage in autumn physically breaks the disease cycle before spring.
- Vastly Improved Garden Sanitation & Spring Cleanliness: Cutting messy, collapsed foliage in autumn eliminates sodden, slimy leaf mats that smother spring-flowering bulbs like tulips and daffodils planted nearby.
- Elimination of Winter Pest Habitats: Wet, decaying peony leaf mounds provide ideal winter nesting shelters for destructive garden pests, including root-damaging voles and slug colonies.
- Prevents Accidental Damage to Spring “Eyes”: Peony growth buds (eyes) are brittle and easily snapped if you attempt to rake or clean up tough, fibrous dried stems in early spring; autumn pruning ensures the crown remains unobstructed.
Key Supplies & Pre-Winter Prep Station

Gather your autumn pruning kit before setting out into the perennial garden:
- Sharp Stainless Steel Bypass Hand Pruners: Bypass pruners create clean slicing shears without crushing the fibrous vascular bundles of the lower stem, unlike anvil pruners which pinch and bruise plant tissues.
- 70% Isopropyl Rubbing Alcohol Spray: Disinfecting cutting blades between individual peony clumps is essential to prevent accidentally spreading viral infections or latent fungal spores across your garden.
- Heavy-Duty Leather Gardening Gloves: Protects hands from stiff, woody autumn stems and coarse mulch materials during bed cleanup.
- Heavy-Duty Paper Yard Waste Bags: Diseased or spent peony foliage must be bagged for municipal disposal or landfill removal. Never place peony stems into your backyard compost bin!
- Organic Copper Fungicide or Sulfur Dust (Optional): If your peonies suffered from black spotting or botrytis mold during the summer, a light post-pruning soil drench around the crown creates a protective fungicidal barrier for winter.
- Coarse Shredded Pine Bark or Hardwood Mulch: Used strictly to ring the outer perimeter of the root zone, shielding roots from freeze-thaw cycles without burying the crown eyes.
Step-by-Step Walkthrough to Cut Back Peonies in Fall
1. Step One: Timing & Waiting for the First Hard Frost: The most critical timing rule when learning how to cut back peonies in fall is patience. Never cut peony foliage while it remains green and vigorous in late August or September. As long as leaves are green, they are actively manufacturing carbohydrates via photosynthesis, channeling energy reserves down into the fleshy storage roots to fuel next spring’s massive blossoms. Wait until autumn temperatures plunge and a hard killing frost (temperatures at or below 28°F / -2°C) causes the foliage to turn bronze, yellow, or collapsed brown. Once frost strikes, the plant enters true dormancy and the stems can be safely pruned.
2. Step Two: Precision Stem Pruning to 2-3 Inches: Disinfect your pruner blades with rubbing alcohol. Gather a handful of stems with one hand, and with the other, cut the stems cleanly 2 to 3 inches (5 to 7 cm) above the soil level. Crucial technique: Do not attempt to cut flush with the soil surface or yank the stems out of the ground! Cutting too close to the soil risks accidentally slicing through the delicate, brittle bright-pink growth eyes clustering at the root crown. Leaving a 2-inch clean stub marks the plant’s exact subterranean position and prevents accidental disturbance during winter garden chores.

3. Step Three: Strict Foliage Disposal (The Anti-Blight Law): Once all stems are sheared, rake up every fallen leaf, seed pod, and petiole fragment from the soil surface surrounding the crown. Place all clippings immediately into heavy-duty paper yard waste bags for disposal. Never add peony debris to your home compost pile. Backyard compost piles rarely sustain the sustained high internal temperatures (140°F to 160°F / 60°C to 70°C) required to kill microscopic Botrytis fungal sclerotia, meaning composting will simply spread blight to other garden beds next season.
4. Step Four: Winter Mulching & Eye Depth Protection: Established peonies in USDA Zones 5 through 8 require very little winter mulch because they are winter hardy down to Zone 3. In colder northern climates (Zones 3 and 4), or for newly planted peonies whose roots have not yet deeply anchored, apply a 2-to-3-inch layer of clean pine bark mulch, straw, or evergreen boughs only after the ground freezes solid in late November. This prevents “frost heaving,” where alternate freezing and thawing forces the crown upward out of the soil. When applying mulch, ensure it rings the root zone while leaving the central pink eyes virtually bare, a principle harmonized with our guide on best mulch for autumn garden soil protection.
3 Botanist Secrets for Healthy, Floriferous Peonies
1. Respect the 2-Inch Planting Depth Rule (Why Peonies Fail to Bloom): The number one reason mature peonies produce lush green foliage but zero flower buds is being planted or mulched too deeply. Herbaceous peony crown eyes must sit exactly 1.5 to 2 inches (3.8 to 5 cm) below the soil surface in cold climates (Zones 3 to 7), and only 1 inch below the surface in warm climates (Zone 8). If you pile thick layers of mulch or compost directly over the center of the crown in fall, the eyes are pushed too deep to receive the required chilling hours, halting bloom initiation entirely. Keep the crown center open to the cold.
2. Tree Peonies vs. Itoh Hybrids: Different Pruning Rules: Never cut tree peonies (Paeonia suffruticosa) down in autumn! Tree peonies develop true woody trunks that take decades to mature; pruning them to the ground destroys all flower buds for the coming year. Only prune dead or broken branches on tree peonies in late winter. For intersectional Itoh peonies (a cross between herbaceous and tree varieties), wait until late fall after a hard freeze, then cut stems down to roughly 4 to 6 inches, cutting just above visible woody growth eyes on the lower stems.
3. Apply an Autumn Dormant Copper Drench for Chronic Blight: If your peonies suffered from black spotting on leaves, withered flower buds, or gray velvety mold on stems during the wet spring months, your soil is heavily seeded with fungal spores. Immediately after cutting back stems in autumn, spray the soil surface directly over and around the crown with an OMRI-listed liquid copper fungicide or dust with elemental sulfur. This creates a protective chemical seal that destroys dormant spore bodies before winter snow settles.
Ideal Winter Bed Setup & Soil Care

Setting up your perennial bed for winter ensures robust crown vitality through freezing weather:
- Soil Moisture Balance: Peonies dislike wet, waterlogged winter soil, which induces anaerobic root rot. Ensure your planting bed offers excellent drainage. If your autumn has been unusually dry, give crowns one thorough, deep soaking in October before the soil freezes to hydrate root starches.
- Evergreen Bough Winter Blankets: In areas with harsh, dry sub-zero winds and intermittent snow cover, placing discarded evergreen branches (such as pruned pine or spruce boughs) over the crowns provides ideal winter insulation without trapping suffocating moisture.
- Spring Mulch Removal Schedule: As soon as ground snow melts and temperatures begin to warm in early March, gently pull back any winter mulch covering the crown eyes. Exposing the pink buds to early spring sunlight prompts vigorous, stocky stem emergence.
- Soil pH & Nutrition: Peonies prefer neutral to slightly alkaline soil (pH 6.5 to 7.0). Autumn is the ideal window to apply a light dusting of bone meal or organic rock phosphate around the drip line, giving roots slow-release phosphorus to develop sturdy stems for spring.
Spring Awakening & Staking Protocol
As spring soils warm in late March and April, the dormant pink eyes will swell and rocket upward into thick, succulent reddish-bronze stems:
- Early Staking Installation: Install peony grow-through hoop rings, circular wire grids, or decorative metal supports when shoots are only 6 to 8 inches (15 to 20 cm) tall. Heavy double varieties (like ‘Sarah Bernhardt’ or ‘Festiva Maxima’) produce massive, rain-soaked blossoms that will topple to the mud if not supported early.
- Proactive Spring Fungicide Spray: If botrytis blight has been a historic issue in your garden, begin spraying emerging shoots with organic copper or neem oil as soon as stems reach 4 inches tall, repeating every 14 days until flower buds open.
- Ant Mutualism Observation: Do not panic when you see dozens of ants swarming over your peony flower buds in May! Ants do not harm peonies; they are attracted to the sweet nectar secreted by the exterior bud sepals, helping to loosen the sticky bud scales without causing damage.
Frequently Asked Questions
What month should I cut back peonies in fall?
Peonies should typically be cut back in October or early November across most temperate climates (USDA Zones 3 through 8). The key indicator is weather, not the calendar: wait until after the first hard killing frost has turned the foliage yellow, bronze, or withered before pruning.
Can I put peony clippings into my compost bin?
No. Peony stems and foliage should never be composted in backyard piles. Peony leaves frequently harbor microscopic spores of Botrytis paeoniae (peony blight), which survive typical home composting temperatures and will reinfect your garden beds when the compost is spread.
Will peonies bloom if you don’t cut them back in fall?
They may still bloom, but leaving dead foliage standing through winter significantly elevates the risk of severe fungal blight, which turns spring shoots black and causes flower buds to abort (bud blast). Furthermore, sodden dead foliage creates an unsightly mess that provides shelter for slugs and rodents.
Do tree peonies get cut down to the ground in fall?
No, never! Tree peonies (Paeonia suffruticosa) are woody shrubs that produce their flower buds on the previous season’s woody branches. Cutting a tree peony to the ground will destroy the plant’s architecture and eliminate all flowers for the coming year.
Save This Winter Garden Guide for Later
Love this guide? Save this pin to your Pinterest gardening board so you have the step-by-step peony cutback and blight prevention blueprint ready every autumn!