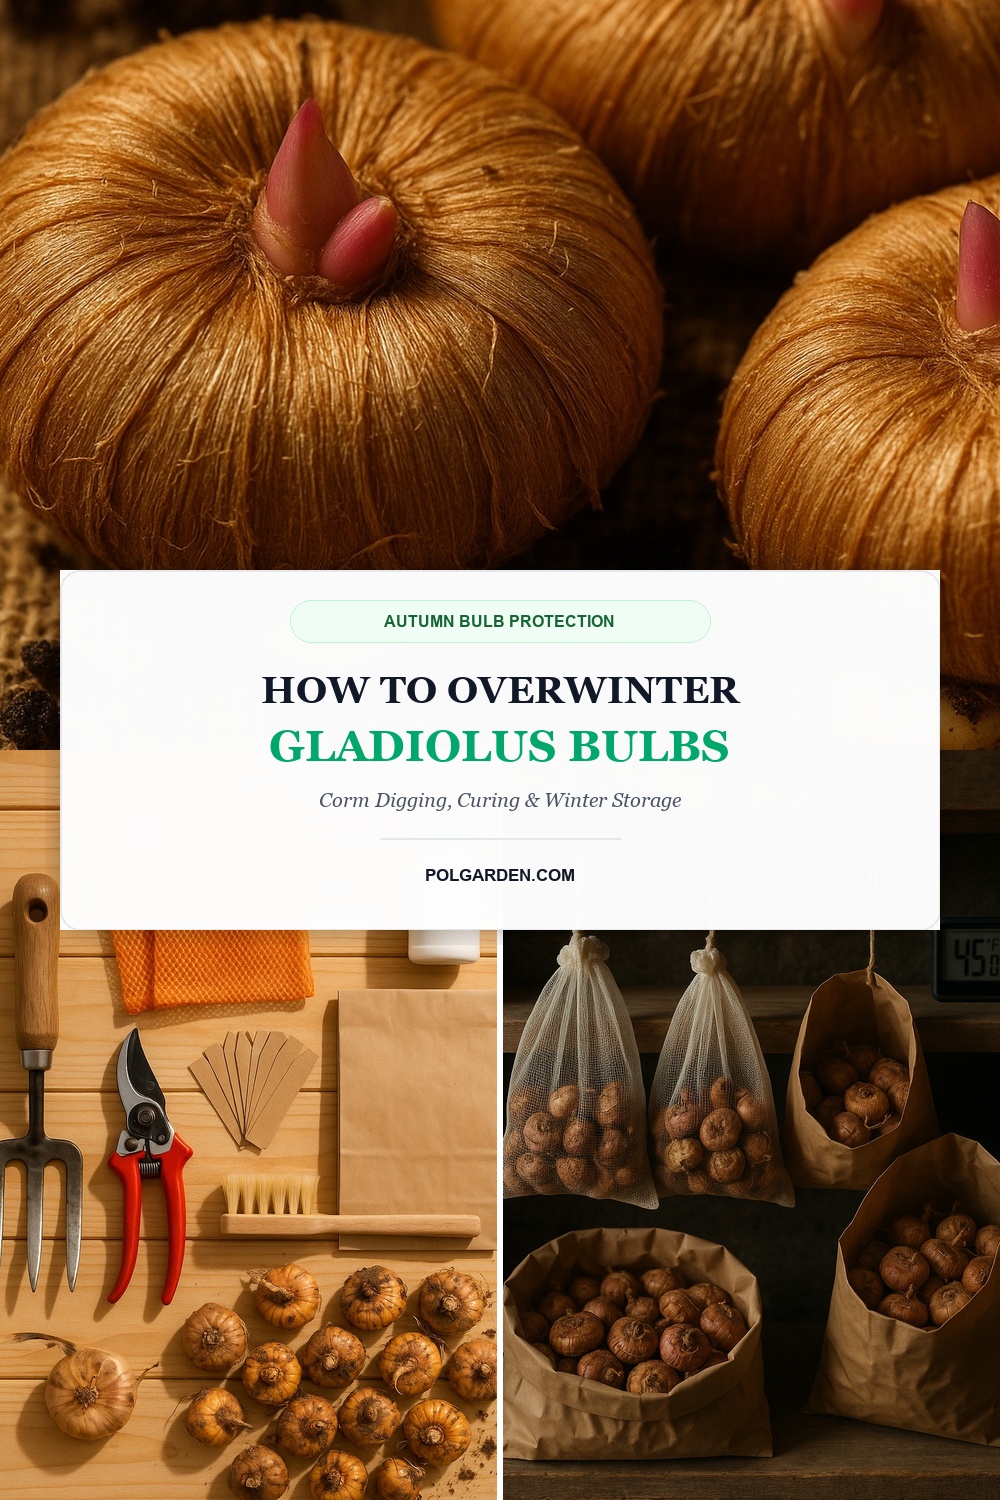
With their majestic towering flower spires, crisp sword-shaped vertical foliage, and breathtaking spectrum of vibrant ruffled petals ranging from velvety burgundies to brilliant corals and pure pastels, gladioli (Gladiolus hybrids) stand as the undisputed queens of summer cut-flower gardens. Yet despite their stately garden vigor, gladioli are tender perennials originating from sub-tropical South Africa and the Mediterranean basin, powered by solid underground storage organs called corms that cannot survive freezing soil. In cold temperate zones where autumn chills freeze the topsoil solid, leaving gladiolus corms unprotected in the ground turns them into spongy, rotten mush before spring arrives. Fortunately, learning how to overwinter gladiolus bulbs is one of the easiest, cleanest, and most reliable autumn gardening rituals: by lifting, warm air-curing, and snapping away the spent mother corm, you can preserve your favorite cut-flower cultivars indefinitely while multiplying your blooming stock year after year.
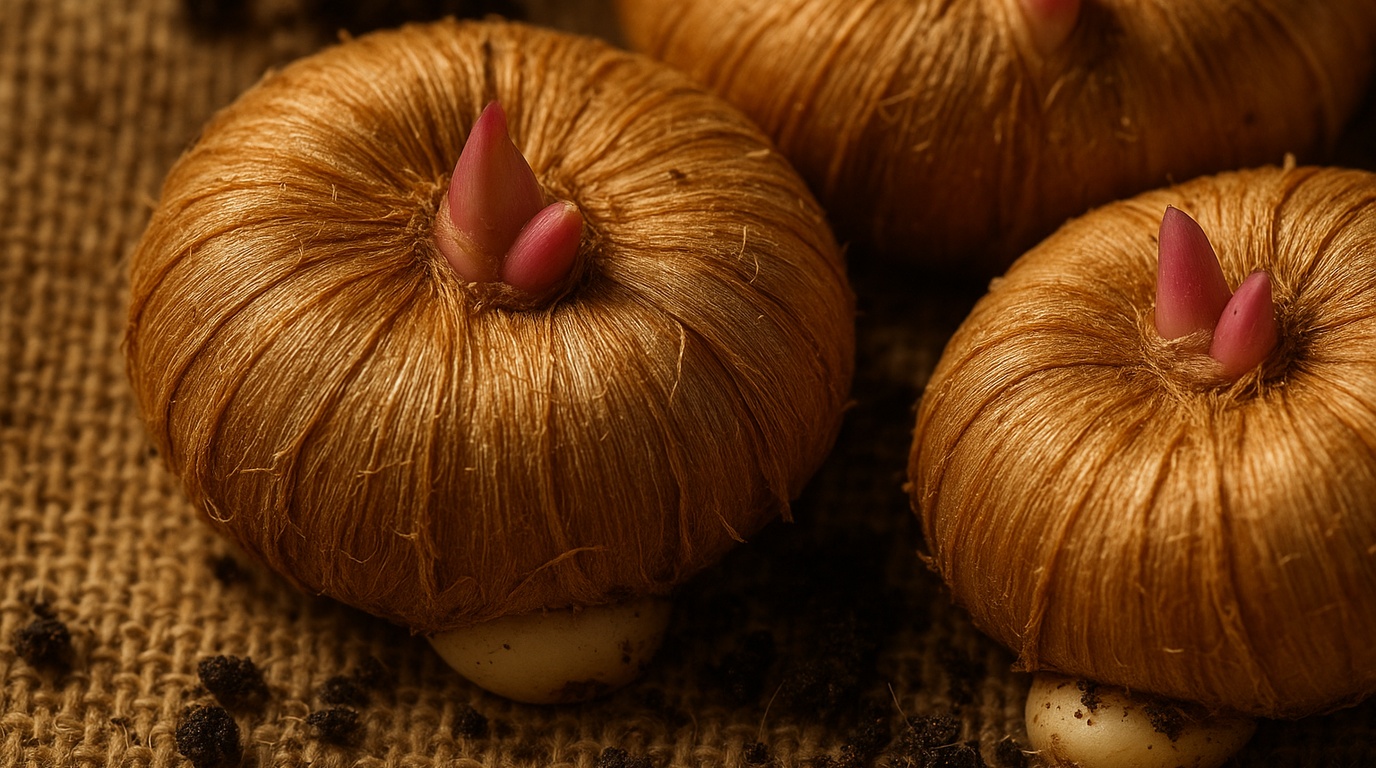
To succeed with gladioli, gardeners must understand the unique lifecycle of the corm. Unlike true layered bulbs (such as tulips or daffodils), a gladiolus corm is a swollen, solid embryonic stem base that expends all its stored energy during the summer to produce foliage and towering flower spikes. As the old “mother” corm shrivels away beneath the plant, a brand-new, vigorous “daughter” corm forms directly on top of it, surrounded by dozens of tiny pea-sized baby cormels. In warm USDA Hardiness Zones 8 through 11, gladioli can remain buried outdoors all year beneath a light insulating layer of mulch. However, across USDA Zones 3 through 7, winter ground freezes penetrate deep enough to rupture cellular membranes, killing the tender new corms. By executing a simple four-phase autumn protocol—digging roughly six weeks after flowering or following the first light frost, air-curing at room temperature, discarding the spent mother corm, and storing in breathable mesh bags between 40°F and 50°F (4°C to 10°C)—you ensure explosive flower spikes every single summer.
Why You’ll Love Overwintering Gladiolus Bulbs
- Daughter Corms Grow Larger Spikes Each Year: Fresh daughter corms that mature in healthy garden soil often grow larger in diameter than the store-bought corms you initially planted, fueling taller spires with more open florets.
- Substantial Annual Cost Savings: Planting 50 to 100 gladioli for continuous summer bouquet cutting costs $40 to $80 each spring; saving your corms makes cutting gardens virtually free year after year.
- Zero Wet Soil or Messy Packing Medium Required: Unlike moist storage required for dahlias or cannas, dormant gladiolus corms prefer dry, breezy conditions and store cleanly in simple paper sacks or hanging mesh onion bags.
- Exponential Free Plant Multiplication: Each lifted gladiolus corm produces multiple small baby cormels around its base; planting these in nursery rows yields hundreds of free blooming-sized corms within two seasons.
Key Supplies & Pre-Winter Prep Station

Set up your autumn bulb harvesting station in mid-autumn before severe soil freezes arrive:
- Stainless Steel Hand Spading Fork: A hand fork is far safer than sharp spades, allowing you to loosen garden soil and lever under corm clusters without slicing through the bulb flesh.
- Sanitized Bypass Pruners: Disinfect shears with 70% isopropyl alcohol between rows to prevent transmitting any viral pathogens or fungal spores when cutting foliage.
- Breathable Mesh Onion Bags or Nylon Stockings: Open mesh netting provides unmatched 360-degree air circulation around dormant corms, preventing moisture accumulation and fungal rot.
- Brown Kraft Paper Lunch Bags: Ideal for storing individual color varieties separately, allowing breathable airflow while keeping cultivars organized. Never use airtight plastic bags, a rule also critical when overwintering caladium bulbs.
- Organic Sulfur Dusting Powder or Neem Dust: Protects freshly separated corm bases against fungal rot and eliminates overwintering gladiolus thrips.
- Waterproof Kraft Nursery Labels: Keep varieties tagged by flower color and height so you can design harmonious flower borders and cutting rows in spring.
Step-by-Step Walkthrough to Overwinter Gladiolus Bulbs
1. Step One: Timing & Waiting for Foliage to Yellow: Do not rush to harvest gladioli immediately after flowers fade in late summer. For 6 to 8 weeks after blooming, the green sword-like foliage acts as an active solar factory, pumping carbohydrates and starches down into the newly forming daughter corm. Wait until late September or October when the foliage begins to naturally turn yellow and wither, or until the first light autumn frost touches the garden. Dig corms immediately after this light frost, and always before nighttime temperatures plunge below 28°F (-2°C).
2. Step Two: Gentle Lifting & Stem Trimming: Insert your spading fork into the ground a full 6 to 8 inches away from the stalk base. Gently pry upward to loosen the root zone, then slowly lift the entire plant from the soil by grasping the lower stem. Gently shake off loose crumbs of dirt. Using your sanitized bypass pruners, snip the foliage stalks down to roughly 1 to 2 inches (2.5 to 5 cm) above the top of the corm. Crucial rule: Do not attempt to detach the spent mother corm or peel away papery outer husks at this stage; attempting to separate fresh corms now will tear the bottom plate and invite fatal rot.

3. Step Three: The Critical 2-to-3 Week Warm Curing Phase: Spread the lifted corms in a single layer on newspaper, cardboard trays, or wire drying screens in a warm, dry, frost-free location with excellent ventilation (such as a garage, porch, or utility room) between 65°F and 75°F (18°C to 24°C). Allow them to air-cure undisturbed for 2 to 3 full weeks. During this vital curing period, the outer papery husk toughens into a dry protective tunic, remaining soil dries into dust that brushes off effortlessly, and the junction between the old and new corms cures and dries completely. Never wash corms with water before curing, as excess moisture trapped under husks breeds fungal mold.
4. Step Four: Snapping the Mother Corm & Packing for Storage: Once curing is complete, pick up each corm. Place your thumb against the shriveled, dark bottom “mother” corm and push sideways: it will snap cleanly away from the base of the plump, creamy daughter corm with a satisfying “pop,” leaving a clean, dry circular scar. Discard the withered mother corm into the compost. If you wish to multiply your stock, collect the small baby cormels clustering around the base and store them in a small paper envelope. Dust the base of the cleaned corms lightly with sulfur powder, place them into breathable mesh onion bags or open paper sacks, and store in a cool, dark, dry space between 40°F and 50°F (4°C to 10°C). This storage environment harmonizes with protocols for storing dahlia tubers and overwintering begonia tubers.
3 Botanist Secrets for Gladiolus Corm Longevity
1. The “Clean Snap” Separation Rule: Gardeners who try to pry off the old corm right after digging inevitably rip a jagged hole into the basal plate of the new corm. When left to cure for 3 weeks at room temperature, a natural abscission layer develops between the two corms. The spent corm dries into a hard puck that detaches effortlessly with zero wounding to the daughter corm, creating an impenetrable natural barrier against soil-borne pathogens.
2. Preventing Winter Gladiolus Thrips: Gladiolus thrips (Thrips simplex) are tiny insects that overwinter beneath corm husks, feeding on dormant tissue and producing stunted, streaked flowers in summer. To guarantee 100% thrips-free storage, dust corms with organic sulfur powder before bagging. Alternatively, professional growers soak dormant corms for 15 minutes in warm water heated to exactly 110°F (43°C) right before spring planting, which instantly eradicates any lurking pests without harming the corm.
3. The Baby Cormel “Nursery Bed” Hack: Don’t throw away those tiny, marble-sized baby cormels! Store them over winter in paper envelopes. In spring, soak them in lukewarm water for 24 hours to soften their rock-hard shells, then plant them 2 inches deep in a designated garden nursery row. In year one, they will produce grassy foliage and expand into medium-sized corms; in year two, they will produce full-sized blooming spikes, giving you an endless supply of free cut flowers.
Ideal Winter Storage Setup & Cellar Care

Creating the correct winter micro-climate ensures corms remain dormant, plump, and rot-free through the cold months:
- Optimal Temperature Range (40°F to 50°F / 4°C to 10°C): Temperatures within this bracket keep corms in suspended animation. Storage above 55°F causes premature sprouting and moisture loss, while temperatures dipping below 32°F (0°C) cause fatal freeze necrosis.
- Breathable Airflow is Vital: Hang mesh bags from basement joists or shelf hooks so air flows freely around every corm. If using cardboard boxes, limit layers to two corms deep and leave box lids ajar.
- Keep Dry, Not Damp: Unlike elephant ears or cannas that require peat moss cushioning to avoid desiccation, gladiolus corms have thick fibrous husks and store best in dry conditions with around 50% relative humidity.
- Monthly Quick Inspection: Check your bags once a month in winter. Discard any corm that feels soft, spongy, or shows fuzzy gray mold before it contacts healthy neighbors, exactly as recommended when overwintering elephant ears.
Spring Awakening & Succession Planting Protocol
To enjoy non-stop gladiolus flower spikes for bouquets from July straight through October frost, master the art of succession planting:
- Pre-Planting Inspection in Early Spring: Remove corms from storage in mid-April. Check for firm, healthy cream or amber tissue and small pink growth eyes swelling at the crown. Discard any shriveled or diseased corms.
- Planting Depth & Spacing: Plant corms 4 to 6 inches deep (pointed side up, flat root scar down) spaced 4 to 6 inches apart in fertile, well-draining garden soil in full sun. Planting deeply (at least 5 inches) anchors the heavy stems and prevents towering flower spikes from toppling over in summer thunderstorms.
- The 2-Week Succession Secret: Instead of planting all your corms on the same weekend in May, plant a batch of 15 to 20 corms every two weeks from mid-April until early July. This staggering guarantees a fresh flush of blooming spires every single week for three continuous months, perfectly complementing spring routines for planting fall bulbs for spring flowers.
Frequently Asked Questions
Can gladiolus bulbs survive winter in the ground?
Gladiolus corms can survive outdoors year-round in USDA Zones 8 through 11, especially when protected with 4 to 6 inches of dry straw or bark mulch. In USDA Zones 3 through 7, sub-freezing soil will kill the corms, requiring autumn digging and indoor storage.
When is the best time to dig up gladiolus bulbs in the fall?
The best time to dig gladiolus corms is in mid-autumn, approximately 6 to 8 weeks after flowering has ended, or within a few days after the first light autumn frost turns the leaves yellow or brown. Always harvest before hard ground-freezing temperatures arrive.
Should I remove the old corm from the bottom of the new one?
Yes, but only after a 2-to-3-week curing period. The old shriveled mother corm at the bottom must be snapped off and discarded; planting the old corm again will harbor diseases and reduce blooming vigor.
How do I store gladiolus bulbs over the winter?
After curing and removing the old mother corm, dust the corms with organic sulfur powder and store them in breathable mesh bags, nylon stockings, or open paper sacks in a cool, dark, dry area between 40°F and 50°F (4°C to 10°C) with good ventilation.
Save This Winter Garden Guide for Later
Love this guide? Save this pin to your Pinterest cut flower gardening, bulb care, flower borders, or autumn garden protection board so you have the 4-step gladiolus corm digging, curing, and winter storage blueprint ready whenever autumn frost arrives!