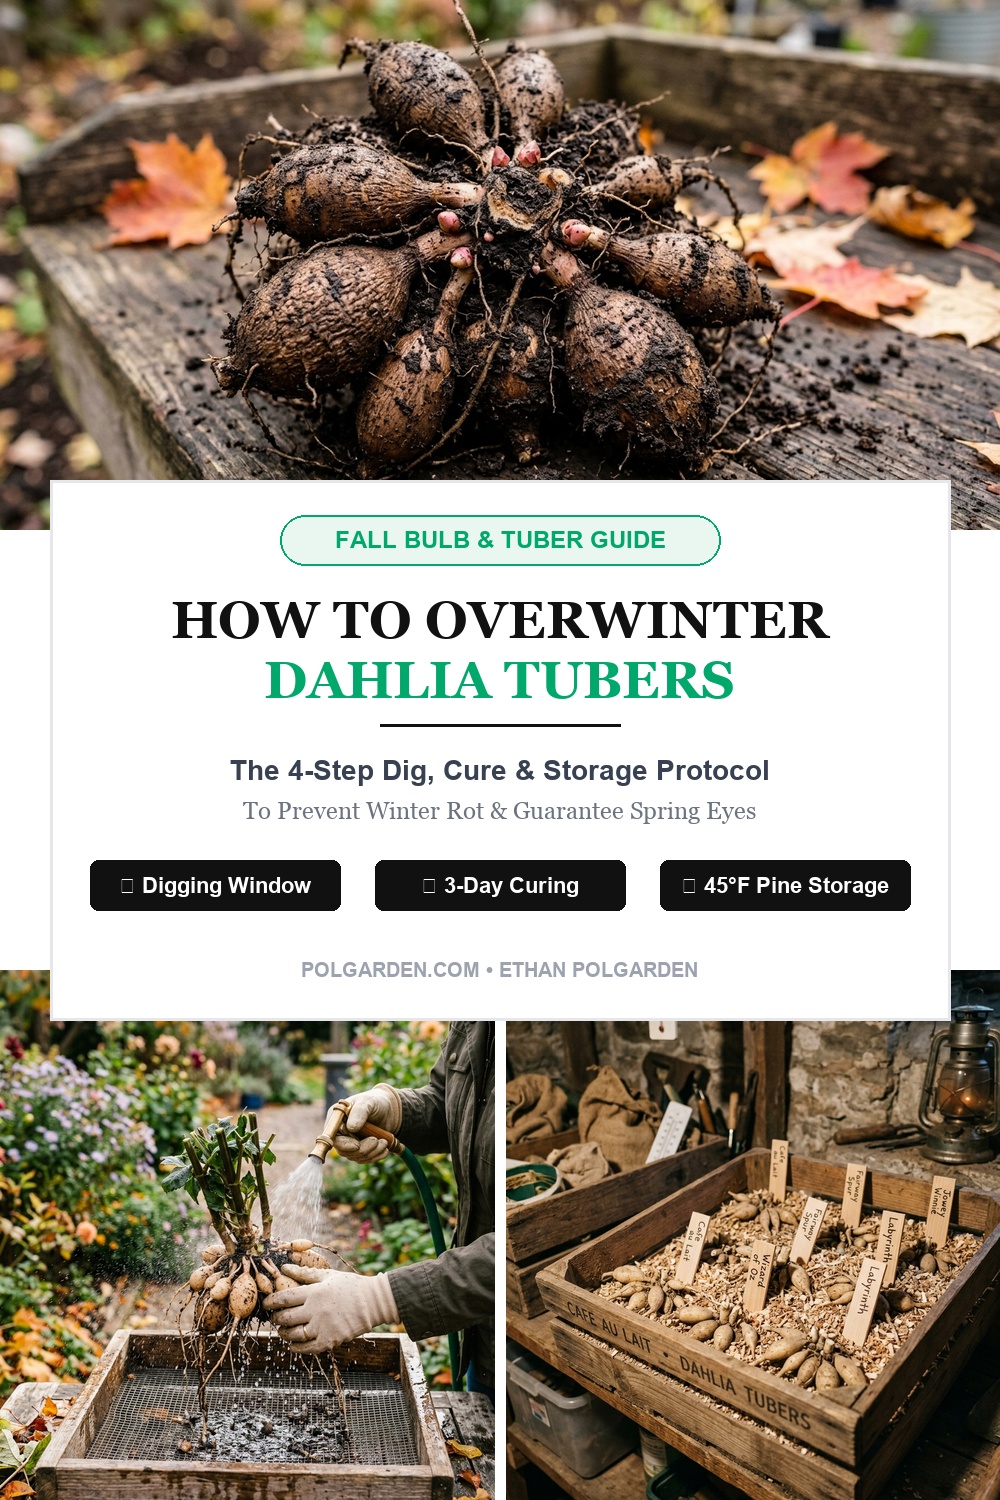
When the first crisp autumn frost blackens your lush dahlia foliage, it isn’t a tragic farewell—it is nature’s definitive biological signal that your tubers are packed with energy and ready for winter preservation. Leaving these tender Mexican natives in frozen winter soil is a death sentence in USDA Hardiness Zones 7 and colder, where freezing ground temperatures turn prized heirloom tubers into rotten, watery mush before spring ever arrives. Overwintering dahlia tubers is the single highest-leverage horticultural skill for flower gardeners, transforming a single ten-dollar investment into a multiplying floral dynasty year after year.
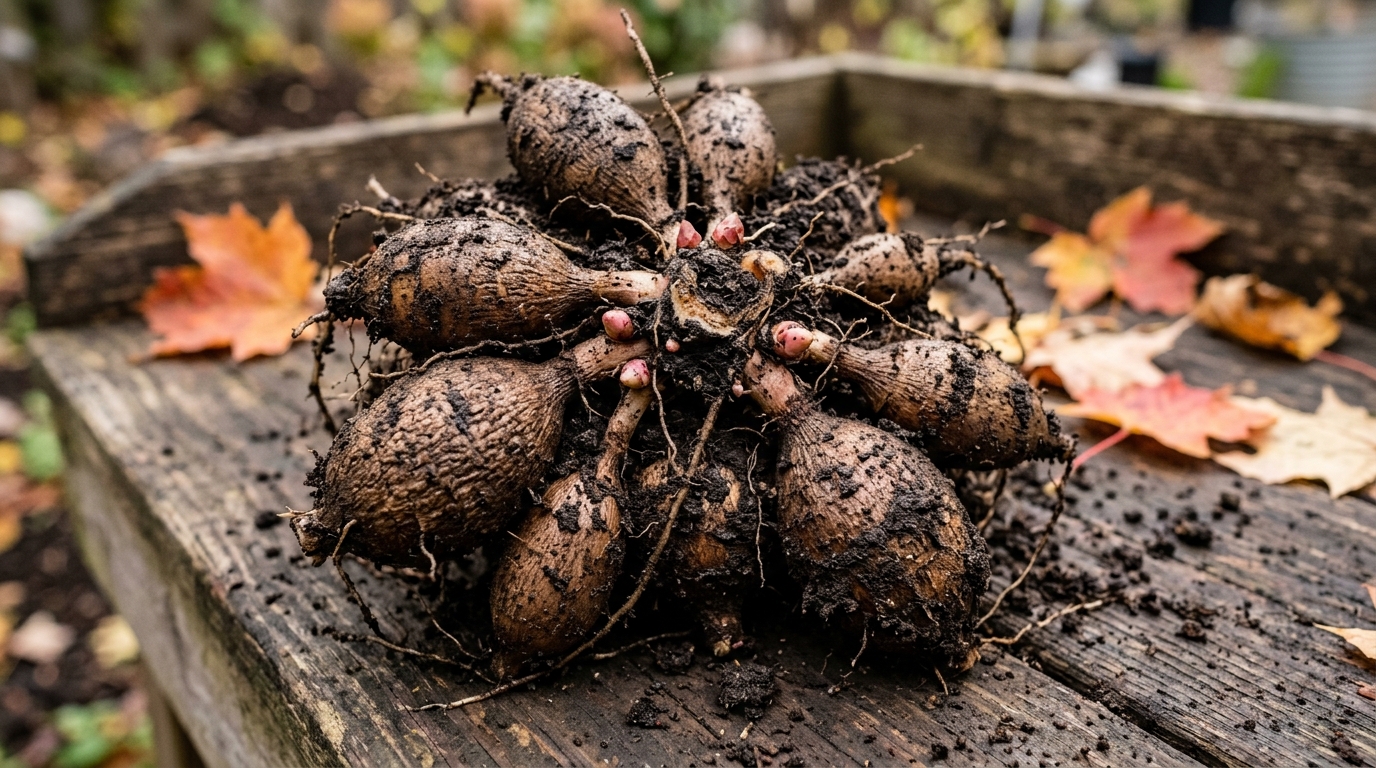
Unlike hardy spring bulbs like tulips and daffodils that require sub-freezing soil dormancy to initiate flower buds, dahlia tubers are botanically geophytes that store carbohydrates and water in subterranean root swellings. When autumn temperatures dip below 32°F (0°C), the above-ground stems, leaves, and blooms quickly collapse as cell walls rupture. This freezing trigger sends a final surge of sugars and starches down into the root cluster, setting the dormant growth “eyes” along the central crown. Successfully navigating the transition from outdoor garden beds to indoor winter storage requires understanding four critical phases: timely digging, gentle cleansing, crucial curing, and stable, breathable moisture control.
Why You’ll Love Overwintering Your Own Dahlias
- Exponential Floral Multiplier: A single healthy tuber clump planted in spring routinely yields 4 to 8 viable divided tubers by autumn, allowing you to fill expansive cut-flower borders for free.
- Complete Variety Preservation: Safeguard hard-to-find heirloom dinnerplate and ball varieties (like ‘Café au Lait’, ‘Labyrinth’, and ‘Wizard of Oz’) that regularly sell out within minutes at commercial nurseries.
- Zero Winter Frost Rot: Eliminates the heartbreak of soggy, frozen spring soil destroying expensive investments before the growing season starts.
- Jump-Started Spring Growth: Overwintered tubers can be pre-sprouted in warm indoor trays by late March, giving you robust, flowering plants up to 4 weeks earlier in summer.
Essential Supplies & Tuber Anatomy
Harvesting and storing dahlia tubers requires precision handling. Unlike sturdy potatoes, dahlia storage organs do not have buds along their body; every future stem must emerge from an “eye” situated strictly on the crown ring adjacent to the main stalk. Damaging the slender neck between the tuber body and the crown renders the entire root completely blind and useless for next season.

- Broadfork or Spading Fork: Far superior to flat-blade shovels. Broad tines penetrate compacted autumn soil without slicing through hidden, radiating tubers.
- Bypass Hand Pruners: Must be razor-sharp and sterilized with 70% isopropyl alcohol to slice through thick, fibrous woody stems without crushing vascular tissue.
- Horticultural Pine Shavings or Coarse Vermiculite: The premier storage medium. Medium-grade animal bedding pine flakes wick away excess moisture while cushioning clumps against air pockets. Avoid cedar shavings, which contain natural oils that can suppress eye dormancy.
- Organic Sulfur or Ground Cinnamon Powder: Natural anti-fungal powders dusted across cut stem surfaces and dividing wounds to seal vascular rings and repel botrytis mold spores.
- Waterproof Wooden or Plastic Labels: Never trust your memory. Tie waterproof tags directly to the main neck of each tuber cluster with garden twine immediately after lifting.
Step-by-Step Harvesting & Overwintering Walkthrough
1. Timing the Harvest (The Frost Trigger): Wait until the first light frost turns the top foliage brown and black. If your climate experiences prolonged mild autumns without frost, monitor the calendar: tubers should be harvested by late October or early November as soil temperatures dip below 50°F (10°C). Allow the blackened plant to stand undisturbed for 3 to 7 days before digging; this short rest period stimulates the crown to firm its outer skin and settle dormant eyes.
2. Stem Cut & Perimeter Loosening: Cut the main hollow stalk down to 4 to 6 inches above soil level using clean pruners. Do not cut completely flush with the ground, as this remaining stalk serves as your primary handling handle and label anchor. Next, step out 12 to 14 inches away from the central stalk around the entire circumference. Drive your spading fork vertically straight down into the soil, gently rocking the handle backwards to crack the soil crust without piercing the tuber perimeter.

3. Lifting & Cleansing: Place your fork tines beneath the root zone and hoist upward with one hand while gently guiding the cluster by the base of the central stalk with your other hand. Never yank or pull hard on the stem. Once lifted, carry the cluster to a wire mesh curing frame or outdoor table. Use a garden hose set to a gentle cone or shower pattern to wash away heavy soil clods. Clean tubers allow you to clearly inspect for signs of rot, nematode gall, or stem rot before long-term storage.
4. Inverted Drainage & Curing: Stand the washed clump upside down on wire mesh or cardboard so the hollow center of the cut main stalk faces downwards. Dahlias have hollow, straw-like stems that trap standing water; leaving water trapped inside during storage is the number one cause of crown rot. Allow the tubers to cure in a dry, frost-free garage or shed (55–65°F / 13–18°C) for 2 to 3 full days. The outer tuber skin will toughen slightly, but do not let them dehydrate into wrinkled raisins.
3 Master Secrets for Zero Winter Rot
1. The Upside-Down Stem Drainage Rule: Never store a dahlia tuber right-side-up immediately after digging. The hollow main stem can siphon up to two tablespoons of trapped rinse water directly into the vascular heart of the crown. Keeping clumps inverted for the initial 48 hours drains every drop of internal moisture, dramatically reducing winter fungal proliferation.
2. Fungicidal Dusting on Cut Wounds: If you divide your tubers in autumn or trim broken roots, immediately dip all wet, exposed white fleshy wounds into dry sulfur powder or kitchen-grade ground cinnamon. Cinnamon contains cinnamaldehyde, a potent natural organic anti-fungal agent that forms an impenetrable antiseptic barrier against subterranean molds.
3. Fall Clump Storing vs. Spring Dividing: While professional cut-flower growers often divide in the fall when tuber eyes are fresh, home gardeners achieve a 30% higher winter survival rate by storing the entire clump intact through winter. Intact clumps protect individual necks from bending and hold internal humidity much more effectively. Wait until late March when pink sprouts begin swelling to divide clumps safely with zero guesswork.
Ideal Storage Environments & Packing Protocol
Storage success hinges on maintaining the delicate balance between two opposing hazards: high humidity that triggers gray mold (Botrytis), and dry air that causes shriveling and desiccation.

- Temperature Sweet Spot (40°F to 48°F / 4°C to 9°C): Temperatures below 32°F will freeze tubers solid, turning cell walls to mush. Temperatures above 50°F break dormancy prematurely, triggering weak, leggy white sprouts in total darkness. Unheated basements, crawlspaces, attached insulated garages, or fruit cellars are ideal.
- Packing Layer Technique: Line the bottom of a cardboard banker box or plastic crate with 2 inches of dry pine shavings or coarse vermiculite. Place dahlia clumps inside without touching one another. Cover completely with more packing medium, ensuring all tuber flesh is shielded from direct ambient air.
- Ventilation Allowance: If using plastic storage tubs, drill 1/4-inch ventilation holes around the upper sides and leave the lid slightly ajar to allow natural carbon dioxide and moisture exchange. Air-tight containers cause rapid condensation and catastrophic mold rot within 30 days.
Mid-Winter Inspection & Emergency Surgery
Never pack dahlia tubers in November and ignore them until spring. Check your storage containers once a month (around Christmas, late January, and late February) to perform simple course corrections:
- If Tubers Are Shriveling: If roots feel leathery or look deeply wrinkled, your storage medium is too dry. Use a spray bottle filled with clean water to lightly mist the upper layer of pine shavings—do not spray the tubers directly. The shavings will release gradual ambient humidity.
- If You Spot Soft Spots or White Fuzzy Mold: Immediately isolate the affected clump. Use a sanitized razor or craft knife to slice away all soft, discolored tissue down to clean, crisp white flesh. Dust the fresh surgical wound heavily with sulfur powder, air-dry for 6 hours, and repack in fresh, dry medium away from the main batch.
Spring Awakening & Potting Up Protocol
By late March or early April (4 to 6 weeks before your average last spring frost date), bring your storage boxes into a warm, bright room (65–70°F / 18–21°C). Inspect each clump for active “eyes”—small pinkish-purple or pale green buds swelling along the crown ring.
If you prefer to multiply your stock, use a sterile floral knife to separate the clump into individual tubers, ensuring every single tuber retains at least one swollen eye and an unbroken neck. Pot individual tubers horizontally into 1-gallon nursery pots filled with moist seed-starting mix, positioning the eye pointing upward under 1 inch of soil. Set them under bright grow lights or inside a sunny DIY cold frame greenhouse to establish strong fibrous root systems well before outdoor soil warms.
Frequently Asked Questions
Can I leave dahlia tubers in the ground over winter?
Only if you garden in USDA Zones 8 through 11 where the soil never freezes below 28°F (-2°C). In Zones 8, you must cut stems back and apply an 8-inch blanket of clean straw or shredded leaves beneath a waterproof tarp to keep out winter rains. In Zones 7 and colder, digging is mandatory.
Can I store dahlia tubers in peat moss?
Yes, but handle with care. Peat moss is an effective moisture buffer, but dry peat dust can be irritating to inhale and, once completely dehydrated, is difficult to re-hydrate without becoming soggy. Coarse horticultural vermiculite or medium pine animal bedding shavings are cleaner and provide superior airflow.
What should I do if a tuber breaks off without an eye?
Discard or compost it. Unlike sweet potatoes or dahlias roots with adventitious buds, a broken dahlia tuber lacking a portion of the original crown ring cannot generate sprouts, even if the root itself remains plump and firm all winter.
Pin This Dahlia Overwintering Guide for Later
Love growing massive dinnerplate dahlias? Save this complete digging, curing, and storage blueprint to your Flower Gardening, Fall Garden Prep, or Overwintering Plants boards on Pinterest so you never lose an expensive tuber clump to winter frost again!