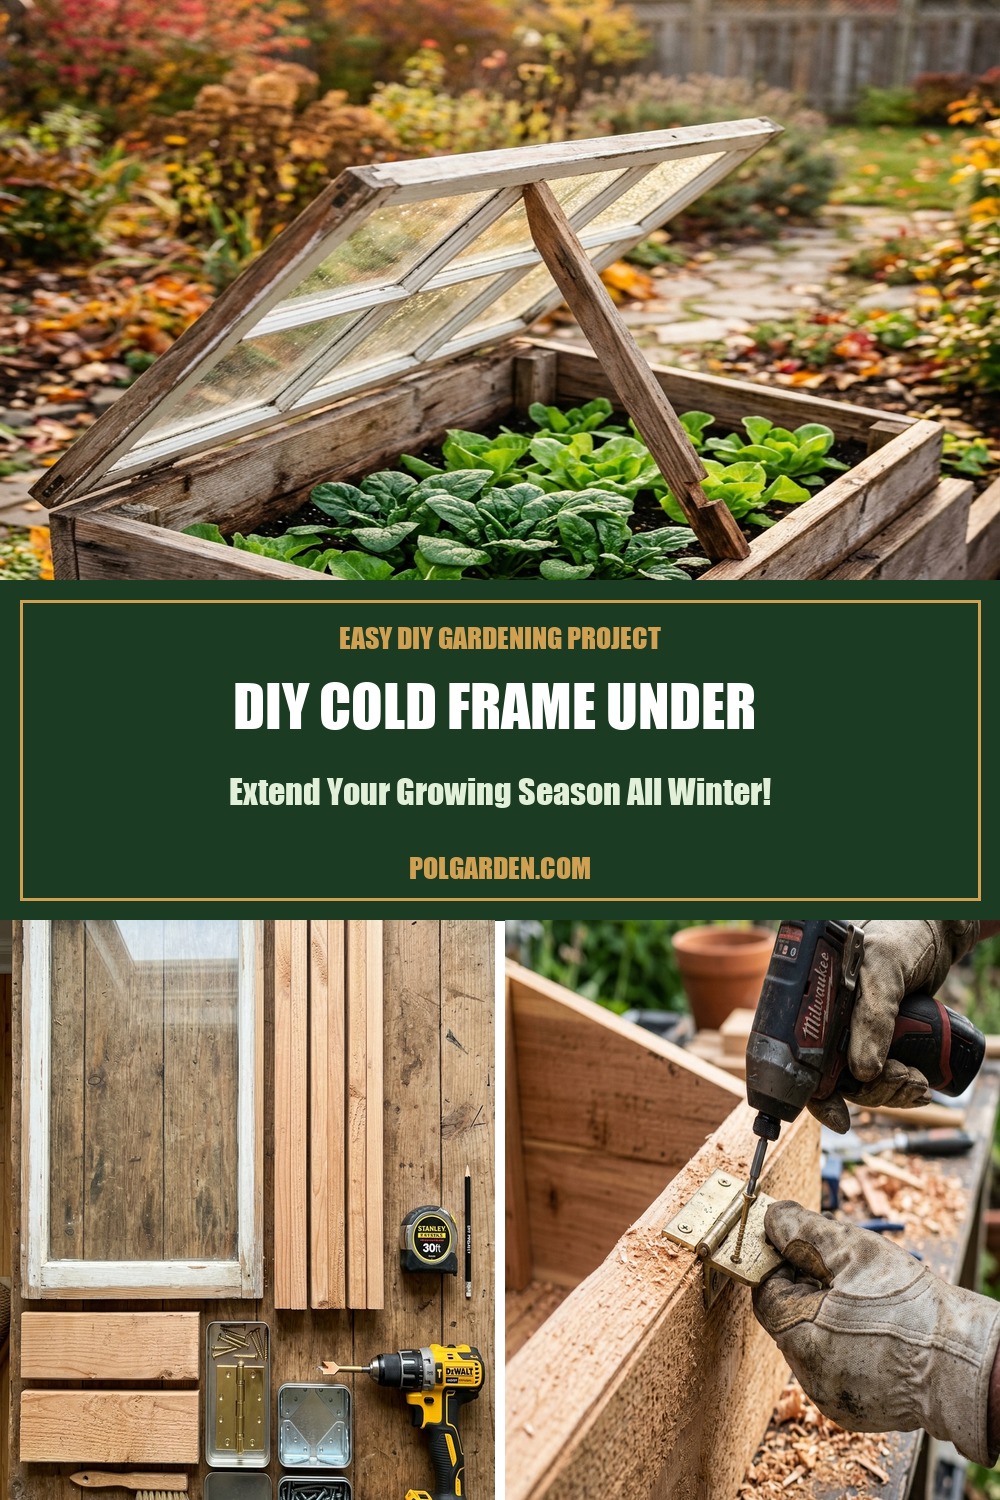
When frost coats the garden and biting winds threaten tender crops, you do not need an expensive heated greenhouse to keep harvesting crisp greens all winter. Building your own DIY cold frame greenhouse is one of the highest-return homestead projects you can tackle in a single afternoon—costing under $30 using rot-resistant cedar and an upcycled glass window sash.
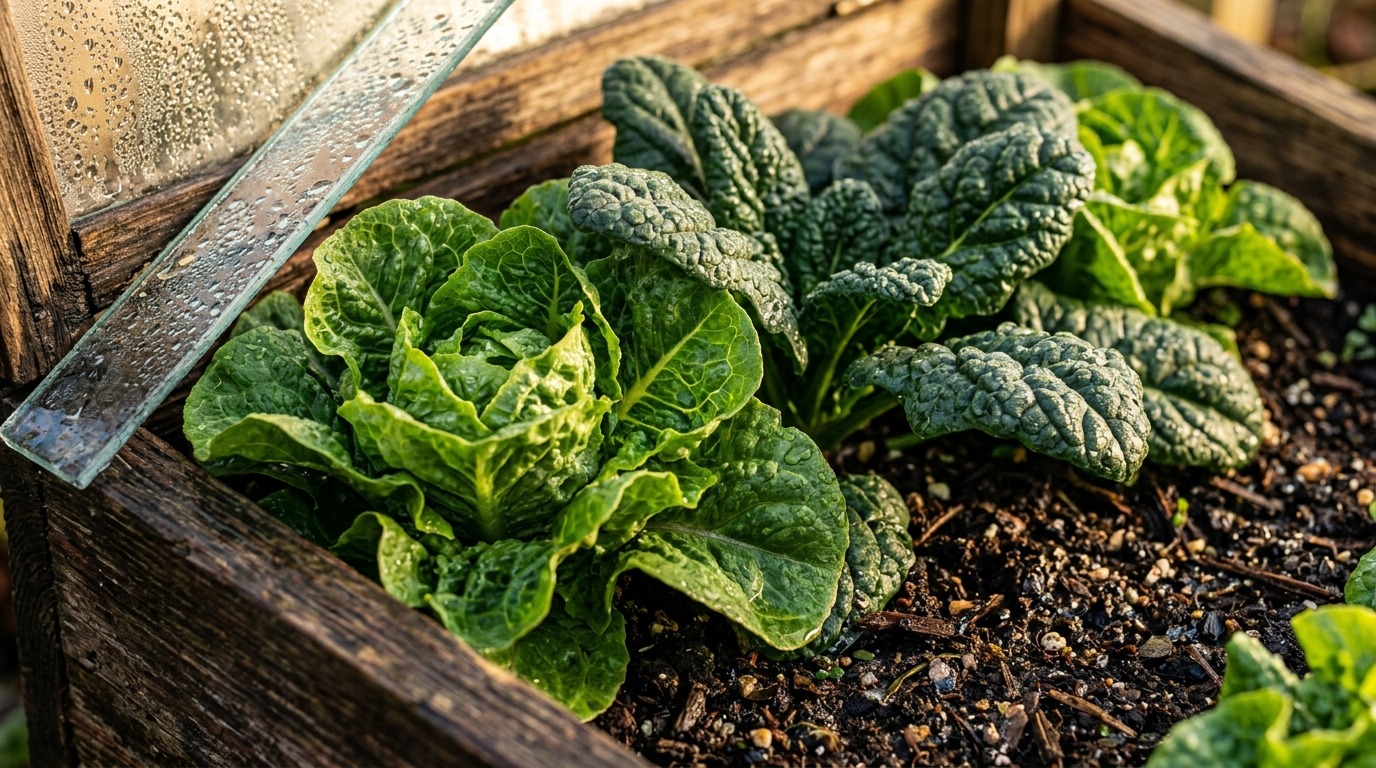
A cold frame works as a passive solar incubator, capturing low-angle winter sunlight through its glazed lid while shielding soil and root systems from chilling drafts, heavy snow load, and ice crystallization. By elevating internal microclimate temperatures by 7°F to 15°F above ambient outdoor conditions, a well-built box bridges the hungry gap between late autumn and early spring harvests.
Why You’ll Love This DIY Cold Frame Project
- Budget-Friendly: Built for less than $30 by repurposing salvage window sashes or clear twin-wall polycarbonate scraps.
- Extends Growing Season by Months: Enables continuous winter harvesting of cold-hardy staples like winter spinach, mache, kale, and winter lettuce.
- Simple Beginner Carpentry: Requires only basic hand tools or a cordless drill, with no complex joinery or specialist skills.
- Microclimate Soil Defense: Protects high-value bed nutrients and organic amendments enriched with DIY leaf mold soil conditioner from nutrient leaching caused by freezing winter rains.
Required Tools & Materials Checklist
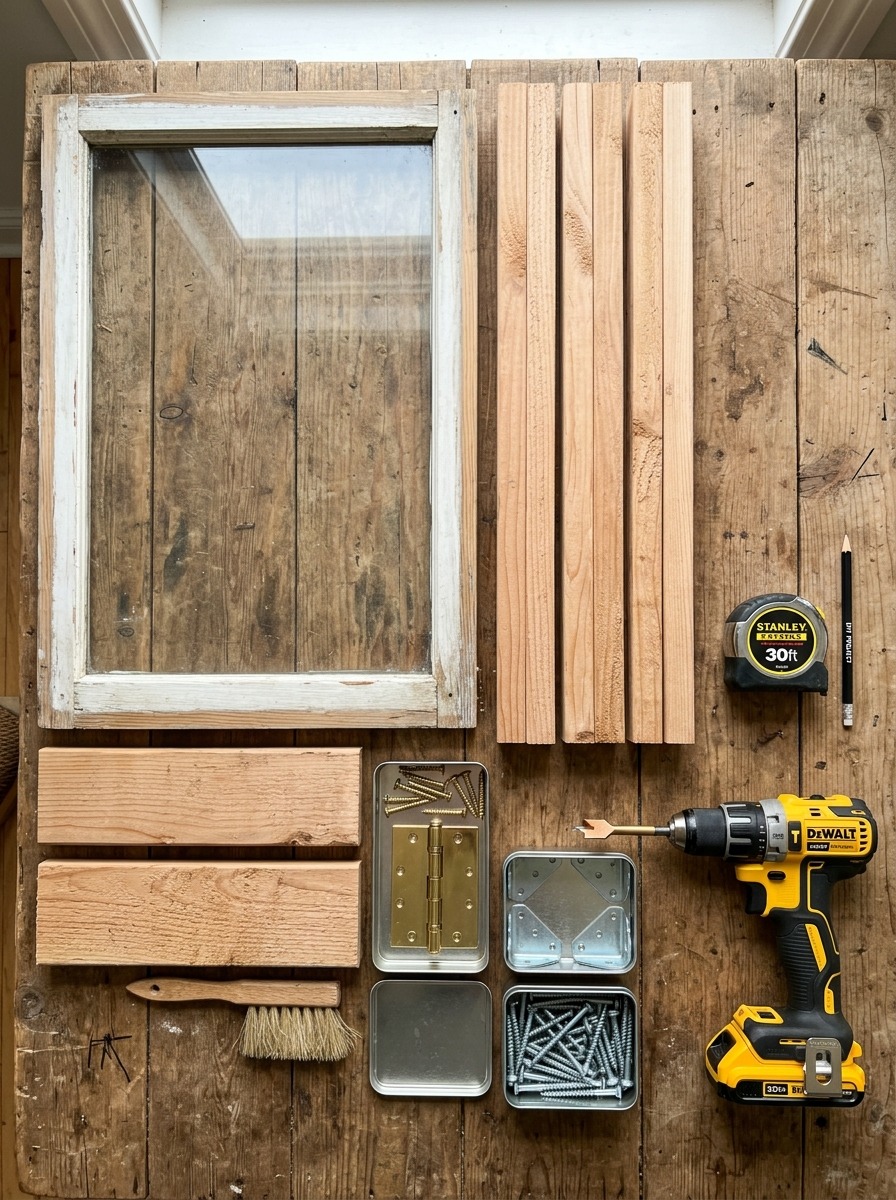
- Timber Selection: 2-inch thick rough-sawn cedar, cypress, or untreated fir boards. Avoid chemically treated CCA/ACQ lumber near edible crop soil beds.
- Glazing Lid: An upcycled single-pane wooden window sash (approx. 3×4 ft) or 6mm twin-wall UV-stabilized polycarbonate panel.
- Hardware: 2 heavy-duty 3-inch exterior galvanized or solid brass butt hinges with exterior-rated 1.5-inch screws.
- Fasteners: 1 box of 3-inch coated exterior decking screws (T25 Torx head recommended to prevent stripping).
- Thermal Base Bedding: Coarse horticultural grit, aged compost, and leaf mulch to insulate internal root zones.
Step-by-Step Construction Walkthrough
Step 1: Size to Your Glazing Sash
Always measure your window sash first before making timber cuts. Build the outer perimeter box dimensions exactly 1/2-inch wider than your glass sash to guarantee full coverage and effortless water runoff.
Step 2: Cut the Angled Solar Slope
To capture maximum low-altitude winter sun rays, cut your cedar side boards at a 30° to 45° angle. A rear wall height of 16 to 18 inches sloping down to an 8 to 10-inch front wall creates optimal solar incidence while shedding snow effortlessly.
Step 3: Assemble the Box Corners
Pre-drill pilot holes using a countersink bit to avoid splitting cedar ends. Fasten corners with 3-inch decking screws, reinforcing internal corners with 2×2 cedar cleats for structural rigidity under heavy snow accumulation.
Step 4: Mount the Hinges & Weatherproofing
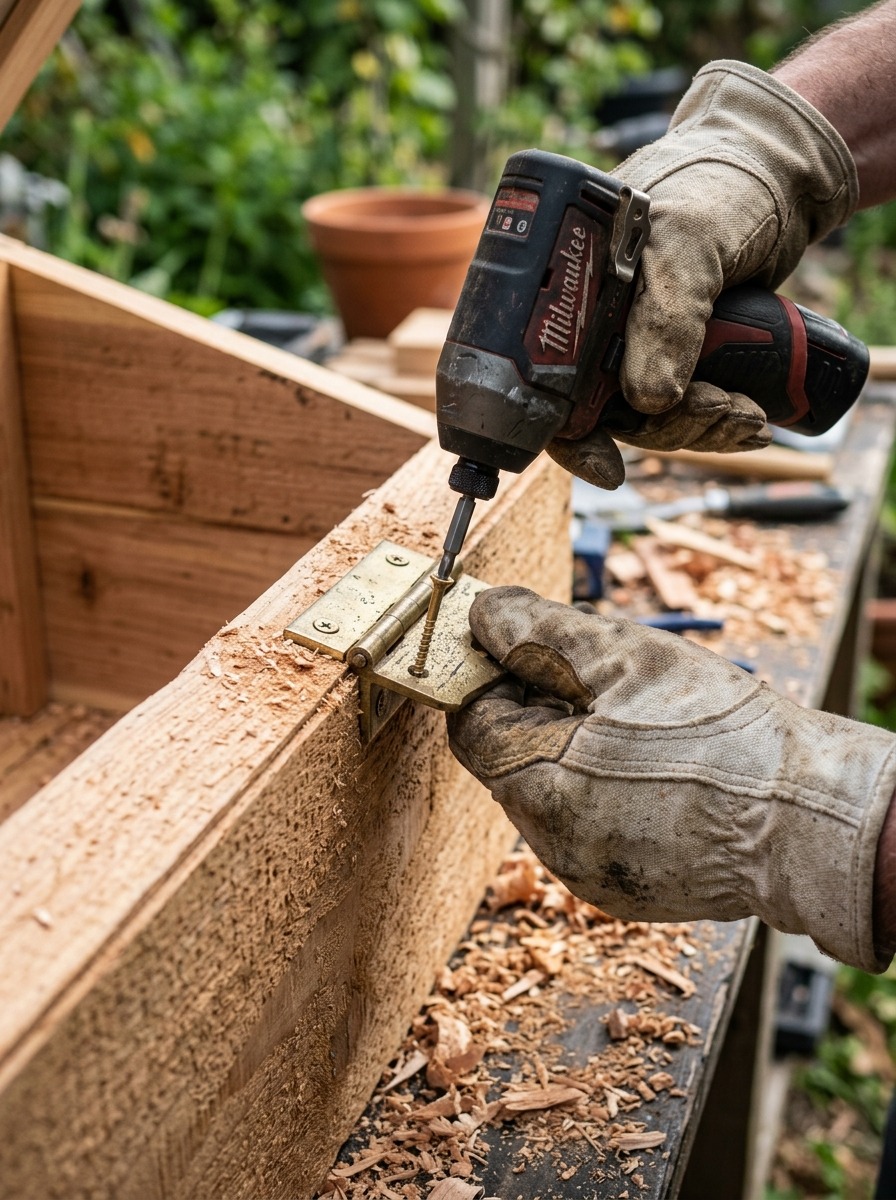
Fasten the butt hinges along the top high rail. Add rubber foam weatherstripping tape along the contact lip where the frame meets the sash to eliminate drafty thermal micro-gaps.
3 Master Gardener Secrets for Thermal Efficiency
1. South-Facing Solar Orientation: Always position the downward slope facing directly South (or Southeast) to capture unobstructed winter sun exposure and avoid casting shade over your bed.
2. Thermal Mass Water Jugs: Line the rear interior wall with 2 or 3 dark-painted gallon jugs filled with water. These absorb solar radiation during daylight and radiate radiant warmth back to plant foliage throughout freezing sub-zero nights.
3. Automated or Manual Solar Venting: On sunny winter days, interior temperatures can spike past 80°F even when ambient air is freezing. Use a notched wooden prop stick or install an automatic wax-cylinder solar vent opener to exhaust excess humidity and prevent fungal mold.
What to Plant Inside Your Winter Cold Frame
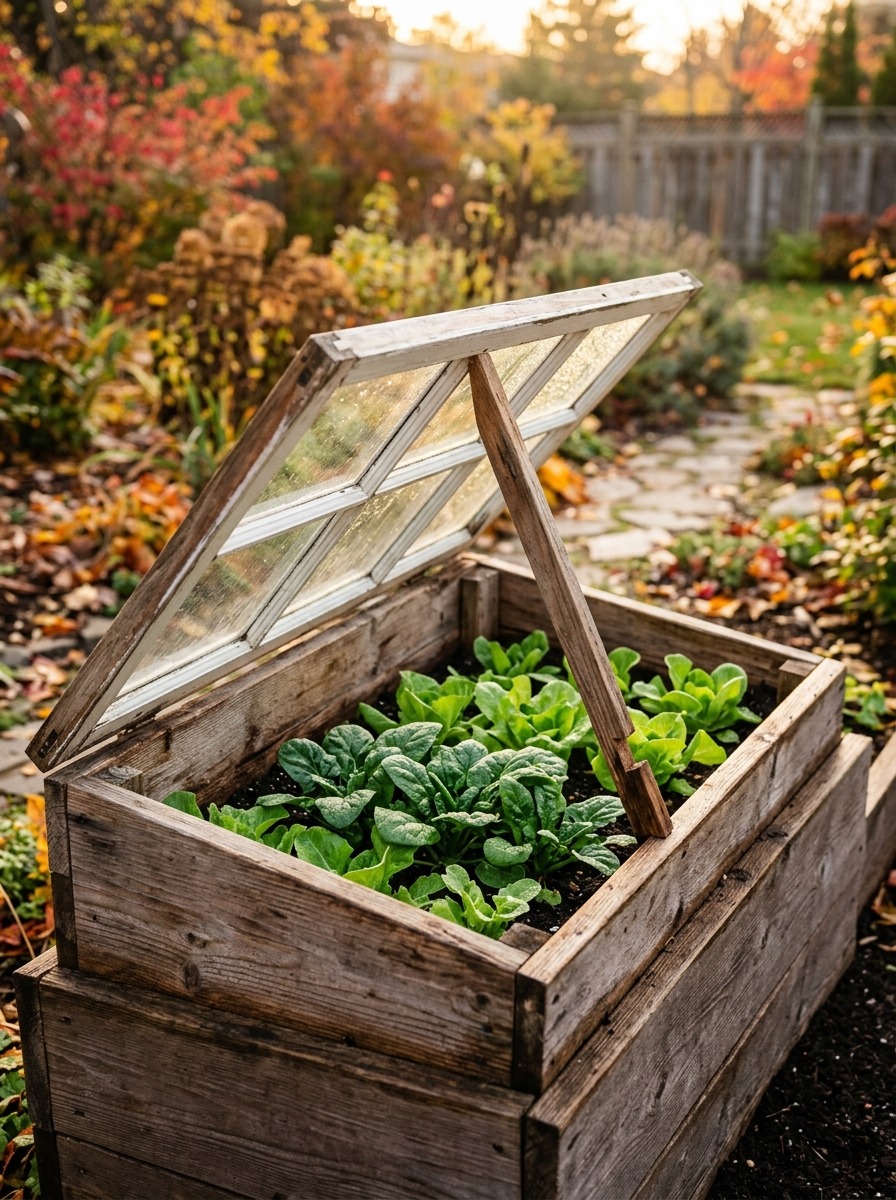
- Cold-Tolerant Leafy Greens: Savoy spinach varieties, tatsoi, claytonia (miner’s lettuce), and winter arugula.
- Root Crop Storage & Overwintering: Carrots, radishes, and scallions bedded in deep soil. For underground bulbs outside the frame, ensure you review how to plant garlic in fall for optimal overwintering rooting.
- Culinary Winter Herbs: French tarragon, parsley, thyme, and winter savory.
Maintenance, Winter Venting & Snow Care
- Snow Load Management: Gently brush heavy crust snow off the glass with a soft broom so sunlight reaches the canopy beneath.
- Night Insulation Blankets: During extreme polar vortex cold snaps (below 15°F / -9°C), drape an old wool blanket or burlap tarp over the glass at dusk, removing it promptly in the morning.
- Moisture Control: Winter soil evaporates slowly. Water sparingly only when the top 2 inches dry out, watering early in the morning so foliage dries before dusk.
Frequently Asked Questions
Can I use recycled old painted windows?
Yes, but ensure vintage sashes do not contain peeling lead-based paint. Scrape, prime, and coat vintage wooden frames with non-toxic exterior latex paint or linseed oil before placing over food garden soil.
Is glass better than polycarbonate for a cold frame?
Glass allows higher clarity and superior light transmission on overcast winter days. Polycarbonate is shatterproof, lighter, and offers slightly higher thermal R-value insulation due to dual-wall air pockets.
How cold can it get before plants freeze in a cold frame?
An unheated cold frame reliably protects hardy crops down to 15°F (-9°C). With thermal mass water jugs and an overnight frost blanket, crops survive dips to 0°F (-18°C).
Pin This DIY Guide for Your Fall & Winter Garden
Ready to extend your fresh garden harvest through frost and snow? Save this pin to your Pinterest DIY Garden Board so you have the construction plans ready!