Planting garlic in the crisp chill of autumn is one of the most rewarding rituals in the vegetable garden. Unlike spring-planted crops that rush through short seasons, autumn-sown garlic harnesses months of cold winter dormancy to establish powerful root structures before bursting into vigorous green growth in early spring. With a few foundational soil preparation techniques, proper clove spacing, and protective mulching, you can turn a modest handful of seed cloves into a bountiful summer harvest of massive, gourmet-quality garlic bulbs.
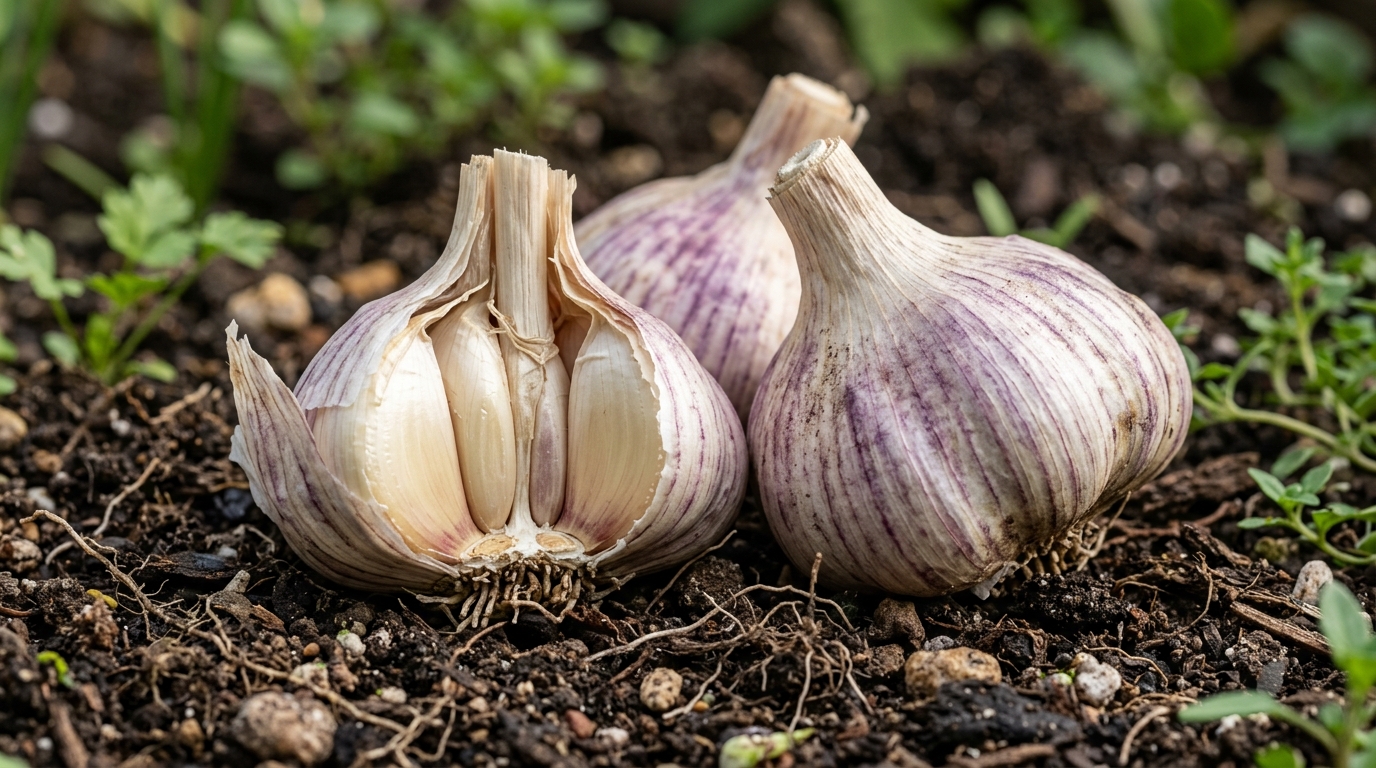
Garlic is a true cold-loving allium that requires a biological chilling period known as vernalization. When exposed to temperatures between 32°F and 50°F (0°C–10°C) for several weeks, individual cloves undergo physiological changes that trigger them to split into distinct multiple cloves rather than remaining a single solid round bulb. By getting your cloves into loose, fertile soil 4 to 6 weeks before your first hard ground freeze, you ensure deep anchor roots take hold while preventing premature leaf emergence that frost could damage.
Why Autumn Planting Beats Spring Sowing
- Double the Bulb Size: Autumn root development allows plants to absorb early spring moisture instantly, resulting in bulbs up to 50% larger than spring plantings.
- Effortless Winter Care: Once planted and mulched, garlic requires zero active maintenance throughout freezing winter months.
- Early Summer Harvest Window: Fall-planted garlic matures by midsummer (July), freeing valuable raised bed real estate for second-season fall greens.
- Superior Storage Longevity: Naturally vernalized garlic develops thicker papery protective wrappers that store for up to 9 to 12 months.
Essential Materials, Soil Amendments & Cultivar Choices

- Certified Seed Garlic (Hardneck vs. Softneck): Choose hardneck varieties (such as Music or Chesnok Red) for cold northern climates and edible summer garlic scapes, or softneck varieties (like Inchelium Red) for mild southern winters and long-term braiding.
- Organic Bone Meal or Rock Phosphate: High in slow-release phosphorus to fuel rapid root expansion before the ground freezes solid.
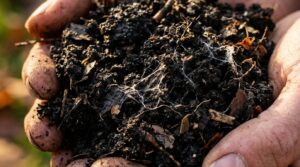
- Aged Organic Compost: Amending soil with 2 inches of compost or homemade DIY Leaf Mold Humus provides loose drainage and biological vitality.
- Clean Golden Wheat Straw or Shredded Leaves: Clean weed-free mulch insulates root zones against severe freeze-thaw soil heaving.
Step-by-Step Autumn Planting Walkthrough
1. Step 1: Separate Cloves Just Before Planting: Break garlic bulbs into individual cloves within 24 to 48 hours of planting. Keep the papery skins intact on every clove to protect against fungal soil pathogens.
2. Step 2: Select Only the Largest Exterior Cloves: Big cloves produce massive jumbo heads, while tiny interior cloves produce undersized bulbs. Reserve small cloves for culinary kitchen use.

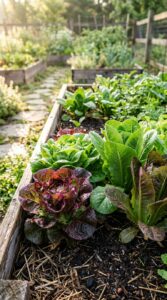
3. Step 3: Dig Furrows & Space Cloves Evenly: Space cloves 6 inches apart within rows, with 10 to 12 inches between rows. In raised beds, a uniform 6×6-inch grid pattern maximizes space efficiently.
4. Step 4: Dust with Bone Meal & Backfill: Sprinkle a pinch of bone meal into each planting hole, cover cloves with 2 inches of loose soil, and press down gently to ensure firm soil-to-clove contact.
5. Step 5: Water Deeply & Apply Heavy Mulch: Water the bed thoroughly to kickstart root initiation, then immediately spread a generous 4-to-6-inch layer of clean straw or shredded autumn leaves.
3 Master Grower Secrets for Colossal Bulbs
1. Never Plant Grocery Store Garlic: Supermarket garlic is often treated with anti-sprouting growth inhibitors and may carry soil-borne viruses. Always source organic, certified disease-free seed garlic from reputable growers.
2. Snip Garlic Scapes in Late Spring: In June, hardneck garlic sends up curling central flower stalks called scapes. Snip these delicacies immediately at their base to redirect all plant energy into bulb sizing, boosting yield by over 30%.
3. Stop Watering Two Weeks Before Harvest: When lower leaves begin turning yellow and brown in mid-summer, withhold irrigation completely. Dry soil cures the outer wrappers and prevents bulb decay before pulling.
Top Cold-Hardy Cultivars for Backyard Gardens

- Music (Hardneck – Porcelain): The gold standard for cold northern zones. Yields 4 to 6 massive porcelain-white cloves with robust, spicy-sweet flavor.
- Chesnok Red (Hardneck – Purple Stripe): Stunning purple-striped heirloom that excels at roasting, retaining rich mellow garlic sweetness when baked.
- German Extra Hardy (Hardneck): Incredibly robust winter survivor that easily endures deep sub-zero ground frosts while producing reliable large bulbs.
- Inchelium Red (Softneck – Artichoke): Award-winning mild and buttery softneck cultivar with dense multi-layered cloves that store effortlessly for up to 10 months.
Spring Care, Scape Harvesting & Curing
- Early Spring Nitrogen Boost: Once green shoots pierce through the straw in March, top-dress with composted chicken manure, fish emulsion, or our Natural Organic Plant Feeds.
- Mulch Management: Leave the straw mulch in place all spring to suppress stubborn weeds and conserve consistent soil moisture.
- Air Curing Protocol: After harvesting with garden forks, hang whole garlic bundles in a shaded, well-ventilated dry space (out of direct sunlight) for 3 to 4 weeks before trimming roots and stems.
Frequently Asked Questions
What is the best month to plant garlic in fall?
In most temperate regions (USDA Zones 4–8), mid-October through mid-November is ideal, roughly 2 to 4 weeks after your first light autumn frost.
What happens if green shoots emerge before winter?
Don’t panic! A few inches of autumn green growth is normal. The established roots remain safe underground, and the plant will resume vigorous growth once spring arrives.
Do I need to peel garlic cloves before planting?
No! Always leave the protective papery husk on each clove. Peeling exposes raw clove flesh to soil bacteria and moisture rot.
Love This Guide? Pin It!
Save this step-by-step fall garlic planting guide to your Pinterest gardening board so you have the spacing and mulching secrets ready for autumn!

Pin This Gardening Guide for Later
Save this garlic planting masterclass to your Vegetable Gardening or Fall Planting Hacks Pinterest board to grow your biggest garlic harvest yet!