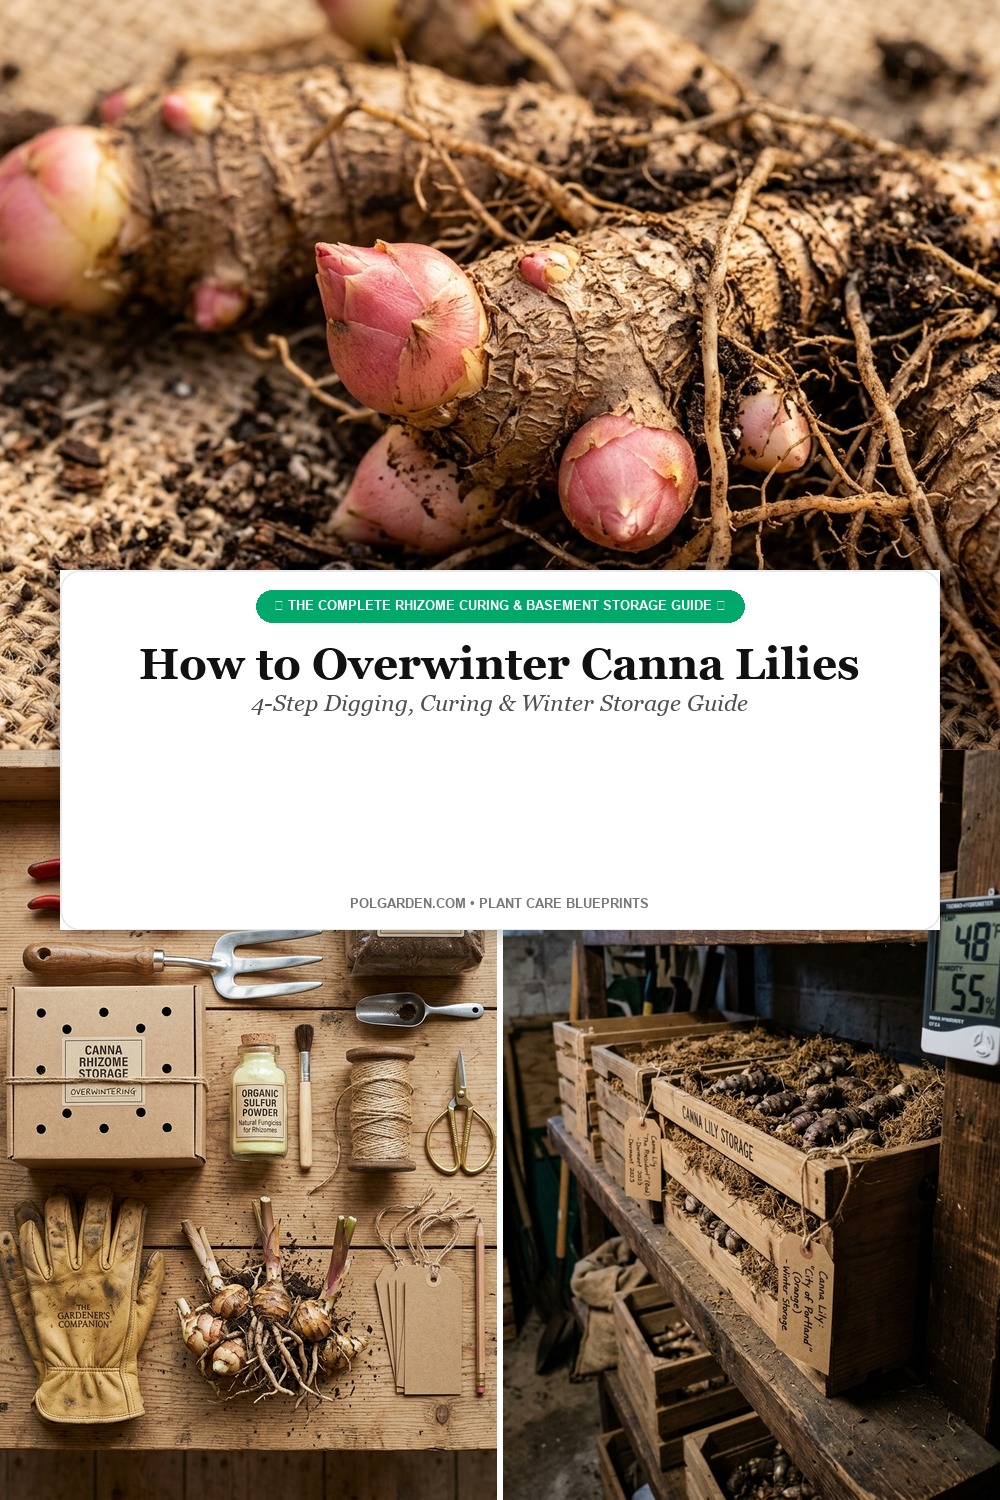
With their towering jungle-like architectural foliage, bronze-purple or variegated paddle leaves, and flamboyant clusters of fiery red, orange, and sunset yellow blossoms, canna lilies (Canna indica) bring an irresistible dramatic tropical presence to northern summer landscapes. Yet despite their vigorous six-foot growth habit, cannas are tender perennials with fleshy underground rhizomes that cannot withstand sub-freezing soil. In cold temperate regions where autumn frosts turn proud tropical leaves into limp black silk, leaving canna rhizomes in unprotected garden ground guarantees a mushy, rotten tragedy come spring. Fortunately, overwintering canna lilies is an easy, highly rewarding autumn garden ritual: by lifting, curing, and storing their thick underground rhizomes indoors in cool darkness, you can preserve your favorite specimens indefinitely and divide them to multiply your garden display every single year.
Native to tropical and subtropical wetlands of the Americas, canna lilies are perennial herbs adapted to frost-free climates where winter brings cooler, drier conditions rather than frozen ground. In USDA Hardiness Zones 8 through 11, canna rhizomes can remain buried outdoors all year under a modest layer of winter mulch. However, throughout USDA Zones 3 through 7, winter soil freezes deep enough to penetrate cellular walls, rupturing the starchy rhizomes and triggering devastating bacterial soft rot. Rather than throwing away dozens of premium plants every autumn, temperate gardeners follow a battle-tested four-phase protocol: timing the harvest precisely after the first foliage-blackening frost, curing the rhizomes in warm air to harden their outer skin, dividing overcrowded clumps, and packing them in breathable dry peat moss in a cool, dark cellar between 45°F and 50°F (7°C to 10°C).
Why You’ll Love Overwintering Canna Lilies
- Exponential Free Plant Multiplication: A single canna rhizome planted in May typically multiplies into a massive cluster of 6 to 10 interconnected rhizomes by October, giving you abundant stock to share or expand beds.
- Zero Expensive Winter Equipment: You don’t need heated greenhouses, grow lights, or daily misting systems—dormant cannas sleep silently in a simple cardboard box or crate.
- Immunity to Freezing Soil Rot: Digging and indoor storing completely eliminates the heartbreak of digging up frozen, rotten mush in April.
- Substantial Budget Savings: Large specialty cultivars (such as ‘Tropicanna’, ‘Bengal Tiger’, or ‘Black Knight’) retail for $15 to $25 per potted plant; overwintering saves hundreds of dollars every garden season.
Key Supplies & Pre-Winter Prep Station

Set up your outdoor harvesting station in mid-autumn before heavy ground-freezing temperatures arrive:
- Sturdy Garden Spading Fork: A garden fork is far superior to a shovel or spade because its thick tines slide between rhizomes without slicing them in half during extraction.
- Heavy-Duty Bypass Hand Pruners or Garden Knife: Essential for cleanly slicing through thick, fibrous canna stems and dividing woody connective rhizome bridges. Disinfect with 70% alcohol between cuts.
- Dry Horticultural Peat Moss or Coarse Vermiculite: Breathable, moisture-buffering medium that prevents stored rhizomes from either rotting in excess humidity or desiccating into dry wood.
- Ventilated Wooden Crates or Cardboard Boxes with Air Holes: Canna rhizomes continue micro-respiration during dormancy; airtight plastic totes trap moisture and cause gray mold. Similar storage ventilation is vital when overwintering caladium bulbs.
- Organic Sulfur Dust or Ground Cinnamon: Natural antifungal powders applied directly to cut wounds prevent airborne fungal spores from colonizing fresh incisions.
- Waterproof Kraft Nursery Tags & Jute Twine: Label cultivars by color and height so you can arrange striking height gradients when replanting in spring.
Step-by-Step Walkthrough to Overwinter Canna Lilies
1. Step One: Timing & Waiting for the First Light Frost: Do not dig cannas too early! Allow the first light autumn frost to nip the tops of the plants. A light frost turns the top foliage black or brown, sending a chemical hormonal signal down the stalks that tells the plant to pull all remaining sugars, starches, and water into the underground storage organs. Within 24 to 48 hours after this frost, use your bypass pruners to cut the thick stems back to roughly 4 to 6 inches (10 to 15 cm) above ground level. These short stem stubs act as convenient handles during harvesting and prevent injury to the basal growth eyes.
2. Step Two: Gentle Digging & Soil Removal: Insert your spading fork into the soil a full 10 to 12 inches away from the outer circumference of the canna stems. Push the tines deep into the ground and gently pry upward, working your way completely around the root ball to loosen garden soil. Slowly lift the entire clump upward. Shake off loose topsoil, and use your fingers to gently crumble away excess dirt clinging to the root hairs. Pro tip: Do not wash the rhizomes with a garden hose unless soil is dense clay, as excess moisture increases winter rot risk. If washing is necessary, dry thoroughly immediately afterward.

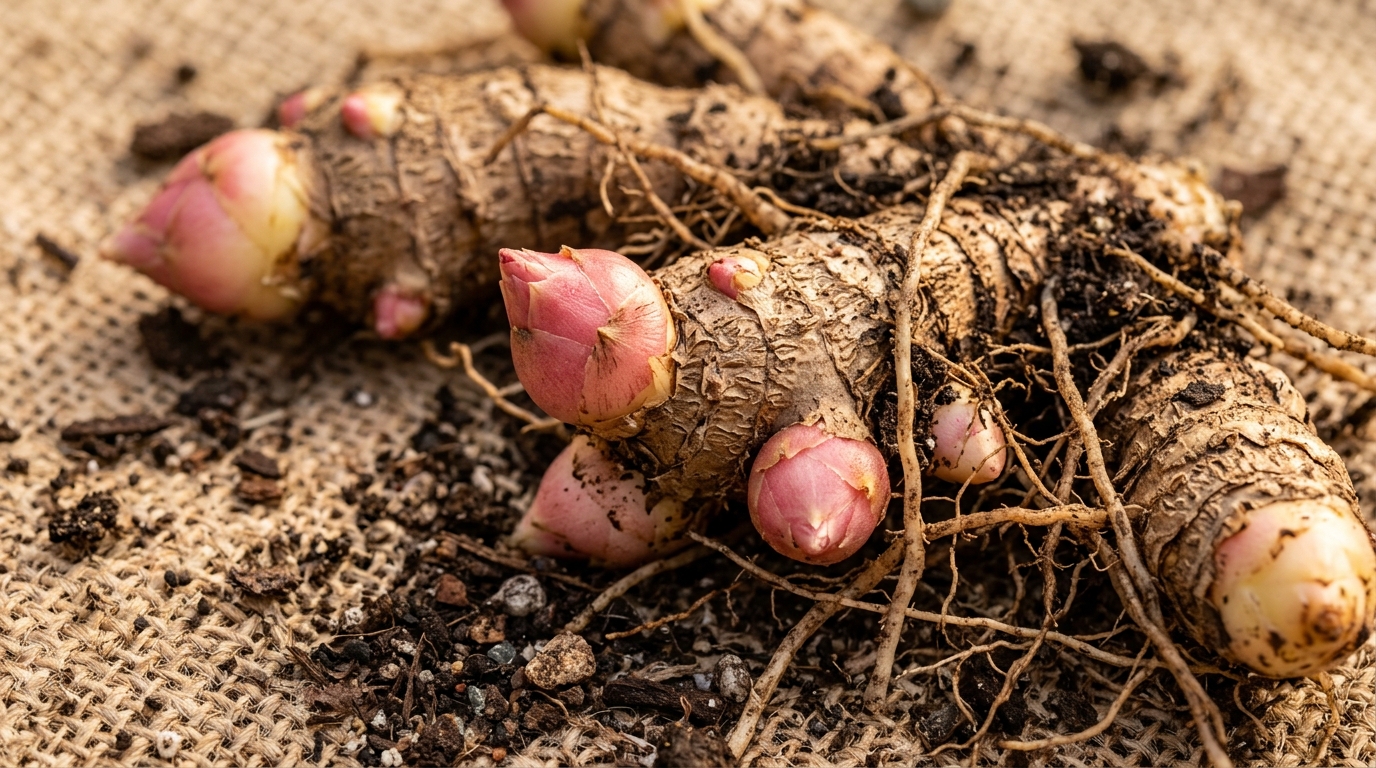
3. Step Three: The Critical 3-to-7 Day Curing Phase: Place the lifted canna clumps in a single layer on newspaper, cardboard, or wire screens in a warm, dry, frost-free location with good ventilation (such as a garage, porch, or shed) between 60°F and 70°F (15°C to 21°C). Allow them to air-cure undisturbed for 3 to 7 days. During curing, the outer skin toughens and dries, and remaining garden soil falls away effortlessly. Once dry, examine the rhizomes and trim away shriveled roots and dried stalk remnants. If dividing large clumps, ensure each separate rhizome piece possesses at least 2 to 3 prominent pink or white growth “eyes” (apical buds), then dust every cut surface generously with sulfur powder.
4. Step Four: Packing in Peat Moss & Ideal Cellar Storage: Spread a 2- to 3-inch bed of dry horticultural peat moss, shredded paper, or vermiculite at the bottom of your ventilated cardboard box or slatted wooden crate. Place canna rhizomes in the box in a single layer, ensuring individual pieces do not touch each other. Cover with another 2-inch layer of peat moss, repeating until all rhizomes are cushioned. Transfer the packed boxes to a cool, dark, frost-free space that stays consistently between 45°F and 50°F (7°C to 10°C)—an unheated basement, root cellar, or insulated crawlspace is ideal. Pair your storage workflow with our seasonal guide to overwintering fuchsias in dark dormancy.
3 Botanist Secrets for Canna Rhizome Vitality
1. The “Eye Count” Rule for Massive Spring Blooms: When dividing canna rhizomes in autumn or spring, gardeners frequently chop them into tiny single-eye segments. While single eyes will grow, they spend months developing vegetative roots and produce weak, delayed blooms. Botanists follow the “Rule of Three”: always ensure each divided rhizome chunk contains at least 3 vigorous, swollen growth eyes and a healthy 4-inch segment of fleshy tuber. This ensures abundant stored carbohydrates to fuel immediate, explosive summer flowering.
2. Monthly Winter Moisture Check (The Sponge Rule): During winter dormancy, canna rhizomes should feel firm and plump like a fresh potato. Once a month in December, January, and February, inspect the storage box. If rhizomes show signs of wrinkling or shriveling, the indoor air is too dry: lightly mist the surface of the peat moss with a hand spray bottle (do not saturate). If any rhizome feels soft or spongy, discard it immediately before mold spreads to adjacent tubers.
3. Container Overwintering Without Digging: If you grow cannas in large decorative patio containers (15 gallons or larger), you don’t need to dig them up at all! After the first frost blackens the foliage, cut stems down to 3 inches. Stop watering completely and allow the soil in the pot to dry out. Move the entire container indoors into a cool garage or basement. In late April, bring the pot out into sunlight, soak thoroughly with water, and watch vigorous green spears pierce the soil within days.
Spring Awakening & Outdoor Reintroduction Protocol

When late winter transitions into spring, follow this 3-step awakening sequence to get a 6-week head start on the growing season:
- Step 1: Indoor Potting in March (6 Weeks Before Last Frost): Remove rhizomes from storage crates in March. Pot them horizontally, eyes pointing upward, 2 to 3 inches deep in 1-gallon nursery pots filled with moist potting soil. Place on a seedling heat mat set to 70°F to 75°F (21°C to 24°C) under bright light.
- Step 2: Resume Deep Watering & Light Nutrition: As soon as reddish-green shoots poke through the soil surface, move pots to a warm, sunny window. Water thoroughly whenever the top inch of soil feels dry, and feed with a balanced organic liquid fertilizer diluted to half-strength. Similar spring waking protocols apply to overwintering geraniums and planting fall bulbs for spring blooms.
- Step 3: Outdoor Hardening Off in Late May: Cannas adore heat and despise cold wet soil. Wait until outdoor nighttime temperatures consistently stay above 55°F (13°C) and danger of all frost has passed before transplanting into fertile, compost-amended garden beds in full sun.
Troubleshooting Common Winter Canna Problems
- Rhizomes Turning Soft, Mushy, or Leaking Liquid: Caused by excessive packing moisture or storage temperatures dipping below freezing (32°F / 0°C). Always ensure rhizomes are thoroughly dry-cured before packing and that peat moss is dry, never wet.
- Rhizomes Shriveled, Hard, and Light as Cork: Storage air was too arid and warm (above 55°F), extracting all water reserves. Lightly mist the packing medium with water and seal containers loosely in paper bags to maintain 50% relative humidity.
- White Fuzzy Mold Colonizing Rhizome Tips: Poor air circulation and trapped humidity. Wipe off mold with clean cloth, dust liberally with sulfur powder or cinnamon, and transfer rhizomes to a more ventilated crate.
Frequently Asked Questions
Can canna lilies survive winter in the ground?
Canna lilies can survive outdoors in the ground year-round in USDA Zones 8 through 11, where winter ground temperatures rarely freeze. In USDA Zones 3 through 7, freezing soil will kill the rhizomes, requiring autumn digging and indoor storage.
When is the best time to dig up canna bulbs in fall?
The ideal time to dig cannas is within a few days after the first autumn frost has turned the foliage dark and limp. The frost cues dormancy without harming the underground rhizomes beneath the soil surface.
Should I wash canna rhizomes before storing them?
It is best not to wash them with water unless your soil is heavy clay that cannot be brushed off. Washing introduces moisture into crevices, increasing the danger of fungal soft rot during winter storage. Dry curing and brushing is the safest method.
What is the best temperature to store canna lily rhizomes?
Store dormant canna rhizomes in a cool, dark location between 45°F and 50°F (7°C to 10°C). Temperatures above 55°F trigger premature sprouting, while temperatures below 32°F cause fatal frost necrosis.
Save This Winter Garden Guide for Later
Love this guide? Save this pin to your Pinterest gardening, bulb care, flower borders, or winter plant protection board so you have the 4-step canna lily digging, curing, and storage blueprint ready whenever autumn frost arrives!