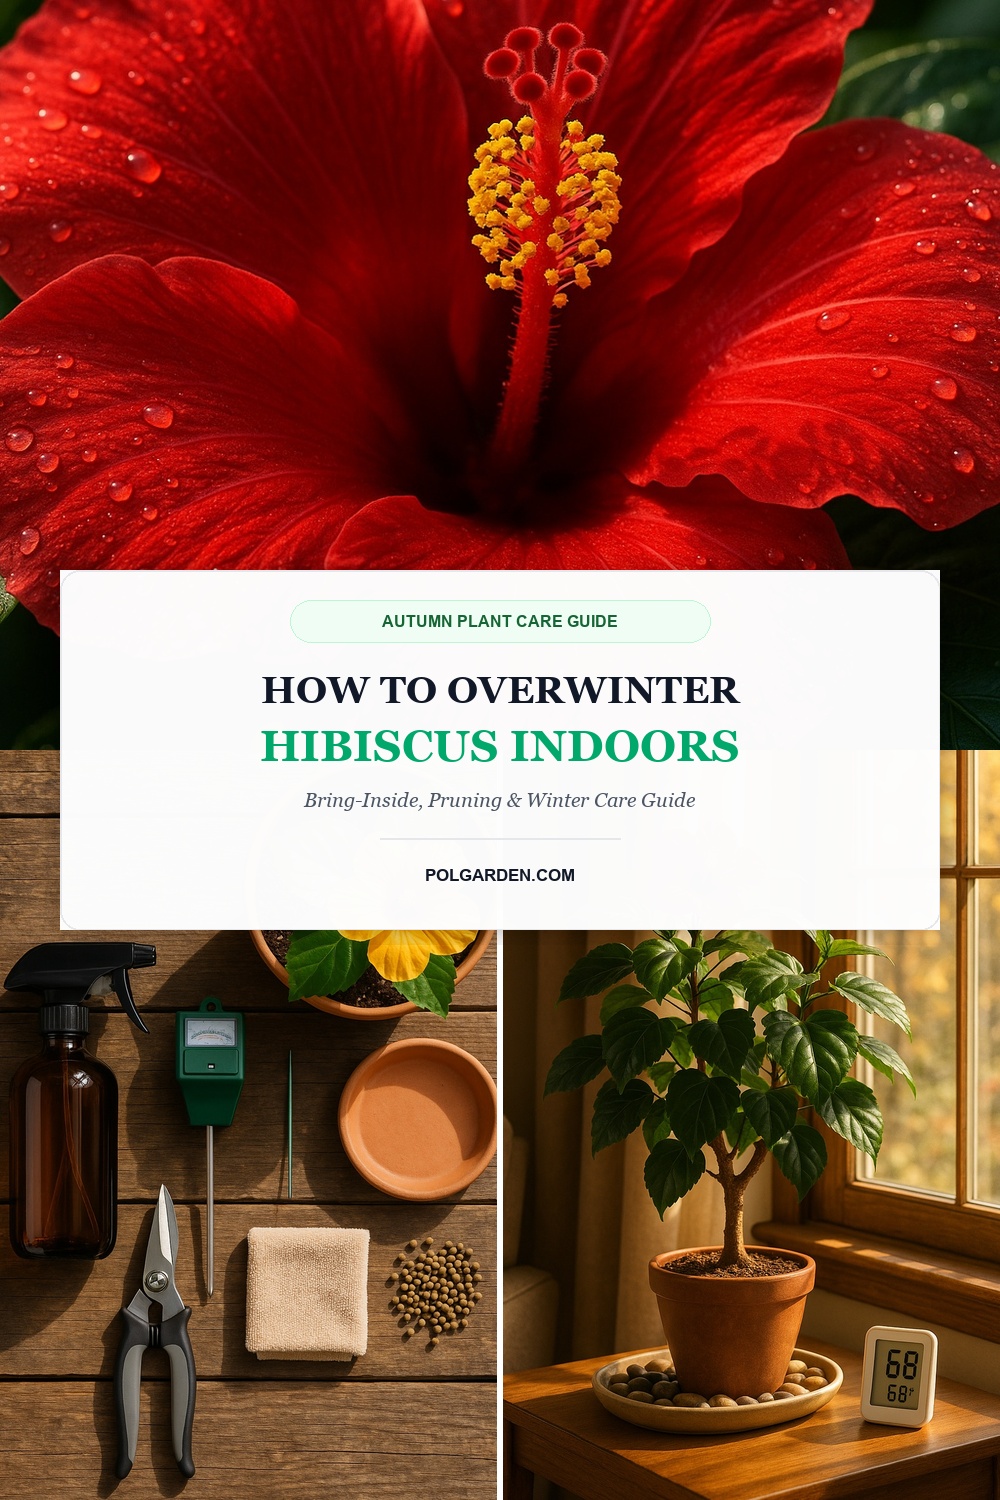
Celebrated for their flamboyant dinner-plate blossoms, exotic protruding stamen columns, and glossy emerald foliage that radiates tropical glamour across summer patios, tropical hibiscus (Hibiscus rosa-sinensis) are the undisputed showstoppers of warm-weather container gardening. Yet despite their vigorous summer growth and heat-loving resilience, tropical hibiscus are tender equatorial perennials completely incapable of tolerating freezing conditions. Leaving these sun-worshipping shrubs outdoors when autumn temperatures drop into the 40s Fahrenheit (below 10°C) triggers rapid cellular shock, complete foliage loss, and irreversible root death. Fortunately, learning how to overwinter hibiscus indoors is a remarkably rewarding horticultural skill: by mastering timely pre-frost transitions, strategic autumn hard pruning, proactive pest eradication washes, and mindful indoor winter care, you can preserve your prized specimen plants year after year, transforming them into architectural indoor statement plants that awaken with explosive blooms every single spring.
To successfully navigate the winter transition, gardeners must first distinguish between tropical hibiscus and hardy perennial hibiscus (such as Hibiscus moscheutos or Hibiscus syriacus, commonly known as Rose of Sharon). While hardy varieties can safely survive sub-zero winters in USDA Zones 4 through 9 simply by cutting dormant stems to the ground and adding a protective insulating mulch, tropical hibiscus hail from frost-free regions of tropical Asia and demand above-freezing living conditions year-round. In USDA Hardiness Zones 9 through 11, tropical varieties can survive outdoors with minimal protection. However, across USDA Zones 3 through 8, potted hibiscus must be relocated indoors before nighttime temperatures routinely drop below 50°F (10°C). When brought indoors, a hibiscus transitions from intense outdoor sunlight to filtered domestic illumination, naturally prompting a brief acclimatization phase. By implementing our structured four-step seasonal protocol—accurate timing, rigorous organic pest cleansing, balanced canopy reduction, and dialed-in winter window culture—you will minimize leaf shedding and keep your hibiscus vigorously healthy throughout the winter months.
Why You’ll Love Overwintering Hibiscus Indoors
- Preserves Huge, Sculptural Specimen Plants: Mature standard tree hibiscus and multi-branched shrubs take years to develop sturdy woody trunks; overwintering allows you to build awe-inspiring, patio-anchoring specimens rather than starting over with fragile nursery starts each spring.
- Explosive Early Spring Flowering: Overwintered hibiscus retain established root architecture and stored vascular starches, meaning they resume robust active growth and produce heavy flower flushes weeks ahead of small commercial greenhouse plants.
- Substantial Annual Budget Savings: Premium patio hibiscus trees and mature braided cultivars routinely retail between $50 and $120 each spring; saving your containers eliminates repeated garden center replacement costs.
- Cheery Winter Foliage & Potential Off-Season Blooms: Positioned in a warm, sunny south-facing exposure or beneath energy-efficient grow lights, healthy overwintering hibiscus often surprise gardeners with cheerful off-season exotic blossoms during the darkest weeks of December and January.
Key Supplies & Pre-Winter Prep Station

Set up your outdoor prep station on a mild, dry autumn afternoon well before the first forecasted frost:
- Bypass Hand Pruning Shears: Precision bypass pruners deliver clean slicing cuts that preserve delicate stem bark. Always sanitize blades with 70% isopropyl alcohol between plants to prevent fungal transmission, identical to our protocols for overwintering fuchsias.
- Cold-Pressed Organic Neem Oil or Insecticidal Soap: A non-negotiable defense weapon to eradicate hitchhiking patio pests such as aphids, whiteflies, thrips, and spider mites before plants enter your living quarters, adhering to our proven fall indoor plant quarantine protocol.
- High-Pressure Hose Spray Nozzle: Used to mechanically blast away outdoor garden dust, dead leaves, and concealed insect egg clusters from the under-sides of foliage and branch crotches.
- Digital Soil Moisture Meter Probe: Hibiscus roots slow down drastically in winter, making tactile overwatering the number one cause of winter mortality; a probe guarantees you only water when the root ball actually demands it.
- Wide Heavy-Duty Plastic Plant Saucer with Pebble Grid: Protects indoor flooring while creating a localized micro-humidity tray that counters dry winter furnace heat without allowing pot drainage holes to sit in stagnant water.
Step-by-Step Walkthrough to Overwinter Hibiscus Indoors
1. Step One: Timing & Pre-Frost Inspection: Monitor autumn nighttime forecasts attentively. Do not wait for freezing frost warnings. When nighttime temperatures dip consistently down to 50°F (10°C), it is time to act. Prolonged exposure to temperatures between 35°F and 45°F chills the delicate root tips, stalling nutrient uptake and causing severe transplant shock. Move your containers into a sheltered outdoor porch or patio corner for 3 to 4 days to begin gradual acclimation to lower light intensities.
2. Step Two: Thorough Washing & Organic Pest Eradication: Before crossing the threshold into your home, your hibiscus must undergo a rigorous biological cleaning. Hibiscus are notorious magnets for spider mites and whiteflies. Take the plant to the garden hose and spray down all stems, leaf undersides, and woody branching with a firm water jet to physically dislodge pests. Allow foliage to air-dry, then thoroughly drench every square inch of the plant—especially the axils and undersides of leaves—with a solution of organic insecticidal soap or emulsified neem oil. For entrenched pests, apply the techniques outlined in our guide on eradicating spider mites organically. Finally, drench the upper 2 inches of potting mix with a mild neem solution to eliminate any fungus gnat larvae or soil-dwelling hitchhikers.

3. Step Three: Strategic Autumn Hard Pruning: Bringing a gigantic, sprawling summer hibiscus indoors invites leaf drop and clutters living spaces. Autumn pruning is essential: it reduces total leaf surface area, balancing transpiration with lower indoor humidity and reduced root water absorption. Using your sharp bypass shears, cut each main branch back by roughly one-third to one-half of its total length. Make each clean 45-degree angle cut approximately 1/4 inch above an outward-facing leaf node or dormant green bud eye. Remove any crossing, damaged, or spindly inner branches to open up the canopy for maximum airflow. Pruning stimulates a tight, bushy growth habit and primes dozens of new flowering shoots for spring.
4. Step Four: Indoor Placement & Root Ball Settling: Clean the exterior of the plant container and place it into a deep drip saucer fitted with a layer of gravel. Position the pot in the warmest, sunniest location in your home—ideally directly in front of an unobstructed south-facing or west-facing window where it receives at least 4 to 6 hours of direct sun. Give the soil a thorough, gentle drink of tepid water until moisture drains freely into the saucer, then promptly dump out all standing water after 30 minutes. Keep the plant quarantined away from your other indoor houseplants for 10 to 14 days, inspecting leaf undersides weekly for any emerging pests, exactly like our protocol for overwintering citrus trees indoors.
3 Botanist Secrets for Hibiscus Overwintering Success
1. Expect & Embrace the “Yellow Leaf Drop” Acclimatization: Nearly every gardener panics when their hibiscus sheds 20% to 50% of its leaves within the first two weeks of coming indoors. Understand that this is a completely natural biological response called leaf abscission. Outdoor summer sunlight delivers 10,000 foot-candles of light energy, whereas a bright living room window provides around 500 to 1,000 foot-candles. The plant is simply jettisoning inefficient shade leaves that it can no longer energetically support. As long as the woody stems remain pliable and green under the bark (verified by a gentle thumbnail scratch test), your hibiscus is perfectly healthy and adjusting to its indoor environment.
2. Cut Water Application by More Than Half: The most frequent killer of overwintering hibiscus is root rot caused by well-intentioned winter overwatering. Because shorter daylight hours and lower temperatures drastically reduce photosynthetic activity, the plant’s vascular water consumption plunges. Allow the top 2 to 3 inches (5 to 7 cm) of potting mix to dry out thoroughly before adding water. When you do water, use room-temperature water rather than freezing cold tap water, which can shock tender root hairs. Never let the pot sit submerged in drainage runoff, a principle also vital when diagnosing why plant leaves turn yellow.
3. Absolute Zero Fertilizer Until Late Winter: Never feed an overwintering hibiscus with high-nitrogen fertilizers during late autumn or mid-winter. Feeding dormant or semi-dormant plants forces weak, leggy, pale-green vegetative growth that has stretched internodes and collapses easily under domestic lighting. Worse, tender sap-filled winter shoots act as an open invitation for destructive aphid infestations. Withhold all fertilizers completely from October through early February, allowing the root system to rest.
Ideal Indoor Placement, Lighting & Humidity Management

Maintaining a stable, supportive microclimate keeps your hibiscus stress-free all winter long:
- Direct Sunlight Requirements: Tropical hibiscus demand as much light as possible. If your home lacks an unobstructed south-facing window, position a full-spectrum LED grow light 12 to 18 inches above the canopy on an automatic timer set for 12 to 14 hours daily to maintain foliage density.
- Temperature Moderation: Ideal indoor temperatures range between 65°F and 75°F (18°C to 24°C) during the day, with slight drops to 55°F to 60°F (13°C to 16°C) at night. Keep pots far away from forced-air heating registers, radiator drafts, fireplaces, and drafty exterior doorways.
- Indoor Humidity Support: Winter heating systems routinely drive indoor relative humidity below 25%, drying out tropical leaves and creating a paradise for spider mites. Keep the pot elevated on a wide tray filled with pea gravel and water (ensuring the pot base rests above the water line), or run a small ultrasonic room humidifier nearby to maintain 45% to 55% relative humidity.
- Hygiene & Leaf Debris Removal: Regularly pick up any naturally shed leaves from the surface of the potting soil. Decaying wet leaves sitting on the soil surface breed fungal pathogens and provide breeding grounds for fungus gnats.
Spring Awakening & Outdoor Acclimation Protocol
As daylight naturally lengthens in late February and early March, you will notice vibrant light-green growth tips erupting along the pruned branch nodes. This signals that winter dormancy has ended and active growth is resuming:
- Late Winter Prune & Shape: Inspect the canopy in early March and snip off any weak, pale, or winter-damaged twigs to redirect energy into vigorous main shoots.
- Nutritional Jumpstart: Resume feeding every two weeks with a diluted, balanced water-soluble fertilizer formulated for flowering plants (such as a 10-10-10 or 17-5-24 hibiscus blend). Hibiscus are heavy consumers of potassium and magnesium for bud formation.
- Root Zone Refresh or Repotting: If the plant has become root-bound, slip it out of its pot, gently tease outward-spiraling roots, and pot up into a container 2 inches wider using a rich, well-draining potting blend enriched with perlite and compost.
- Gradual Outdoor Hardening Off: Do not shock your plant by moving it abruptly from indoors into full summer sun. When spring nighttime temperatures consistently stay above 55°F (13°C)—typically in May—place the container in deep shade outdoors for 4 days. Gradually move it into morning sun over the course of 10 to 14 days before returning it to its permanent full-sun patio throne, a transition method identical to our guide on overwintering Boston ferns and overwintering coleus.
Frequently Asked Questions
Can tropical hibiscus survive freezing winter temperatures outdoors?
No. Tropical hibiscus (Hibiscus rosa-sinensis) suffer severe vascular tissue damage when exposed to temperatures below 32°F (0°C), and will perish completely during hard freezes. Potted specimens must be moved indoors before nights fall below 50°F (10°C). In contrast, hardy perennial hibiscus (Hibiscus moscheutos) can remain in the ground outdoors in USDA Zones 4 through 9 safely.
Why are my hibiscus leaves turning yellow and dropping after moving inside?
This is the standard acclimatization response known as light shock. Indoor domestic light is significantly less intense than outdoor sun, causing the shrub to shed excess leaves it cannot sustain. Provided stems remain pliable and you avoid overwatering, the shedding will stabilize within 2 to 3 weeks and fresh indoor-adapted foliage will emerge.
Can I store my tropical hibiscus dormant in a dark basement?
Yes, although keeping it in a sunny room as an active houseplant is generally more reliable. If indoor space is limited, you can induce full dormancy by pruning the plant back by half, watering sparingly, and placing the pot in a cool (45°F to 50°F / 7°C to 10°C), dark basement or frost-free crawlspace. In complete darkness, check the pot monthly and supply only a cup of water to keep the root ball from desiccating into bone-dry dust.
How do I get rid of whiteflies or aphids on my overwintering hibiscus?
Isolate the affected plant immediately. Take the container to the shower or laundry sink and wash the foliage with lukewarm water to dislodge pests. Once dry, treat all stems and leaf undersides thoroughly with an organic insecticidal soap or horticultural oil spray, repeating every 5 to 7 days for three consecutive weeks to break the insect breeding cycle.
Save This Winter Garden Guide for Later
Love this guide? Save this pin to your Pinterest gardening board so you have the step-by-step hibiscus care blueprint ready whenever cold weather arrives!