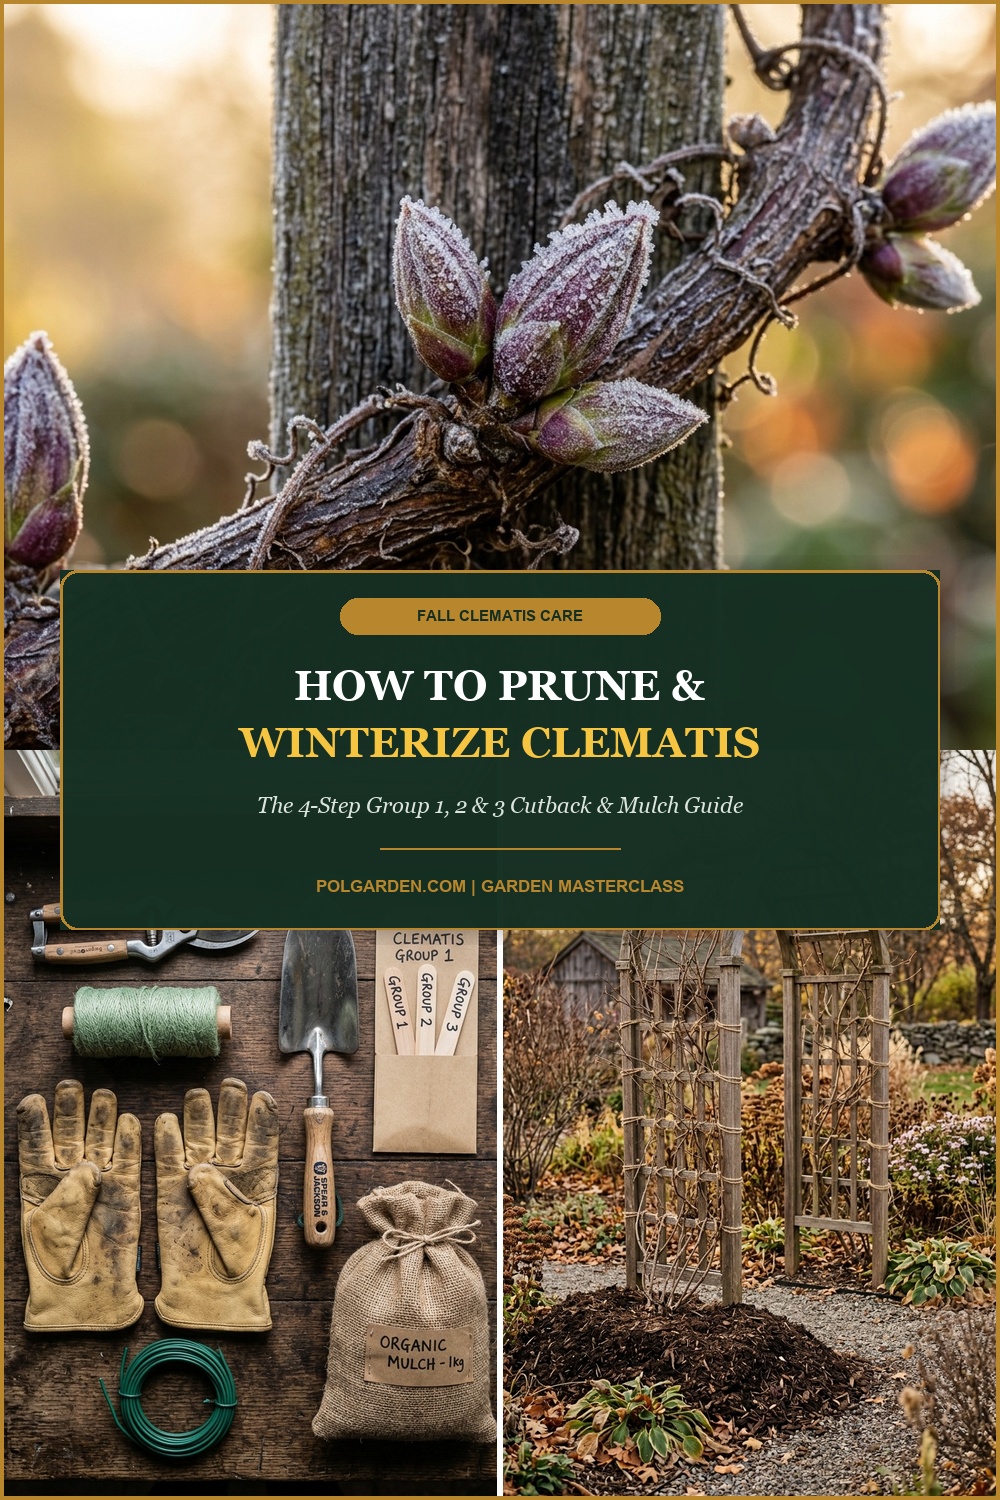
Known as the undisputed “Queen of Climbers,” clematis graces garden trellises, pergolas, and stone walls with breathtaking cascades of blossoms ranging from delicate spring bells to saucer-sized summer stars. Yet as autumn winds strip away the lush foliage, leaving behind a brittle tangle of bare vines, gardeners face one of the most perilous dilemmas in the flower border: should clematis be pruned in the fall, and how do you protect its shallow root system from harsh winter freezes? Make the wrong cut in October, and you risk severing an entire season’s worth of latent flower buds; fail to protect the crown, and freezing winds and frost heaving can destroy years of growth.
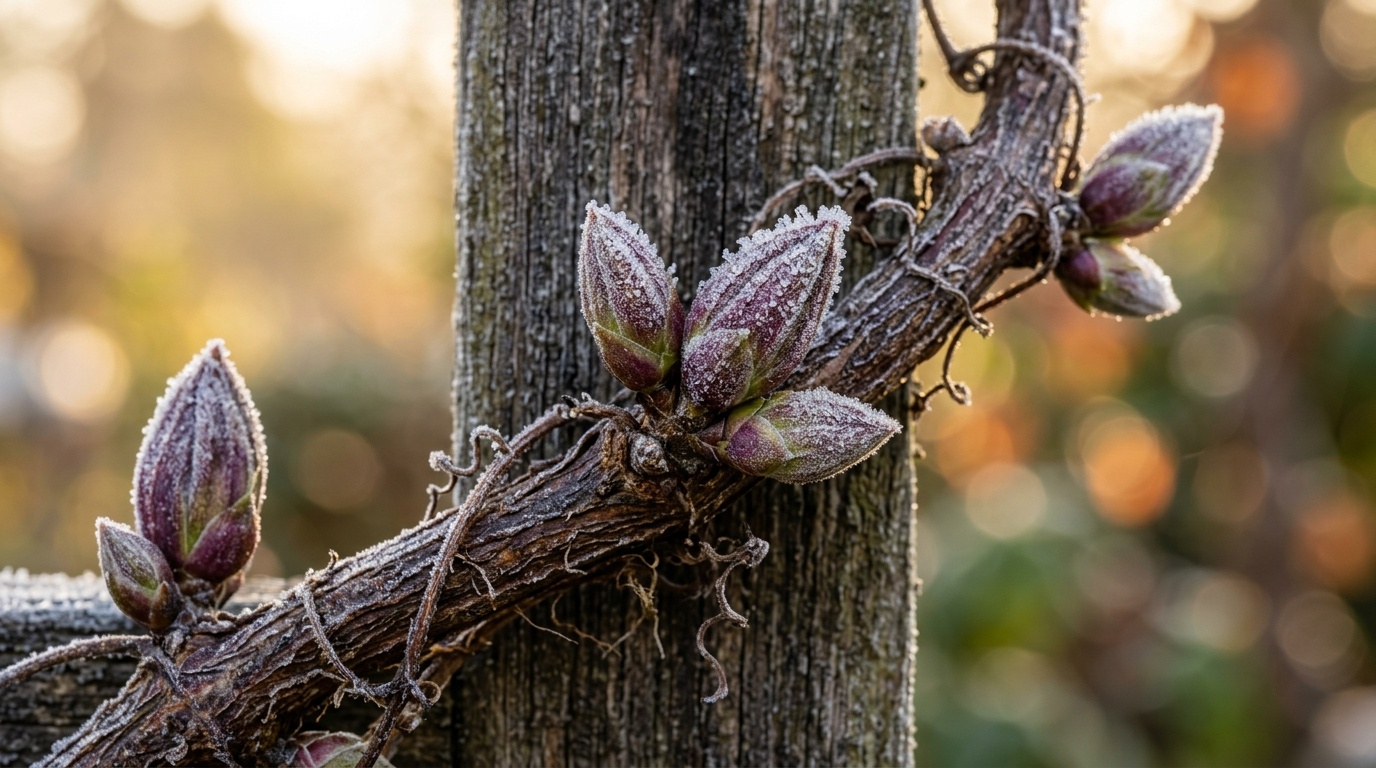
The secret to successful autumn clematis care lies in understanding the physiological division of the genus into three distinct botanical pruning groups based on flowering habit and wood maturity. While late-flowering varieties benefit from a substantial autumn or late-winter cutback, early and repeat bloomers carry next spring’s floral embryos locked inside microscopic bud scales formed during the previous summer. By combining precise group-specific pruning techniques with deep root hydration, crown sanitation, and protective thermal mulching, you ensure your clematis survives the deepest freezes and erupts into a spectacular blooming show come spring.
Why You’ll Love This Fall Clematis Protocol
- Guaranteed Spring Blooms: Eliminates catastrophic pruning mistakes by pinpointing exactly which stems carry next year’s flower buds versus spent wood.
- Clematis Wilt Eradication: Proper fall sanitation and diseased cane removal break the reproductive cycle of fungal pathogens like Calophoma clematidina.
- Frost Heave & Crown Protection: Shields the shallow, fibrous root base against erratic winter freeze-thaw cycles that heave crowns out of the soil profile.
- Wind Damage Prevention: Reinforces brittle dormant canes against winter gales and heavy snow loads that snap structural vines off their supports.
Essential Fall Supplies & Group Identification
Before making a single cut, gather the proper clean tools and confirm which pruning classification your specific clematis cultivar belongs to.

- Precision Bypass Hand Pruners: Always use sharp bypass pruners rather than anvil pruners; anvil pruners crush the vine’s delicate vascular cambium, inviting fungal rot into dormant stems.
- Sterilizing Solution (70% Isopropyl Alcohol): Disinfecting blades between plants prevents cross-contaminating healthy vines with clematis wilt or leaf spot spores.
- Soft Garden Jute Twine or Foam Plant Ties: Crucial for securing brittle dormant vines firmly against trellises without cutting into bark during winter storms.
- Aged Bark Mulch or Well-Rotted Compost: Provides thermal insulation over the root zone and feeds soil biology without suffocating the plant’s crown.
- Sturdy Leather Gardening Gloves: Protects hands from splinters on weathered wooden arbors and thorny climbing companion stems.
Step-by-Step Clematis Winterizing Walkthrough
Follow these four chronological steps from late autumn after the first light frosts through the onset of true ground freezing.
Step 1: Identify Your Pruning Group (The Cardinal Rule)
Never take pruners to a clematis without knowing which of the three recognized pruning groups it belongs to:
- Group 1 (Early Spring Bloomers): Varieties like Clematis montana, C. alpina, and C. macropetala bloom exclusively on old wood produced during the prior growing season. Autumn Rule: DO NOT prune in fall! Cutting back Group 1 vines in autumn removes all of next spring’s flower buds. Only remove dead, damaged, or completely diseased stems. Major structural pruning should occur strictly in late spring immediately after flowering ends.
- Group 2 (Large-Flowered Early Summer Hybrids): Iconic varieties including ‘Nelly Moser’, ‘Henryi’, ‘The President’, and ‘Duchess of Edinburgh’ bloom twice—first on old wood in late spring, then on new summer growth. Autumn Rule: Light tidy-up only. Remove dead foliage, trim weak or dead branches, and deadhead old spent seedheads back to the topmost pair of plump, visible dormant buds. Avoid heavy cutting until late February or March.
- Group 3 (Late Summer & Fall Bloomers): Includes beloved cultivars like ‘Jackmanii’, Clematis viticella, C. texensis (‘Princess Diana’), and Sweet Autumn clematis (C. terniflora). These varieties bloom exclusively on vigorous new growth produced each spring. Autumn Rule: Hard cutback optional in late fall or late winter. You can safely prune all stems back to approximately 12 to 18 inches (30–45 cm) above ground level, cutting just above a strong pair of dormant buds.
Step 2: Sanitized Cutback & Vine Thinning
Once you have identified your group, perform your sanitation cutback on a dry, overcast autumn afternoon. Damp conditions accelerate the transmission of airborne fungal spores.

When cutting canes, always angle your cuts at roughly 45 degrees, sloping away from the bud pair to prevent winter rainwater from pooling on the bud union. For Groups 1 and 2, trace stems carefully to ensure you are only cutting dry, brittle, dead wood rather than living dormant canes (dormant clematis wood often appears deceptively dead and gray on the outside while remaining vibrant green under the outer bark—scratch the bark lightly with your fingernail to check for living green tissue before cutting!).
Gather all fallen leaves, spent seed heads, and vine clippings from the trellis base. Never let rotting clematis foliage accumulate on the soil; dead leaves harbor fungal fruiting bodies of Phoma clematidina (the causal agent of clematis wilt) that survive winter and reinfect emerging spring shoots.
Step 3: Deep Root Hydration & Crown Mulching Collar
Clematis have a famous saying among horticulturists: “Heads in the sun, feet in the shade.” Their root systems are composed of fleshy, shallow, water-seeking roots that dry out easily under cold, dry winter winds.
Before the ground freezes solid in late November, give your clematis vine a thorough, deep soaking—delivering 4 to 5 gallons of water around the drip line. Hydrated root cells resist sub-zero freezing damage significantly better than dry, dehydrated root tissues.
Next, apply a 3- to 4-inch protective mulch mound composed of aged bark mulch, shredded leaves, or clean compost around the base of the plant in a 12-inch radius. This insulating blanket regulates soil temperatures, locks in soil moisture, and protects the crown from the destructive cycle of frost heaving, which can snap fragile underground shoots cleanly off the root ball.
Step 4: Trellis Tie-Down & Winter Windbreak Shield
Winter winds are among the greatest threats to mature climbing clematis. High gales can whip unsecured dormant canes back and forth against wooden or metal trellises, cracking the structural vines and stripping away tender bud nodes.
Inspect all remaining canes and tie them loosely to the support structure using soft garden jute twine or flexible ties. Leave a small amount of slack so the vine is not choked as stems expand. In exposed, windy sites or USDA Zones 3 through 5, consider wrapping the lower 3 to 4 feet of the trellis with breathable natural burlap to act as a winter windbreak, reducing wind chill and desiccation.
3 Expert Secrets for Spectacular Spring Clematis Blooms
Elevate your clematis displays to professional botanical garden standards with these proven cultivation insights:
1. The “Two Deep Buds” Insurance Policy: When planting or remulching clematis, ensure the plant’s crown is buried 3 to 4 inches below the surrounding soil line. This intentional deep planting submerges at least two active bud nodes below ground. If top growth is ever devastated by extreme winter cold, mechanical damage, or clematis wilt, the insulated subterranean buds will promptly push vigorous new shoots straight from the root system in spring.
2. If in Doubt, Don’t Cut in Fall: If you inherited a clematis with an unknown cultivar name and pruning group, practice the golden rule: leave it alone in fall! Allow the vine to overwinter with its full canopy intact. In spring, observe where the flower buds emerge. If blooms appear on old wood in May, it is Group 1 or 2; if it produces new stems that bloom in July or August, it is Group 3. Once you observe its natural rhythm, you can safely apply the correct pruning protocol next season.
3. Root-Zone Shading Companions: Preserve the vital cool root environment by planting low-growing, non-invasive perennial groundcovers or placing flat decorative flagstones over the root zone on the southern side of the vine base. This natural shading keeps soil cool during unseasonable midwinter heat spikes, preventing premature bud swelling before the danger of frost has passed.
Companion Care & Garden Trellis Pairings
Clematis shines brightest when paired with compatible woody ornamentals and perennial garden companions that share similar winter care requirements.

- Climbing Rose Interplanting: Clematis and climbing roses are the quintessential British cottage garden pairing, blooming simultaneously and weaving through arbors. Review our complete walkthrough for winterizing climbing roses with mounding and burlap shields to coordinate seasonal care.
- Shade-Loving Root Protectors: Hostas provide exceptional natural shade over shallow clematis roots throughout hot summer afternoons. Synchronize your fall cleanup with our field guide on winterizing hostas and preventing crown pests.
- Perennial Cottage Border Partners: Herbaceous peonies planted along the front edge of clematis borders offer lush spring foliage; follow our protocol for cutting back peonies in fall to eliminate fungal blight.
- Aromatic Drought-Tolerant Accents: Fragrant Mediterranean perennials like English lavender thrive alongside sunny clematis beds; explore our tips on overwintering lavender and cold protection.
Spring Awakening & Early Season Feeding
As winter begins to recede and daytime temperatures consistently remain above 45°F to 50°F (7°C–10°C), begin waking up your clematis garden. Carefully pull back the mounded winter mulch from the center of the crown to expose the basal shoots to sunlight and warming spring breezes, leaving a 2-inch layer of organic mulch across the broader root zone.
Once new green shoots begin elongating in early spring, apply a top-dressing of well-balanced organic fertilizer (such as a 5-10-10 or rose food blend) high in potassium and phosphorus to stimulate robust root expansion and bud development. Avoid high-nitrogen fertilizers, which encourage excessive lush green foliage at the expense of floral buds.
Frequently Asked Questions
Can I prune all my clematis vines in late autumn?
No. Only Group 3 clematis (late summer/fall bloomers like ‘Jackmanii’ and Sweet Autumn) can safely be cut back hard in late autumn. Group 1 varieties must never be cut back in fall because they carry next spring’s flower buds on their existing wood. Group 2 varieties should receive only light deadheading and sanitation trimming.
How can I tell if a clematis stem is dead or just dormant in winter?
Clematis stems look notoriously brittle, dried, and lifeless during winter dormancy. Before cutting a stem you suspect is dead, perform a simple scratch test: gently scrape a tiny sliver of the outer gray bark with your thumbnail. If the tissue underneath is moist and bright green, the vine is fully alive and carrying dormant buds. If it is dry, brittle, and brown throughout, it can be pruned out.
What should I do if my clematis suffered from clematis wilt this year?
Clematis wilt causes sudden wilting and blackening of leaves and stems. If affected, prune all blackened stems all the way down to soil level in autumn. Sterilize your pruner blades with rubbing alcohol after each cut. Remove and destroy all fallen debris—never compost it. Provided the crown was planted deeply, healthy new disease-free shoots will emerge from underground dormant buds in spring.
Do potted clematis need special winter protection?
Yes. Clematis grown in patio containers is far more vulnerable to root freezing because container soil drops to ambient air temperature. In Zones 6 and colder, wrap the container in bubble wrap and burlap, or move the potted vine into an unheated garage or garden shed for the duration of winter dormancy, watering lightly once a month to prevent root desiccation.
Pin This Clematis Pruning & Winterizing Guide for Later
Love spectacular climbing flowers? Save this pin to your Pinterest Gardening or Flower Care boards so you always have the Group 1, 2, and 3 pruning rules at your fingertips every fall!