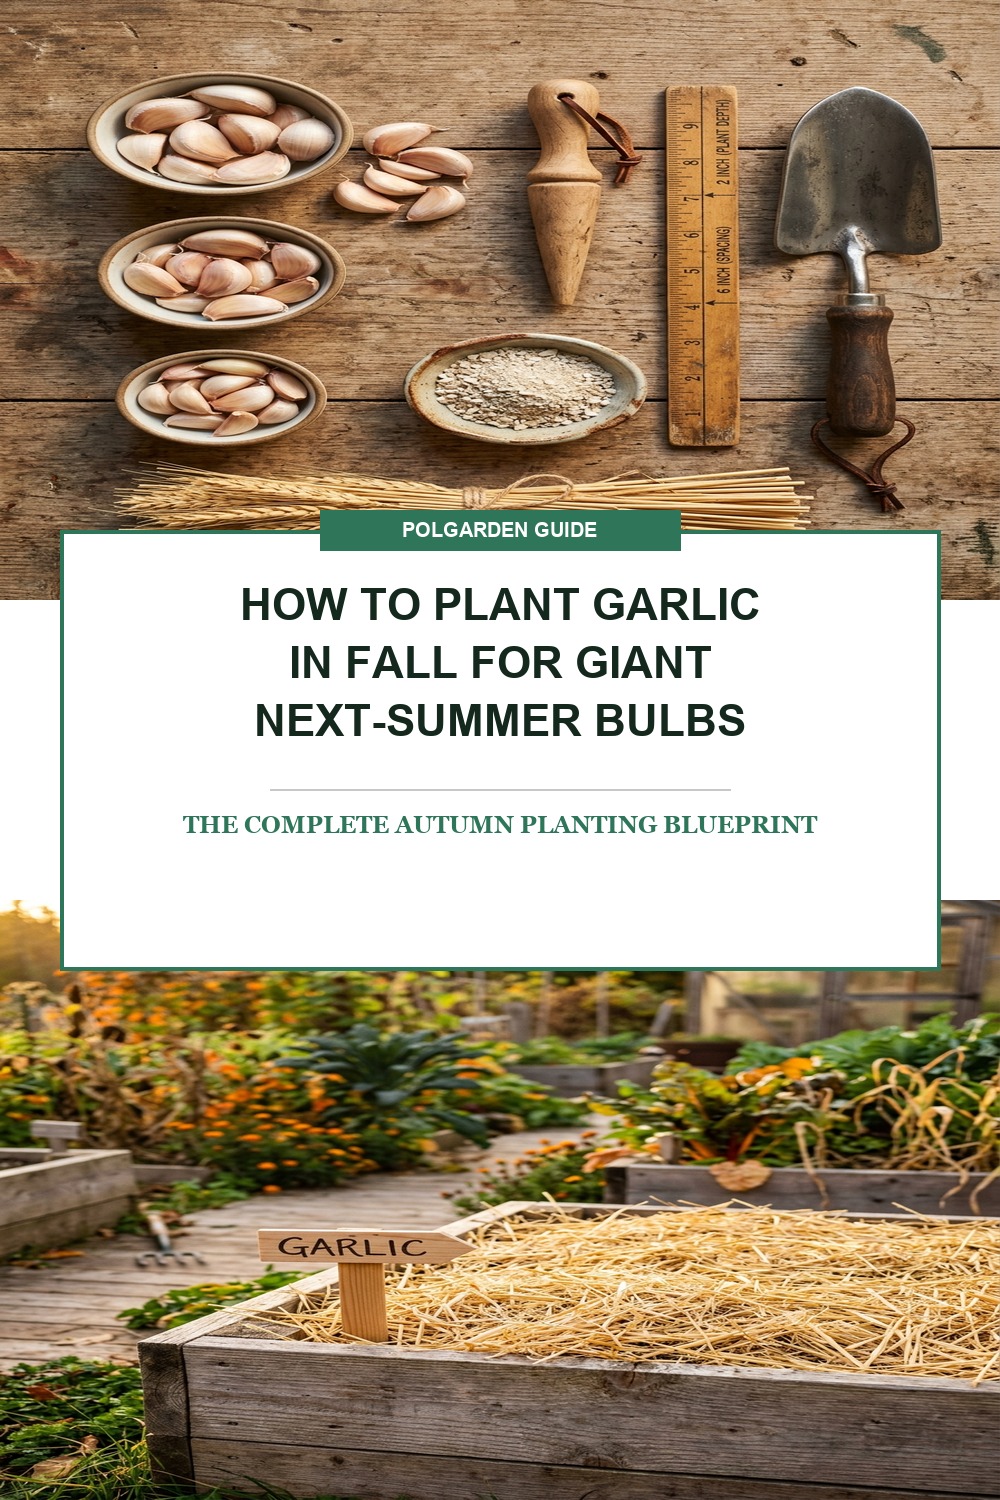
Every autumn between late September and mid-November, savvy vegetable growers tuck plump individual garlic cloves beneath cool, compost-rich soil while other gardeners are packing away their tools for winter. Because garlic (Allium sativum) requires a prolonged physiological chilling period known as vernalization—at least 6 to 10 weeks of temperatures hovering between 32°F and 45°F (0°C to 7°C)—fall planting is the non-negotiable secret to triggering individual clove differentiation. Cloves planted in autumn spend late October developing vigorous, frost-hardy subterranean root anchors before the ground freezes solid, positioning them for an immediate growth explosion the moment spring sunshine warms the soil.
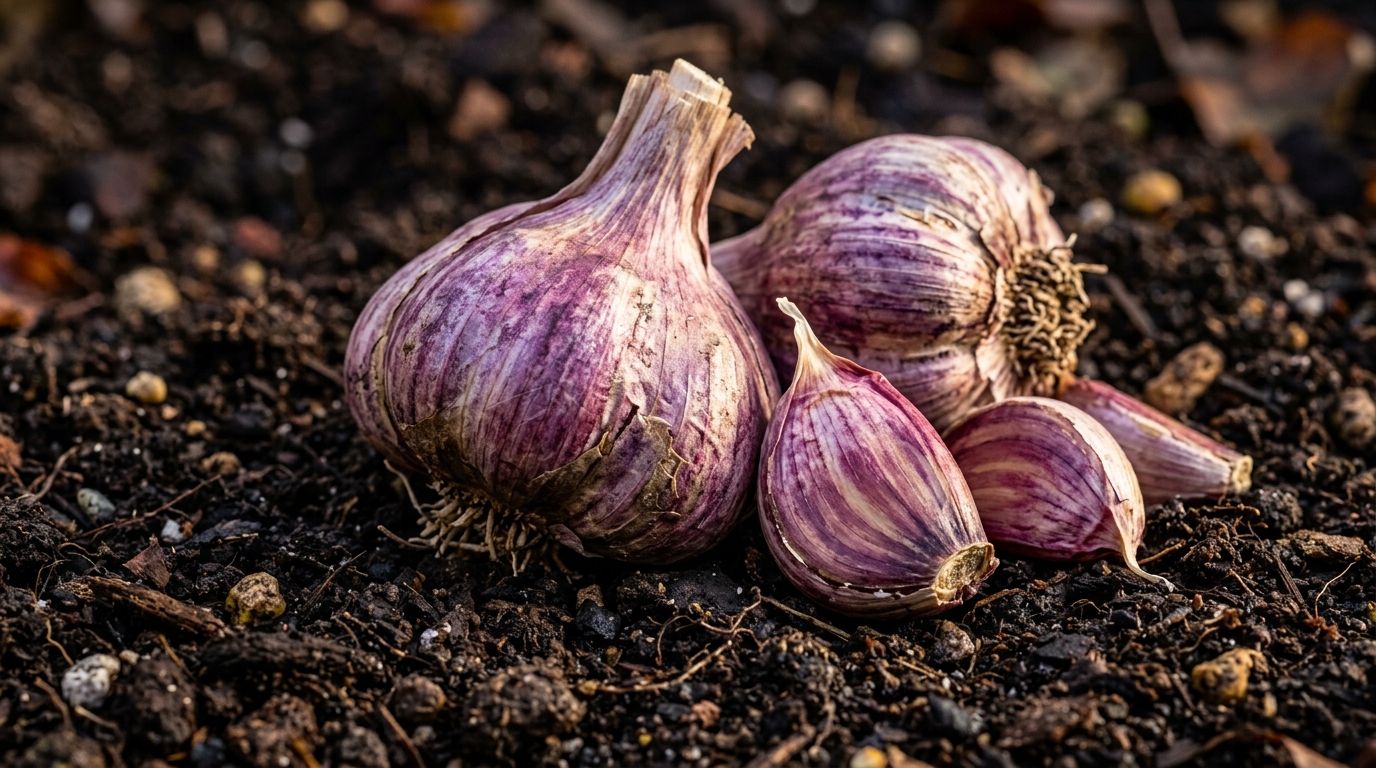
If you have ever harvested disappointing, golf-ball-sized garlic heads with tiny, papery cloves, the culprit was almost certainly spring planting or improper autumn clove selection. Grocery store garlic is frequently sprayed with synthetic growth inhibitors to prevent sprouting on supermarket shelves, and most commercial varieties originate from mild southern climates unsuited for cold northern winters. By sourcing certified organic seed garlic, enriching your bed with slow-release phosphorus and well-aged compost, and locking in thermal stability with a clean straw blanket, you can reliably harvest massive, fist-sized bulbs overflowing with robust culinary flavor next July.
Why You’ll Love Planting Garlic in the Fall
- Maximum Bulb Size & Density: Autumn-established root systems enable garlic plants to capitalize on early spring moisture and long daylight hours, yielding bulbs twice the size of spring-planted cloves.
- Effortless Hands-Off Overwintering: Once planted and mulched in October, garlic requires zero active watering, weeding, or maintenance throughout the freezing winter months.
- Bonus Spring Garlic Scape Harvest: Hardneck varieties send up curly, tender flower stems (scapes) in late spring that deliver a gourmet mild-garlic delicacy weeks before the main bulbs mature.
- Natural Pest Deterrent: The sulfur compounds naturally concentrated in garlic foliage and roots help repel subterranean soil pests, nematodes, and rodents across neighboring vegetable beds.
Seed Garlic Selection & Essential Supplies
Success begins with proper variety selection. Never plant cloves from supermarket heads; instead, order certified disease-free seed garlic from reputable growers or purchase organic bulbs from your local farmers’ market:

- Hardneck Garlic (Cold Climates – Zones 3–7): Varieties like ‘Chesnok Red’, ‘German Extra Hardy’, and ‘Music’ produce a stiff central woody stem, deliver exceptional complex heat, produce edible curled scapes in June, and possess supreme frost hardiness.
- Softneck Garlic (Mild Climates – Zones 7–10): Varieties like ‘Inchelium Red’ and ‘California Early’ feature pliable stems ideal for braiding, mature earlier, store for up to 9 to 12 months, and excel in regions with moderate winters.
- Organic Bone Meal or Rock Phosphate: High-phosphorus organic amendments stimulate explosive subterranean root establishment in cool autumn soil without forcing tender green foliage.
- Clean, Seed-Free Wheat or Oat Straw: An indispensable thermal blanket that insulates the bed against frost heaving, prevents soil compaction from winter rains, and suppresses early spring weeds.
- Sterilized Bypass Pruning Shears: Maintain sharp, sterilized tools following proven tool sanitization protocols for trimming roots and preparing soil rows cleanly.
Step-by-Step Garlic Autumn Planting Protocol
1. Timing the Window (2 to 3 Weeks Before First Hard Freeze): The ideal planting window occurs when soil temperatures at a 4-inch depth cool to between 50°F and 55°F (10°C to 13°C)—typically late September to mid-October in northern zones, and late October to mid-November in southern zones. You want enough subterranean warmth for cloves to grow a dense mat of white feeder roots, but not so early that tender green leaves push more than 1 to 2 inches above the soil before freezing weather arrives.
2. Prepare Rich, Well-Draining Soil: Garlic is a heavy feeder that deters heavy clay and standing water. Work 2 to 3 inches of well-rotted compost or aged leaf mold into the top 6 to 8 inches of your bed to loosen structure. Mix in 1/2 cup of organic bone meal per 10-foot row. If growing in containers or raised platforms, integrate our tested strategies on winterizing raised garden beds for optimal soil structure.

3. Crack and Grade Your Bulbs: Wait until the day of planting to “crack” your garlic heads into individual cloves. Leaving cloves intact on the bulb keeps them fresh; separating them weeks in advance dries out the basal root plate. Select only the largest, fattest outer cloves for planting—large cloves produce large bulbs, while skinny inner cloves produce diminutive heads (save small cloves for kitchen cooking!). Keep the papery wrapper intact to shield the clove against soil fungi.
4. Depth, Spacing & Orientation: Dig furrows or poke holes 2 to 3 inches deep (measure from the tip of the clove to the soil surface). Space cloves 6 inches apart within the row, with rows separated by 10 to 12 inches. Crucial orientation rule: always place the flat basal plate (where roots emerge) facing DOWN, and the pointed tip pointing straight UP. Planting upside down wastes critical plant energy as the emerging shoot must perform a 180-degree loop to reach the sun.
3 Master Secrets for Trophy-Sized Garlic Bulbs
1. The Pre-Planting Anti-Fungal Soak: To eliminate microscopic fungal spores (like white rot and basal rot) and give cloves an energetic head start, soak your separated cloves in a solution of 1 tablespoon baking soda and 1 tablespoon liquid seaweed kelp per gallon of water for 2 to 4 hours prior to planting. Finish with a 3-minute dip in 70% isopropyl alcohol or rubbing alcohol just before cloves enter the ground to sterilize the outer husk completely.
2. Deep 4-to-6-Inch Straw Mulch Blanket: Right after planting, thoroughly soak the bed once, then immediately layer 4 to 6 inches of loose wheat straw, shredded leaves, or clean pine straw across the entire planting area. This insulating blanket stabilizes subterranean temperatures, prevents deadly frost heaving (similar to our strawberry winter crown protection guide), and retains vital winter soil moisture.
3. Snap Garlic Scapes in June: If planting hardneck garlic, your plants will produce decorative curling green seed stems called scapes in early summer. As soon as the scape completes one full curl, snap or snip it off at the base. Removing the scape redirects 100% of the plant’s photosynthetic energy away from flower production and funnels it directly into swelling the underground bulb, increasing final harvest size by up to 30%!
Overwintering & Spring Care Roadmap
Once winter sets in, garlic enters a semi-dormant stage under its protective mulch cushion. Follow this seasonal roadmap to guide your crop from winter thaw to harvest basket:

- Early Spring Thaw (March–April): As snow melts and green shoots spear upward through the straw, gently fluff the mulch to allow shoots unimpeded access to sunlight. Keep 2 inches of straw in place to keep weeds suppressed and conserve spring moisture.
- Spring Nitrogen Boost: Once shoots reach 6 inches tall, side-dress your rows with high-nitrogen organic fertilizer (like blood meal, fish emulsion, or feather meal) every 3 weeks until late May. Garlic requires substantial nitrogen to build tall green leaves before bulb swelling begins.
- Tapering Water Before Harvest (Late June–July): When bulbs finish swelling in mid-summer, cease all supplemental irrigation 2 to 3 weeks before digging. Dry soil allows papery bulb wrappers to cure smoothly on the plant and prevents post-harvest fungal rot during storage.
Frequently Asked Questions
Can I plant store-bought garlic from the grocery store?
It is strongly discouraged. Most supermarket garlic is treated with anti-sprouting chemicals, and widespread softneck varieties are frequently grown in California or China, lacking the winter hardiness needed to survive freezing soil in northern zones. Furthermore, commercial food garlic may harbor latent viruses that contaminate your garden soil for years. Always invest in certified organic seed garlic.
What if green garlic shoots sprout before winter freezes arrive?
Do not panic! It is common for cloves planted in warm October soil to push 1 to 3 inches of green tips above the ground. While freezing temperatures will burn the exposed foliage tips, the subterranean root system and growing crown remain safely insulated beneath the mulch and will emerge vigorously in spring.
How do I know when fall-planted garlic is ready to harvest?
Harvest timing is signaled by leaf senescence in midsummer (usually July). Watch the lower foliage: when the bottom 3 to 4 leaves turn completely brown and dry, while 4 to 5 upper leaves remain green, your garlic is ready. Each green leaf corresponds to an intact protective wrapper layer around the bulb underground.
Pin This Fall Garlic Planting Guide for Later
Dreaming of harvesting giant, aromatic heirloom garlic bulbs next summer? Save this complete autumn clove planting, soil preparation, and winter straw mulching blueprint to your Vegetable Gardening, Homesteading, or Fall Garden Prep boards on Pinterest so you have it ready when planting season arrives!