
Every autumn, well-meaning gardeners watch their vibrant strawberry patches succumb not to sub-zero arctic temperatures, but to two silent subterranean killers: frost heaving and fungal crown rot. While strawberry plants are remarkably cold-hardy perennials that naturally enter winter dormancy as temperatures plunge, their shallow, fibrous root systems remain exceptionally vulnerable to repetitive freeze-thaw cycles that physically eject root crowns out of the soil. Left exposed to desiccating winter winds, naked crowns freeze solid below 15°F (-9°C), extinguishing next spring’s juicy berry crop before blossoms even have a chance to form.
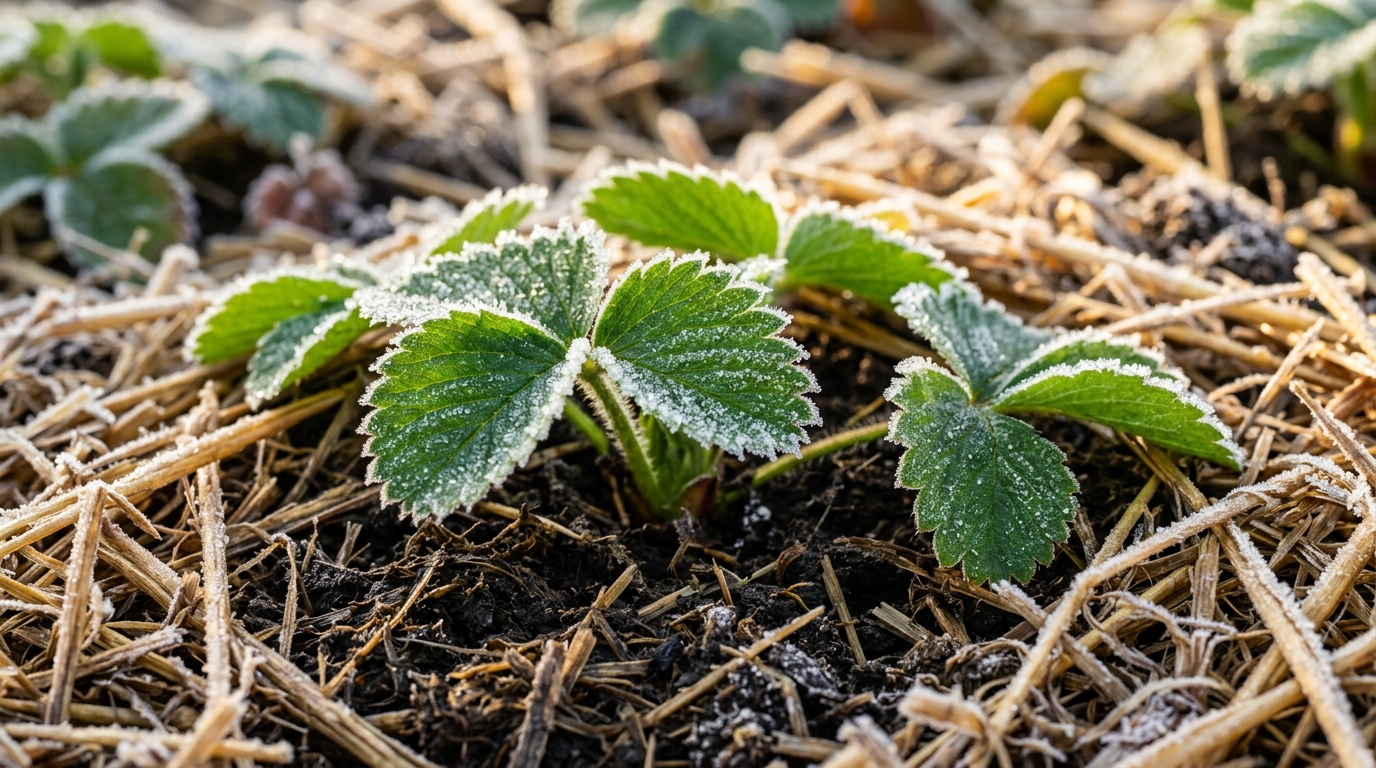
Winterizing strawberry beds is not about keeping plants warm; it is about keeping the soil consistently frozen and shaded so premature winter thaws cannot fool the crown into breaking dormancy. When unmulched soil repeatedly expands during afternoon sunshine and contracts during midnight freezes, the resulting mechanical heave snaps anchor roots and leaves tender crowns suspended in dry, freezing air. Master gardeners prevent this heartbreak by waiting for the biological dormancy trigger, executing targeted sanitization pruning, and locking in thermal stability with clean, seed-free organic mulch.
Why You’ll Love Winterizing Your Strawberry Patch
- Guaranteed Spring Berry Explosions: Preserving intact, unfrozen flower buds within the dormant crown ensures your plants produce heavy clusters of jumbo June-bearing and everbearing berries.
- 100% Frost Heaving Prevention: A proper mulch blanket acts as an insulating thermal buffer, preventing the soil surface from fluctuating through destructive freeze-thaw cycles.
- Complete Fungal Eradication: Clearing diseased summer foliage and applying autumn organic protection halts common leaf spot, powdery mildew, and anthracnose spores from overwintering.
- Minimal Spring Weed Invasion: Dense winter mulching suppresses early-spring weed seeds (like chickweed and henbit) from invading bare berry rows when soil warms in March.
Essential Supplies & Mulch Selection
Choosing the correct mulch material is the difference between thriving crowns and soggy spring rot. Never use whole autumn leaves or heavy compost directly over strawberry crowns; flat deciduous leaves mat down into an airtight, sodden blanket that suffocates crown respiration and fosters fatal gray mold (Botrytis cinerea).

- Seed-Free Clean Straw: The gold standard. Wheat straw, oat straw, or barley straw provides exceptional loft, trapping insulating air pockets without collapsing under heavy snow loads. Always verify with your supplier that it is straw (hollow cereal stems) and not hay (which contains millions of persistent pasture weed seeds).
- Pine Needles (Pine Straw): An outstanding alternative, especially in southern and mid-Atlantic regions. Pine needles interlock loosely without matting, allow superior airflow, and naturally repel winter slugs.
- Bypass Hand Pruners: Required for sanitizing old, spotted leaves without tugging on brittle autumn crowns. Sterilize blades with 70% isopropyl alcohol between rows.
- Organic Copper Fungicide or Sulfur Dust: An essential pre-mulch spray that sterilizes fungal spores lurking on the crown and surrounding soil before you cover the bed.
- Floating Row Cover (Frost Fleece): In extremely windy or sub-zero climates (Zones 3–5), draping medium-weight agricultural fabric over the straw prevents fierce winter winds from scattering your mulch.
Step-by-Step Strawberry Winterizing Protocol
1. Timing the Mulch (The Hard Frost Window): Timing is paramount. Applying mulch too early in autumn traps warm soil heat, prevents plants from developing hardiness, and causes crowns to rot under dark moisture. Wait until your garden has experienced three to four consecutive nights of hard frost (temperatures dipping between 20°F and 25°F / -6°C to -4°C). By this time, strawberry foliage will turn a deep burgundy or dull gray-green and lie flat against the soil, signaling that physiological dormancy is complete.
2. Sanitize and Weed the Bed: Carefully remove all summer weeds from around the crowns. Use sharp shears to trim away brown, dead, or spotted leaves showing purple halos (leaf spot). Remove all unrooted late runners, as these fragile offsets consume stored crown energy without surviving deep freezes. Dispose of all clipped debris in the trash rather than your compost pile to eliminate lingering fungal inoculums.

3. Thorough Autumn Hydration: One to two days before your first sustained sub-freezing freeze, soak the strawberry bed deeply. Moist soil holds up to four times more thermal heat than bone-dry soil, creating a subterranean geothermal buffer that protects delicate fibrous roots from freezing desiccation. Never send dehydrated strawberry crowns into winter dormancy.
4. Fluffing and Layering the Straw: Shake out your straw flakes by hand to break up tight clumps into an airy, springy matrix. In USDA Zones 5 through 7, apply a loose 3- to 4-inch blanket over the entire bed. In bitterly cold northern climates (Zones 3 and 4), increase the layer to 5 to 6 inches. Gently tuck straw between individual plants so no bare soil remains exposed to freezing winds.
3 Master Secrets to Prevent Crown Rot & Frost Heaving
1. The Soil Temperature Threshold (40°F): Do not judge winterization timing by daytime air temperature alone. Use an inexpensive soil thermometer pushed 2 inches deep into your strawberry patch. Apply your protective straw blanket only when soil temperatures consistently drop to 40°F (4°C). Mulching earlier traps warm soil moisture and creates the ideal incubator for crown rot fungi.
2. The Air Pocket Principle: Never tamp or pack down your straw mulch with your feet or shovel. The thermal insulation comes entirely from the millions of microscopic dead air pockets trapped between loose straw stems. If heavy winter rains settle the mulch into a sodden mat, use a garden fork to gently fluff the top 2 inches to restore healthy ventilation.
3. Securing Beds Against Winter Gales: In open, windy sites, winter gusts can strip an entire strawberry patch bare in a single blizzard. Lay a sheet of breathable floating row cover fabric directly over the straw, anchoring the perimeter with wooden laths, garden stones, or metal landscape staples to lock the straw securely in place all winter long.
Winterizing Strawberries in Containers & Raised Beds
Strawberry plants grown in raised beds, hanging baskets, and terracotta planters experience far greater cold stress because freezing ambient air circulates on all sides of the root ball, causing containers to freeze weeks before in-ground garden soil.

- Raised Bed Insulation: Because raised bed soil freezes faster than in-ground earth, add an extra 1 to 2 inches of straw mulch across the surface and insulate the outer wooden or metal bed walls with bales of straw or burlap skirts to shield the edge roots. Pair this with our tested guide to winterizing raised garden beds for whole-garden resilience.
- Potted Containers (The Trench Method): Dig a trench in an empty vegetable bed and bury your plastic strawberry pots up to their rims in the earth. Mulch over the top with 4 inches of straw. The surrounding earth insulates the root ball just like in-ground plantings.
- Unheated Garage or Shed Storage: Move potted strawberries into an unheated garage, shed, or DIY cold frame greenhouse once plants are fully dormant. Check soil moisture once a month, adding just enough water to keep roots slightly damp without waterlogging.
Spring Uncovering: When & How to Remove Mulch
Removing mulch too early exposes tender emerging flower buds to late spring frosts, while leaving it on too long causes yellow, bleached foliage and delayed fruiting. Watch for biological signs rather than a rigid calendar date:
- The Green Leaf Signal: In late winter or early spring (typically mid-March to early April), pull back a small patch of straw. When you see fresh, pale green leaves beginning to emerge from the central crown, it is time to act.
- The Rake-to-Aisles Technique: Do not discard your winter straw! Gently rake the straw off the plant crowns and push it into the walking aisles between rows. Leaving this straw in the pathways suppresses spring weeds, retains soil moisture, and creates a clean, dry cushion that keeps ripening spring strawberries elevated off damp garden soil, preventing fruit rot.
- Frost Emergency Blanket: Keep your floating row cover fabric handy beside the bed. If weather forecasts predict a sudden late spring freeze while plants are flowering, simply pull the fabric back over the rows overnight to safeguard delicate blossoms.
Frequently Asked Questions
Can I use autumn fallen leaves to mulch strawberries?
Avoid using whole, un-shredded leaves. Large maple, oak, or sycamore leaves form a dense, impermeable wet mat when soaked by winter rain and snow, blocking oxygen and rotting the crown. If you must use leaves, shred them finely with a lawn mower and mix with equal parts straw or pine needles to preserve airflow, as detailed in our autumn garden mulch guide.
What happens if I mulch strawberries before the first freeze?
Mulching before plants experience sustained cold prevents crowns from entering deep physiological dormancy. The trapped warm soil encourages weak, leggy growth that easily rots in the dark, damp conditions under the mulch.
Do I need to fertilize strawberries in late autumn?
No. Never apply nitrogen fertilizer to strawberries in late autumn. Late nitrogen applications force tender vegetative growth that lacks frost hardiness, resulting in catastrophic winterkill when freezing temperatures arrive. Reserve fertilizing for early spring when new growth naturally commences.
Pin This Strawberry Winterizing Guide for Later
Love growing sweet, heavy-bearing strawberries? Save this complete crown protection and mulching blueprint to your Fruit Gardening, Berry Patch, or Fall Garden Prep boards on Pinterest so you never lose a strawberry patch to winter frost heaving or crown rot again!