
Have you ever looked at your kitchen scraps and thought they could contribute to something greater? Vermicomposting is a fantastic way to transform those vegetable peels and coffee grounds into nutrient-rich compost that can work wonders for your garden. Not only does it help you reduce waste, but it also creates a sustainable ecosystem right in your backyard.
Starting your vermicomposting journey may seem daunting, but trust me—it’s simpler than you might think. With just a few tools and a little bit of patience, you can cultivate a thriving community of worms that will break down your organic waste into ‘black gold’ for your plants. Let’s dive into the world of vermicomposting together and discover how you can turn your kitchen scraps into garden gold.
Table of Contents
- What is Vermicomposting?
- Benefits of Vermicomposting
- Types of Worms for Vermicomposting
- Tools Needed for Vermicomposting
- Steps to Start Vermicomposting
- Seasonal Tips for Vermicomposting
- Common Mistakes in Vermicomposting
- Expert Tips for Successful Vermicomposting
- FAQs about Vermicomposting
- Conclusion
What Is It?

Vermicomposting is a method of composting that utilizes earthworms to break down organic materials into nutrient-rich compost, often referred to as ‘worm castings.’ This process not only enriches your soil but also promotes healthy plant growth by improving soil structure and moisture retention. It’s an eco-friendly way to recycle kitchen scraps and yard waste, providing a sustainable solution to waste management.
At its core, vermicomposting involves creating a habitat where worms can thrive while processing your kitchen waste. The worms consume these materials and excrete castings that are densely packed with nutrients, making them a fantastic natural fertilizer. With a little effort, you can create a thriving worm bin that turns your leftovers into garden gold.
- Utilizes earthworms to break down organic waste.
- Produces nutrient-rich compost known as worm castings.
- Eco-friendly solution for recycling kitchen scraps.
- Improves soil health and promotes plant growth.
Key Benefits
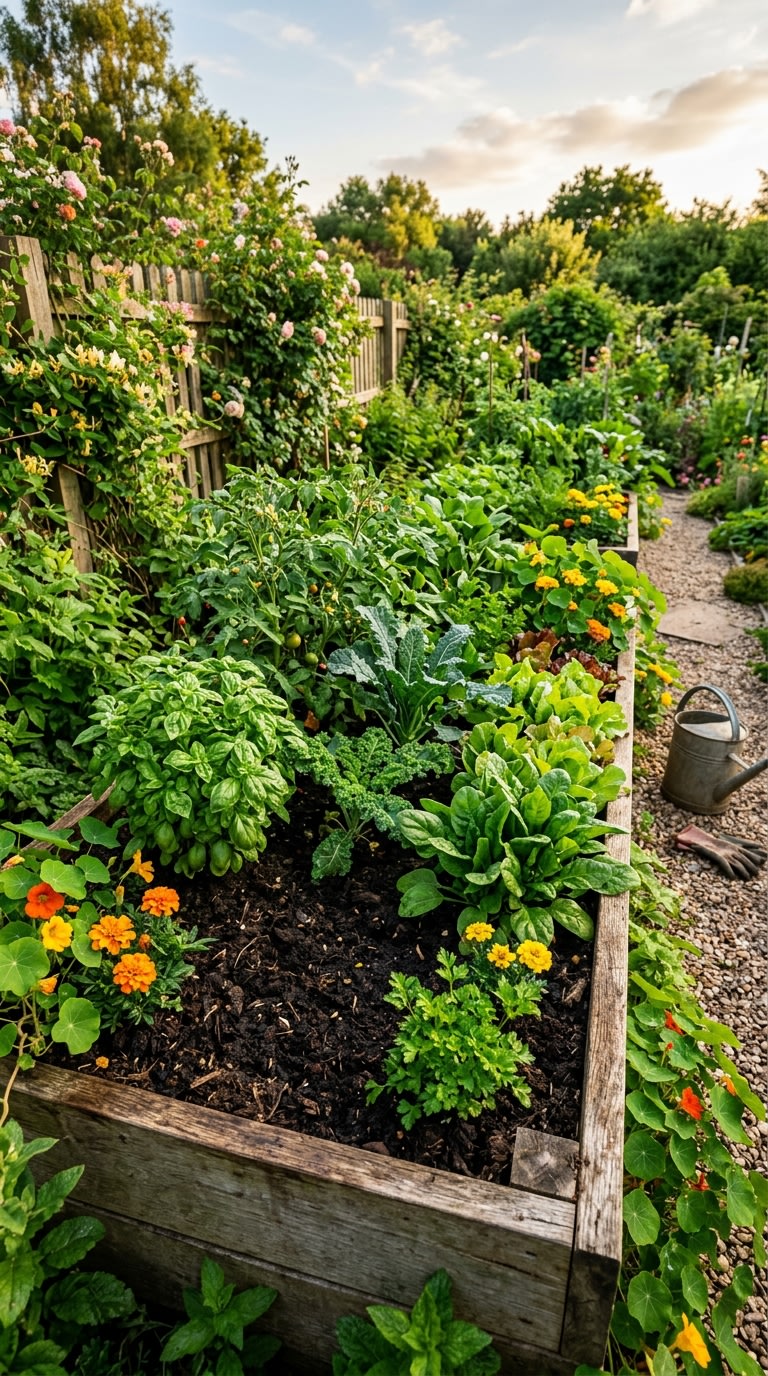
- Nutrient-Rich Fertilizer — The castings produced by worms are packed with essential nutrients like nitrogen, phosphorus, and potassium, which are vital for plant growth. This natural fertilizer enhances soil quality and promotes healthier plants without the use of chemicals.
- Waste Reduction — Vermicomposting helps divert organic waste from landfills, reducing your carbon footprint. By recycling kitchen scraps and yard waste, you contribute to a more sustainable environment and lessen the waste you generate.
- Improved Soil Structure — Worm castings improve soil aeration and water retention, creating a better environment for plant roots. This leads to stronger, more resilient plants that can thrive in different conditions.
- Cost-Effective — By creating your own compost, you save money on commercial fertilizers and soil amendments. It’s a budget-friendly way to enrich your garden while using materials you already have.
- Educational Experience — Vermicomposting is a wonderful way to learn about ecosystems and sustainability. It provides hands-on experience for families and children, promoting environmental awareness and responsibility.
Step-by-Step Guide
Step 1: Select Your Worms

Choosing the right type of worms for your vermicomposting setup is crucial. Red wigglers are the most commonly used worms for composting due to their ability to thrive in a confined environment and their appetite for organic waste. Consider your climate and the conditions in which you’ll be composting when selecting your worms.
Each type of worm has its strengths and weaknesses, so research which variety best suits your needs. For instance, if you live in a warmer region, African nightcrawlers might be a great choice, while European nightcrawlers are better for cooler climates.
Example: For beginners, red wigglers are often the best choice.
Pro Tips:
- Purchase worms from a reputable supplier to ensure quality.
- Start with a small quantity and observe how they adapt.
- Consider the size of your composting bin when selecting worm types.
Step 2: Prepare the Worm Bin

Setting up your worm bin is a straightforward process that requires a few simple steps. Start by selecting a suitable container that is well-ventilated to ensure the worms receive enough oxygen. You can use a plastic tub or even a wooden box, but make sure it has drainage holes to prevent water accumulation.
Next, add bedding material like shredded newspaper or cardboard to create a comfortable environment for your worms. Aim for about 4-6 inches of bedding to give them a cozy place to thrive. This bedding will also serve as a carbon source and help maintain moisture levels in the bin.
Example: A plastic bin with drainage holes filled with shredded newspaper makes an excellent worm habitat.
Pro Tips:
- Use a dark container to keep worms safe from light.
- Moisten the bedding slightly to create a humid environment.
- Avoid using glossy paper or colored inks in your bedding.
Step 3: Add Kitchen Scraps

Once your worm bin is prepared, it’s time to start adding kitchen scraps. Begin with small amounts of food waste, such as fruit peels, vegetable trimmings, and coffee grounds. Avoid adding meat, dairy, or oily foods, as they can attract pests and create odors. Cut the scraps into smaller pieces to speed up decomposition and make it easier for the worms to digest.
Mix the scraps into the bedding to help eliminate odors and create a balanced environment for the worms. Remember to monitor the amount of food you add, as overfeeding can lead to an unhealthy bin. Adjust the feeding frequency based on how quickly the worms are processing the scraps.
Example: Start with a handful of vegetable peels and gradually increase as the worms adjust.
Pro Tips:
- Rotate the scraps in the bin to ensure even decomposition.
- Use a separate container for collecting scraps to keep your kitchen organized.
- Observe the worms’ activity to gauge their feeding habits.
Step 4: Maintain Optimal Conditions

Maintaining the right conditions in your worm bin is essential for the health of your worms and the efficiency of the composting process. Worms thrive in a humid environment, so be sure to monitor moisture levels regularly. If the bin feels dry, lightly mist it with water to maintain the right balance. Conversely, if it’s too wet, add more dry bedding to absorb excess moisture.
Temperature is another vital factor; worms prefer a range between 55°F and 77°F. Avoid placing your worm bin in direct sunlight or extreme temperatures, as this can stress the worms. Regularly check for signs of distress, such as worms trying to escape, which may indicate poor living conditions.
Example: A well-maintained worm bin feels slightly moist but not soggy to the touch.
Pro Tips:
- Use a moisture meter to check levels accurately.
- Keep the bin in a shaded, temperate area.
- Stir the bedding occasionally to aerate and prevent compaction.
Step 5: Harvest the Compost

After several weeks to a few months of feeding and maintaining your worms, it will be time to harvest the compost. You’ll know it’s ready when the bedding has broken down and turned into a dark, crumbly substance that smells earthy and fresh. To harvest, gently remove the top layer of unprocessed scraps and bedding, exposing the rich compost below.
You can either scoop out the compost or move the worms to one side of the bin and add fresh bedding and food to the other side. The worms will migrate away from the light, allowing you to collect the finished compost easily. This nutrient-rich material can be used to enrich garden beds, potted plants, or even as a top dressing for your lawn.
Example: A dark, crumbly compost layer peeking through a layer of fresh bedding in the worm bin indicates it’s time to harvest.
Pro Tips:
- Harvest when the compost is dark and crumbly, typically every 3-6 months.
- Store excess compost in a sealed container to keep it fresh.
- Use the compost within a few months for best results.
Types & Varieties
Red Wigglers
These are the most popular worms for vermicomposting due to their voracious appetite and ability to thrive in various conditions. Red wigglers are small, reddish-brown worms that process organic material efficiently.
Best for: Ideal for indoor and outdoor composting systems.
European Nightcrawlers
Known for their ability to tolerate cooler temperatures and larger size, European nightcrawlers are excellent for both composting and fishing. They can consume larger quantities of waste compared to red wigglers.
Best for: Best for outdoor composting and larger bins.
African Nightcrawlers
These worms are larger and grow quickly, making them a popular choice for tropical climates. They are highly efficient at breaking down organic waste, producing rich compost in less time.
Best for: Suitable for warmer climates and rapid composting.
Indian Blue Worms
A lesser-known but effective composting worm, Indian blue worms are great for breaking down tough organic materials. They thrive in warmer environments and can produce compost quickly.
Best for: Effective for high-temperature composting systems.
Tools You Need

- Worm Bin — A well-ventilated container where worms can thrive and process organic materials. You can purchase a ready-made worm bin or make one from plastic or wood to suit your needs. — Available at: Available at garden centers or online retailers.
- Bedding Material — Materials like shredded paper, cardboard, or coconut coir provide a comfortable habitat for your worms. Bedding helps retain moisture and serves as a carbon source for the composting process. — Available at: Find at local stores or online suppliers.
- Kitchen Scraps Container — A dedicated container for collecting food scraps, such as vegetable peels and coffee grounds, before adding them to the worm bin. This keeps your kitchen organized while encouraging composting. — Available at: Any kitchen store or general retailers.
- Moisture Meter — A tool to measure the moisture level in your worm bin, ensuring that the environment remains optimal for the worms. It helps prevent over-watering or drying out. — Available at: Available at garden centers or online.
- Shredded Paper — Used as bedding in the worm bin, shredded paper provides carbon and helps with moisture retention. It breaks down slowly, contributing to the composting process. — Available at: Easily found in office supply stores or online.
Seasonal Tips

Timing your vermicomposting efforts with the seasons can significantly impact the health and productivity of your worms. Seasonal conditions affect temperature, moisture levels, and the availability of kitchen scraps. Understanding how to adapt your practices with changing seasons ensures a thriving worm population and successful compost production.
Spring
- Increase the amount of kitchen scraps as you start cooking more with fresh produce.
- Monitor moisture levels closely as spring rains can affect the bin.
- Consider expanding your worm bin to accommodate the growing composting demand.
Spring is an excellent time to refresh your worm bin and introduce new scraps as your gardening activities ramp up.
Summer
- Keep the worm bin in a shaded area to protect worms from heat stress.
- Check moisture levels frequently, as summer heat can dry out the bedding.
- Add more bedding to help retain moisture during hot spells.
Ensure your worms remain comfortable and well-fed during the warmer months.
Fall
- Collect fallen leaves to use as bedding material in the worm bin.
- Prepare to reduce feeding as outdoor cooking decreases with colder weather.
- Start harvesting compost to enrich your fall garden preparations.
Fall is the perfect time to stockpile compost for winter gardening.
Winter
- Keep the worm bin indoors or in a protected area to prevent freezing.
- Reduce feeding as worm activity slows down in colder temperatures.
- Monitor moisture levels carefully, as indoor heating can dry out the bin.
Focus on maintaining the worm bin’s conditions and keep the worms cozy.
Common Mistakes to Avoid

Overfeeding the Worms
Adding too much food can lead to odors and attract pests, harming the worm population.
How to fix: Start with small amounts of scraps and gradually increase as the worms adjust.
Using Wrong Bedding Materials
Bedding that contains chemicals or glossy paper can harm the worms and disrupt the process.
How to fix: Use natural, untreated materials like shredded paper or cardboard.
Not Monitoring Moisture Levels
Dry or overly wet conditions can stress worms and hinder composting.
How to fix: Regularly check moisture and adjust by adding water or bedding as needed.
Ignoring Temperature Fluctuations
Extreme temperatures can kill worms or slow down composting.
How to fix: Keep the bin in a stable, temperate environment away from direct sunlight.
Adding Meat or Dairy
These materials attract pests and create odors in your bin.
How to fix: Stick to vegetable scraps, fruit peels, and grains for feeding.
Expert Tips

Experiment with Different Scraps
Not all kitchen scraps are created equal, and some provide better nutrition for your worms than others. Try mixing various types of scraps, like fruit and vegetable peels, coffee grounds, and eggshells, to optimize the nutrient profile of the compost. This diversity will keep your worms healthy and happy.
Create a Composting Schedule
A well-planned schedule for adding scraps, checking moisture, and harvesting can streamline your vermicomposting efforts. Regularly scheduled tasks help ensure that you remain consistent and attentive to the worms’ needs, making the process more efficient and productive.
Use a pH Test Kit
Testing the pH level of your worm bin can help you maintain an optimal environment. Worms prefer a slightly acidic to neutral pH (around 6-7). If your bin is too acidic or alkaline, consider adding crushed eggshells to balance the pH and keep your worms thriving.
Incorporate Carbon-Rich Materials
Adding carbon-rich materials like dried leaves or shredded paper can improve the composting process. These materials help balance the nitrogen from kitchen scraps, creating a healthier environment for worms. A good rule of thumb is to maintain a carbon-to-nitrogen ratio of about 30:1.
Frequently Asked Questions
What types of worms are best for vermicomposting?
The best types of worms for vermicomposting are red wigglers, European nightcrawlers, and African nightcrawlers. Red wigglers are the most popular due to their efficiency in processing organic waste and adaptability to various conditions. European nightcrawlers are great for outdoor systems, while African nightcrawlers thrive in warmer climates. Each type has its unique benefits, so choose based on your specific composting needs.
How often should I feed my worms?
Feeding frequency depends on the size of your worm bin and the number of worms you have. Generally, you can feed your worms every 1-2 weeks, but always monitor their activity. If you notice that the worms are processing food quickly, you can increase the amount. Conversely, if there are uneaten scraps, reduce the amount you add. It’s essential to find a balance that works for your specific setup.
Can I vermicompost indoors?
Yes, vermicomposting can be done indoors, making it a great option for those with limited outdoor space. Just ensure that your worm bin is kept in a cool, dark place, away from direct sunlight and extreme temperatures. Indoor vermicomposting can help reduce kitchen waste while providing nutrient-rich compost for your indoor plants.
What can I add to my worm bin?
You can add a variety of kitchen scraps to your worm bin, including fruit and vegetable peels, coffee grounds, crushed eggshells, and some grains. However, avoid adding meat, dairy, oily foods, or processed items, as these can attract pests and create odors. Stick to organic waste, and your worms will thrive.
How do I know when my compost is ready?
Your compost is ready when it has transformed into a dark, crumbly substance with an earthy smell. This process typically takes several weeks to a few months, depending on the conditions in your bin. You can also check for a reduction in the original bedding and scraps, indicating that the worms have processed the materials effectively.
Vermicomposting is not just a way to reduce waste; it’s an enriching experience that connects you to nature and enhances your gardening efforts. By turning your kitchen scraps into valuable compost, you contribute to a more sustainable environment and ensure your plants thrive.
So why not take the first step today? Gather your materials, select your worms, and embark on your vermicomposting journey. Your garden will thank you for it!