Every autumn, millions of homeowners bag up fallen deciduous leaves and send tons of organic gold to landfills, only to buy expensive bags of peat moss and soil conditioners the following spring. Deciduous tree leaves contain twice the mineral content of barnyard manure, drawing trace elements from deep subsoils. Making your own fungal leaf mold produces the ultimate free, sustainable soil conditioner that dramatically improves water retention, aeration, and biological vitality.
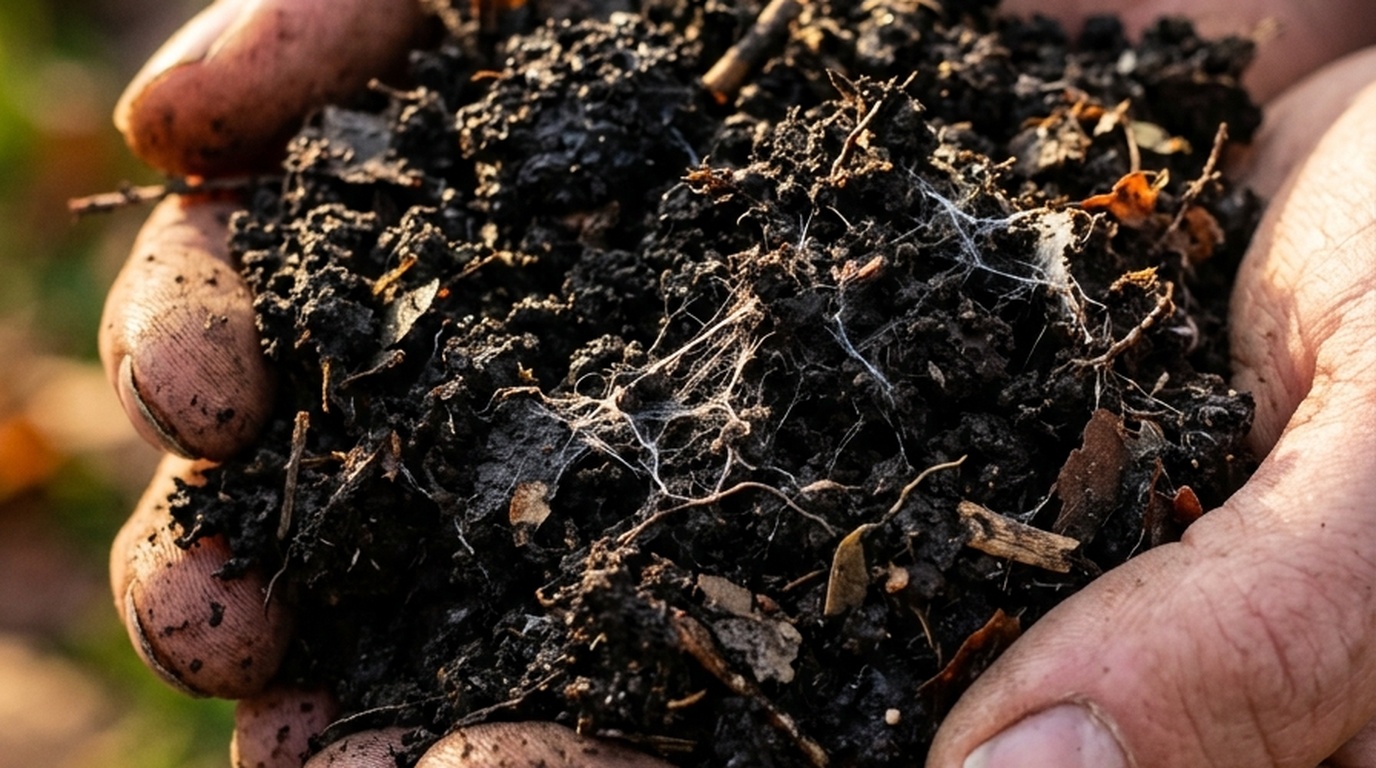
Unlike hot compost which relies on heat-generating thermophilic bacteria, leaf mold is produced via slow, cool fungal decomposition dominated by saprophytic fungi. This cold breakdown preserves carbon bonds, creating a spongy humus with a remarkable capacity to hold up to 500% of its weight in water.
- Difficulty: Super Easy / Beginner DIY
- Preparation Time: 30 Minutes (Setup)
- Decomposition Timeline: 6 to 12 Months (Shredded) vs 2 Years (Whole)
- Total Cost: $0.00 (100% Free Organic Material)
- Water Retention: Holds 500% Its Dry Weight in Moisture
Why You’ll Love This Method
- 100% Free Sustainable Peat Alternative: Replaces unsustainable Canadian peat moss with zero-cost homemade leaf humus.
- Massive Water Holding Capacity: Slashes summer garden irrigation needs by up to 50% when used as a mulch.
- Transforms Hard Clay & Sandy Soil: Inoculates soil with beneficial mycorrhizal fungi that loosen heavy clay and bind loose sand.
- Zero Weeds or Pathogens: Fallen tree canopy leaves are naturally free from agricultural weed seeds.
Essential Materials, Tools & Smart Swaps

- Fallen Deciduous Autumn Leaves (Oak, Maple, Beech, Birch): Avoid walnut leaves (juglone toxin) and thick waxy evergreen needles.
- Lawnmower or Leaf Shredder: Shredding leaves increases surface area, cutting decomposition time from 24 months down to 6 months.
- Wire Mesh Cylinder (Hardware Cloth or Chicken Wire): Simple 3×3 foot wire cage provides optimal airflow without expensive bins.
- Garden Hose with Spray Nozzle: Ensures leaves remain uniformly moist like a wrung-out sponge.
Step-by-Step Practical Walkthrough
1. Step 1: Collect and Shred Autumn Leaves: Rake dry autumn leaves and run over them with a mulching lawnmower. Shredded leaves settle tightly and decompose 3x faster than whole flat leaves.
2. Step 2: Build a Simple Wire Mesh Enclosure: Form a 3-foot circular cylinder using chicken wire or wire fencing, or use our DIY Pallet Compost Bin System directly over bare garden soil.

3. Step 3: Pack and Moisten in 6-Inch Layers: Fill the enclosure with shredded leaves, spraying each 6-inch layer thoroughly with water. Fungi require consistent moisture to colonize.
4. Step 4: The Nitrogen Kickstart Secret (Optional): Mix in a bucket of spent coffee grounds or a cup of organic blood meal to feed initial fungal inoculants.
5. Step 5: Let Fungal Mycelium Work Passively: Cover the top with a tarp or burlap sack to retain moisture; leave unturned for 6 to 12 months until it transforms into dark, sweet-smelling earthy humus.
3 Master Gardener Secrets for 100% Success
1. Shredding is the Golden Rule: Whole leaves mat together into waterproof sheets that block air and stall decomposition. Always shred leaves before piling.
2. The Black Garbage Bag Method (For Small Gardens): No room for a compost bin? Stuff shredded damp leaves into black plastic trash bags, poke 6 small air holes with a garden fork, tie shut, and leave behind the garage for 9 months.
3. Use as Top-Dressing Around Heavy Feeders: Spread a 2-inch layer of finished leaf mold over beds amended for Clay Soil Remediation to create living mycorrhizal pathways.
Best Autumn Leaves for Premium Leaf Mold

- Maple, Birch, Ash & Cherry: Fast-decomposing leaves rich in calcium that break down into velvety leaf mold in under 9 months.
- Oak & Beech Leaves: High in lignin and tannins; breaks down slower (12–18 months) to create long-lasting acidic humus ideal for blueberries and azaleas.
- Fruit Tree Leaves (Apple, Pear): Adds rich mineral nutrients; ensure trees were free from severe scab.
- Leaves to Avoid: Black Walnut (contains juglone growth inhibitor), eucalyptus, and thick toxic laurel leaves.
Seasonal Timing, Storage & Maintenance
- Top-Dressing Application: Apply 2 to 3 inches of semi-decomposed leaf mold as a protective winter mulch over garlic and strawberry beds.
- Potting Mix Component: Sift finished crumbly leaf mold through a 1/4-inch wire mesh and blend 30% into DIY container potting mixes.
- Moisture Maintenance: Check outdoor piles during dry spells and spray with water if top layers dry out.
Frequently Asked Questions
What is the difference between compost and leaf mold?
Traditional compost is broken down by heat-producing bacteria into rich nutrients; leaf mold is broken down by cool fungi into a long-lasting physical soil conditioner that holds massive moisture.
Are oak leaves too acidic for garden vegetables?
While fresh oak leaves are slightly acidic, the resulting decomposed leaf mold has a near-neutral pH (6.5 to 7.0) perfectly balanced for all garden vegetables.
How do I know when leaf mold is finished and ready to use?
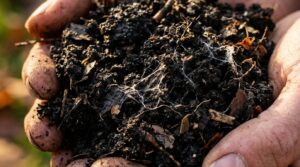
Finished leaf mold is dark brown to black, crumbly, holds moisture like a wrung-out sponge, and smells like a fresh autumn forest floor with zero recognizable leaf fragments.
Planning Your Autumn Garden? Pin This Guide!
Save this DIY organic leaf mold guide to your favorite Garden DIY or Soil Health board on Pinterest so you always have the step-by-step black gold recipe ready when autumn leaves begin to fall.