As the crowning glory of the autumn perennial border, upright stonecrop—most famously represented by Hylotelephium telephium ‘Autumn Joy’ (formerly Sedum spectabile)—delivers months of architectural structure, transitioning from broccoli-like summer buds to deep rose-pink flower clusters and finally to rich russet-coppery seedheads in late October. Yet as frosts intensify, gardeners confront a classic autumn conundrum: should sedum be cut back to the ground in late autumn, or should its dried seedheads be left standing through the snow? Make the wrong decision or apply heavy organic winter mulch, and your hardy succulent crowns can turn to black, waterlogged mush before spring arrives.
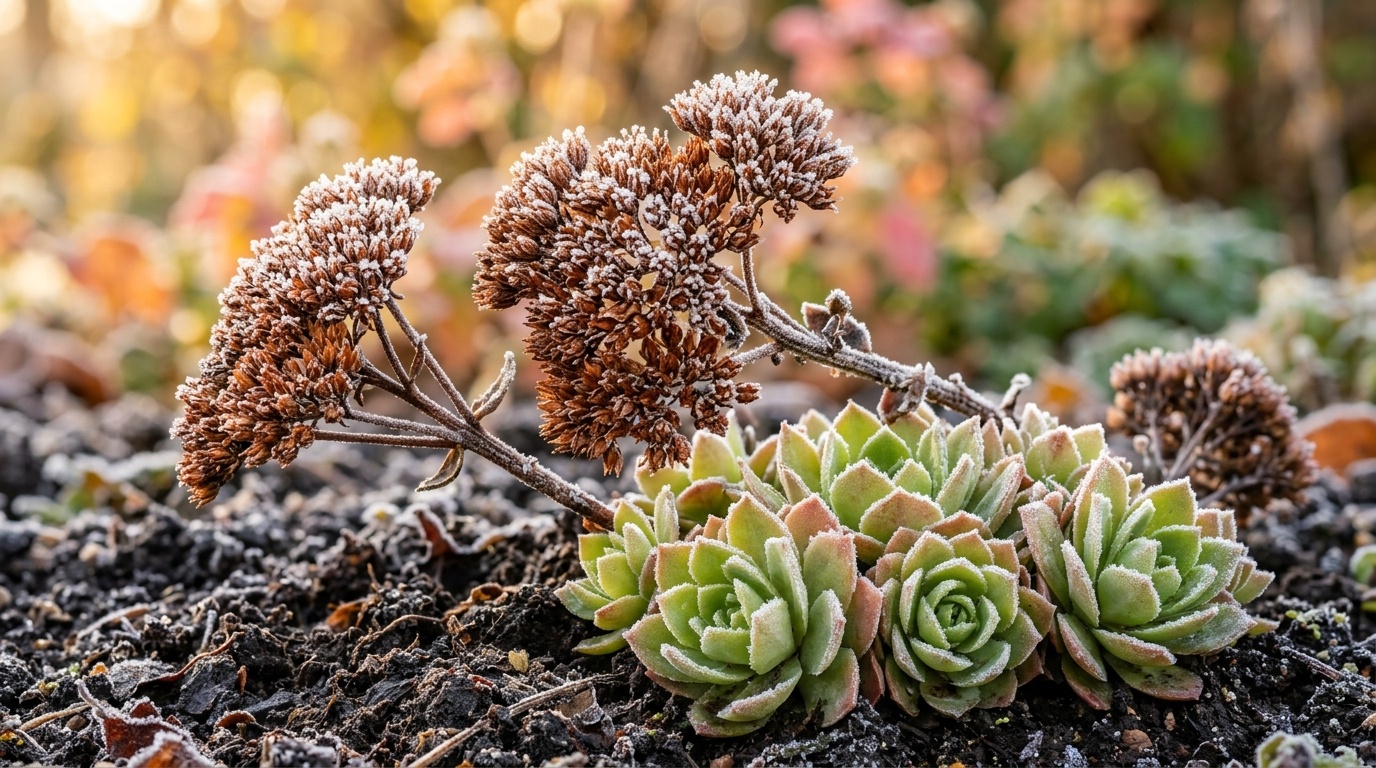
Understanding sedum’s botanical adaptation is the key to foolproof winterizing. Unlike fleshy herbaceous perennials that die completely to subterranean tubers, upright sedums possess a unique survival mechanism: by late autumn, the plant has already formed its entire crop of next year’s growth in the form of tight, cabbage-like succulent rosettes huddled directly against the soil surface at the base of the old stems. While these hardy basal rosettes can easily survive temperatures dropping to -30°F (-34°C) across USDA Hardiness Zones 3 through 9, they have one fatal vulnerability: excess moisture. Treating sedum like an ordinary perennial with heavy wood mulch or suffocating leaves traps winter snowmelt directly against dormant crowns, triggering devastating fungal crown rot.
Why You’ll Love This Fall Sedum Strategy
- Zero Crown Rot Guarantee: Replaces rotting organic mulches with mineral drainage collars that keep succulent basal rosettes dry and well-aerated through damp winter thaws.
- Wildlife & Winter Interest: Explains exactly when to leave architectural flowerheads standing to feed overwintering finches, chickadees, and songbirds through snowy months.
- Surgical Stem Removal: Teaches precise cutting height that eliminates foliar blight without gouging or decapitating emerging spring crown rosettes.
- Stout, Non-Flopping Stems Next Year: Prepares the root zone to produce strong, self-supporting stems that won’t split open or splay in heavy summer rainstorms.
Essential Fall Supplies & Crown Inspection
Sedum winterizing requires sharp cutting tools and mineral-based top-dressing materials designed to shed excess winter water rather than trap moisture.

- Precision Bypass Hand Pruners: Sharp bypass shears allow you to reach cleanly between dense dried stems without bruising or tearing adjacent succulent tissue.
- Tool Disinfecting Spray (70% Isopropyl Alcohol): Sterilizing your pruner blades between plants stops the spread of Septoria sedi leaf spot and Rhizoctonia fungal spores.
- Coarse Pea Gravel or Horticultural Grit: Clean, 1/4-inch crushed granite, poultry grit, or pea gravel creates an inorganic drainage collar around the crown that prevents soil splash and crown saturation.
- Sturdy Leather Gardening Gloves: Protects hands from abrasive, brittle stems and dried seedhead chaff during autumn clean-up.
- Wire Hand Rake & Narrow Trowel: Ideal for gently extracting trapped deciduous autumn leaves from the center of the sedum clump without damaging tender basal buds.
Step-by-Step Sedum Winterizing Walkthrough
Follow these four chronological steps from late October through the first sustained ground freeze to winterize your stonecrop collection with complete confidence.
Step 1: The Cutback Decision: Leave Standing vs. Prune in Fall
Before cutting down your sedum patch, make an informed botanical choice based on your garden’s aesthetic goals and plant health:
- Option A: Leave Seedheads Standing (Recommended for Healthy Plants): In most gardens, leaving upright sedum stems standing through winter is the gold standard of naturalistic design. The stiff coppery flowerheads catch falling snow, creating gorgeous frosted domes throughout bleak winter months. Furthermore, the seed-packed heads provide an essential, high-calorie food source for American goldfinches, juncos, and native birds when ground snow is deep.
- Option B: Prune Back in Late Autumn (Mandatory for Diseased Plants): You must cut sedum back in late autumn if: (1) the plant suffered from powdery mildew or black foliar leaf spot during late summer; (2) slugs or snails have taken up residence in the crown; or (3) heavy, wet autumn snowstorms have crushed and splayed the brittle stems outward, splitting the crown open and exposing the central core to pooling rainwater.
Step 2: Surgical Cutback Above Basal Rosettes
If you choose to cut back your sedum in autumn—or when performing your final cleanup in late winter—technique is paramount.

Kneel beside the clump and gently part the old stems to inspect the soil surface. You will clearly see tiny, tightly packed blue-green or jade-green rosettes nestled right at ground level. These rosettes are the living crown of the plant.
Hold the dried stems in one hand and use your sterilized bypass pruners to cut each stem cleanly approximately 2 to 3 inches (5–7 cm) above the basal rosettes. Critical warning: Never cut flush with the soil! Cutting flush with the ground risks decapitating the tender green rosettes and exposes the open vascular crown to cold rain and soil pathogens. The 2-inch stem stubs will naturally dry out, wither, and detach effortlessly by mid-spring.
Step 3: Clear Debris & Eliminate the Rot Microclimate
After pruning, thoroughly clean the crown. Windblown deciduous tree leaves often blow into sedum clumps and become trapped between the stems. Over winter, damp fallen leaves form a sodden, suffocating mat that blocks light, traps humidity, and fosters bacterial soft rot (Erwinia carotovora).
Use your fingers or a small wire hand rake to tease out every trapped leaf, dead weed, and decaying stem remnant from the base of the plant. If your sedum showed any fungal leaf spotting during the season, bag and discard all cut stems in the trash or green waste—do not add them to home compost piles.
Step 4: The Pea Gravel Drainage Collar (The Anti-Mulch Secret)
The single most destructive mistake gardeners make with sedum is burying the plant under thick layers of wood bark mulch, shredded leaves, or rich compost in fall. Sedums are specialized drought-adapted succulents; organic mulches retain excessive moisture around the crown during winter thaws, causing root asphyxiation and crown rot.
Instead, pull back all organic mulch at least 4 to 6 inches away from the perimeter of the sedum clump. In its place, apply a 1-inch layer of clean pea gravel, crushed granite grit, or coarse sand directly over the crown and around the basal rosettes. This mineral mulch collar provides three immense benefits: it reflects solar heat, provides rapid drainage so water flows instantly away from succulent leaves, and prevents winter soil splash from transmitting fungal spores onto tender spring buds.
3 Master Horticulturist Secrets for Flawless Sedum
Elevate your stonecrops with these professional cultivation techniques:
1. Zero Late-Season Nitrogen: Never fertilize sedum in late summer or autumn. Sedums crave lean, well-draining soil. Late nitrogen applications stimulate soft, watery succulent tissue that cannot withstand sub-freezing temperatures and drastically increases winter frost rupture.
2. The 4-Year Autumn Division Window: As sedum clumps mature past 4 to 5 years, the center of the crown naturally dies out, creating a “doughnut hole” that splays open under heavy summer rain. Autumn—just as top growth dries and basal rosettes form—is the ideal window to divide old clumps. Lift the entire root ball with a garden spade, slice cleanly through the fibrous root system with a sharp knife (ensuring each division has 4–6 robust basal rosettes), and replant into gritty, well-drained soil.
3. The “Chelsea Chop” Prevention for Floppy Stems: If your sedum stems routinely flop open in late summer, plan ahead for spring. When new growth reaches 8 inches tall in late May (around the time of the RHS Chelsea Flower Show), prune the entire clump back by half. This pruning delays bloom by just one week but doubles the stem count, resulting in sturdy, compact, hurricane-proof flowering mounds that withstand autumn snow without collapsing.
Companion Care & Perennial Cottage Border Pairings
Sedum pairs magnificently with companion perennials and climbing ornamentals that share similar autumn border clean-up rhythms.

- Cottage Trellis Climber Synchronization: Upright stonecrops provide lovely low textural contrast beneath climbing vines on arbors; coordinate your fall routine with our complete guide on how to prune and winterize clematis across Groups 1, 2 and 3.
- Herbaceous Peony Border Partners: Peonies and sedum are the historic backbone of perennial borders; ensure your peonies stay blight-free with our walkthrough for cutting back peonies in fall to eliminate fungal blight.
- Shade-Loving Border Transitions: Where sunny sedum borders transition into dappled shade, harmonize your care with our field protocol on winterizing hostas and preventing crown slug damage.
- Mediterranean Sun-Lover Companions: Sedum and English lavender share an absolute insistence on sharp winter soil drainage; explore our cold protection strategies on overwintering lavender and protecting roots from wet cold.
Spring Awakening & Late-Winter Stem Clearance
If you opted to leave your sedum seedheads standing through the winter for songbirds and winter interest, your final cleanup occurs in late winter (late February to early March), just before new spring growth accelerates.
On a dry late-winter morning, take your bypass pruners and slice the brittle, weathered winter stalks back to 2 inches above the basal rosettes. You will notice that the basal rosettes have already expanded and deepened in color, ready to rocket upward as soon as soil temperatures reach 50°F (10°C). Rake away any lingering winter debris, ensure your pea gravel drainage ring is intact, and watch your sedum erupt into a glorious new season of growth.
Frequently Asked Questions
Will frost damage the green basal rosettes visible at the base of my sedum in fall?
No. The tiny succulent rosettes formed at the soil surface are fully cold-hardy down to USDA Zone 3 (-30°F / -34°C). Their cell sap contains natural biological sugars that act as antifreeze. They will survive freezing temperatures and heavy snow blankets completely unharmed, provided they are not buried under soggy, wet organic mulch.
Can I winterize sedum in outdoor containers?
Yes, but container-grown sedums face higher winter root stress because pots lack the ground’s thermal insulation. In Zones 5 and colder, move potted sedums against the sheltered foundation of your home or into an unheated garage or garden shed. Ensure the potting soil has exceptional drainage (50% perlite or grit mix) and water sparingly—no more than once every 4 to 6 weeks—throughout winter.
Why did the center of my sedum turn black and slimy over winter?
Black, mushy crowns are the classic symptom of crown rot, caused by excessive winter moisture and suffocating organic mulch. If soil drainage is poor or if heavy autumn leaves remained piled over the crown during wet winter thaws, opportunistic fungi invade the succulent tissues. Always clear leaves and replace organic mulch with pea gravel.
Should creeping sedum (groundcover stonecrop) be pruned in fall?
No. Low-growing, creeping sedums (such as Sedum spurium, S. album, or S. rupestre) are evergreen or semi-evergreen groundcovers that should never be cut down in fall. Simply rake away trapped autumn leaves and allow them to carpet the ground through winter undisturbed.
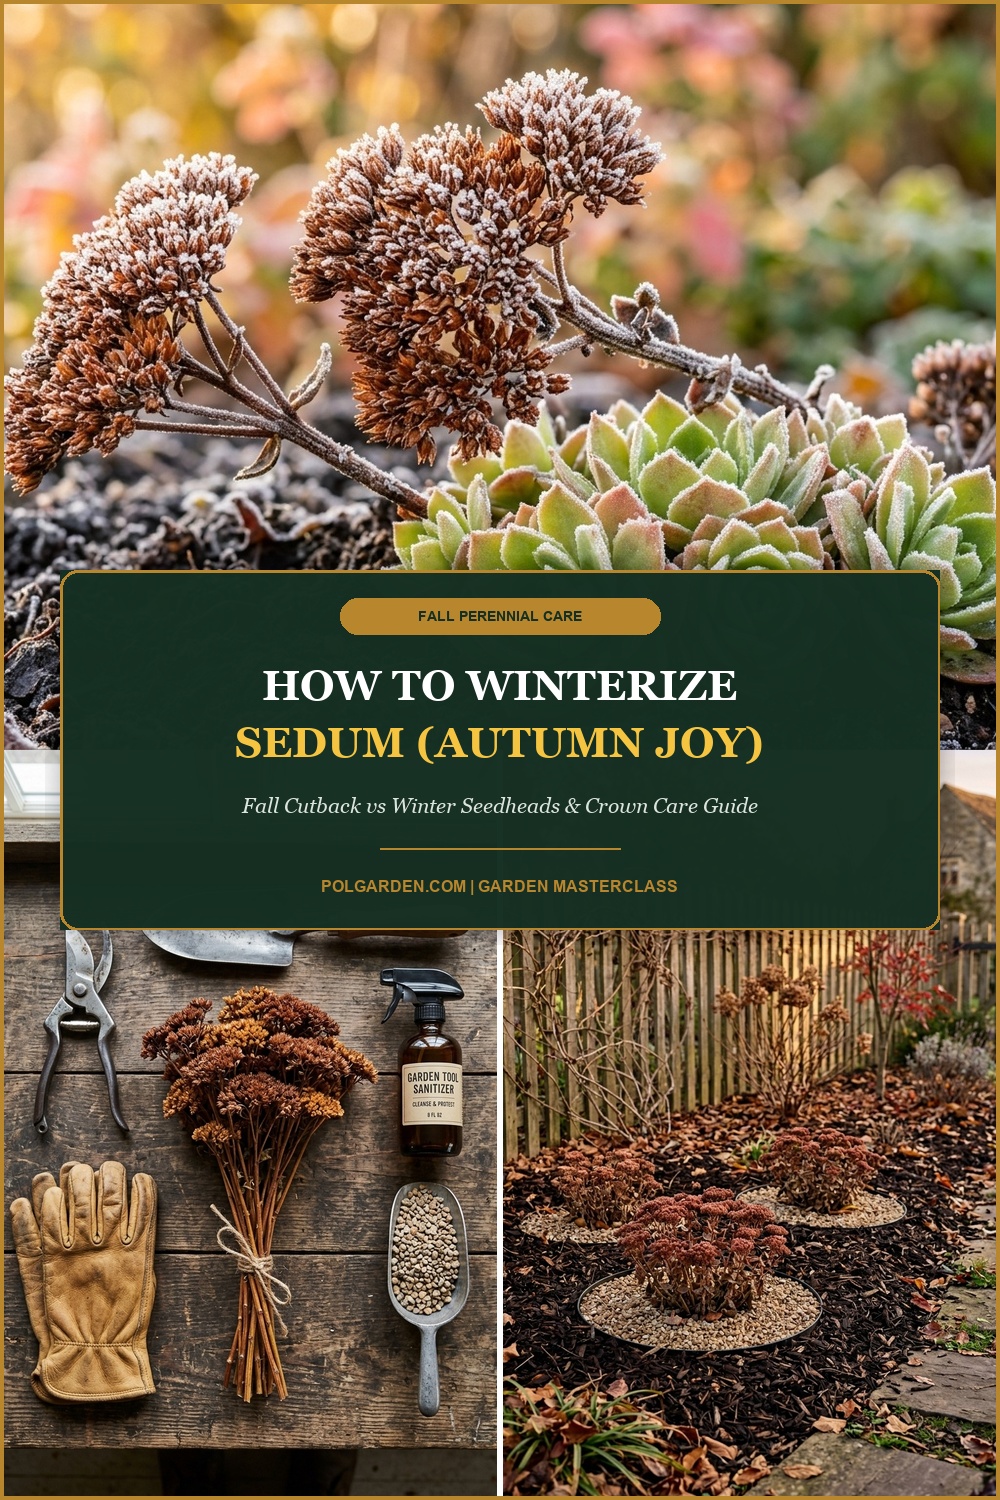
Pin This Sedum Winterizing Guide for Later
Love low-maintenance, pollinator-friendly perennials? Save this pin to your Pinterest Gardening or Flower Care boards so you always have the cutback rules and crown protection steps ready every autumn!