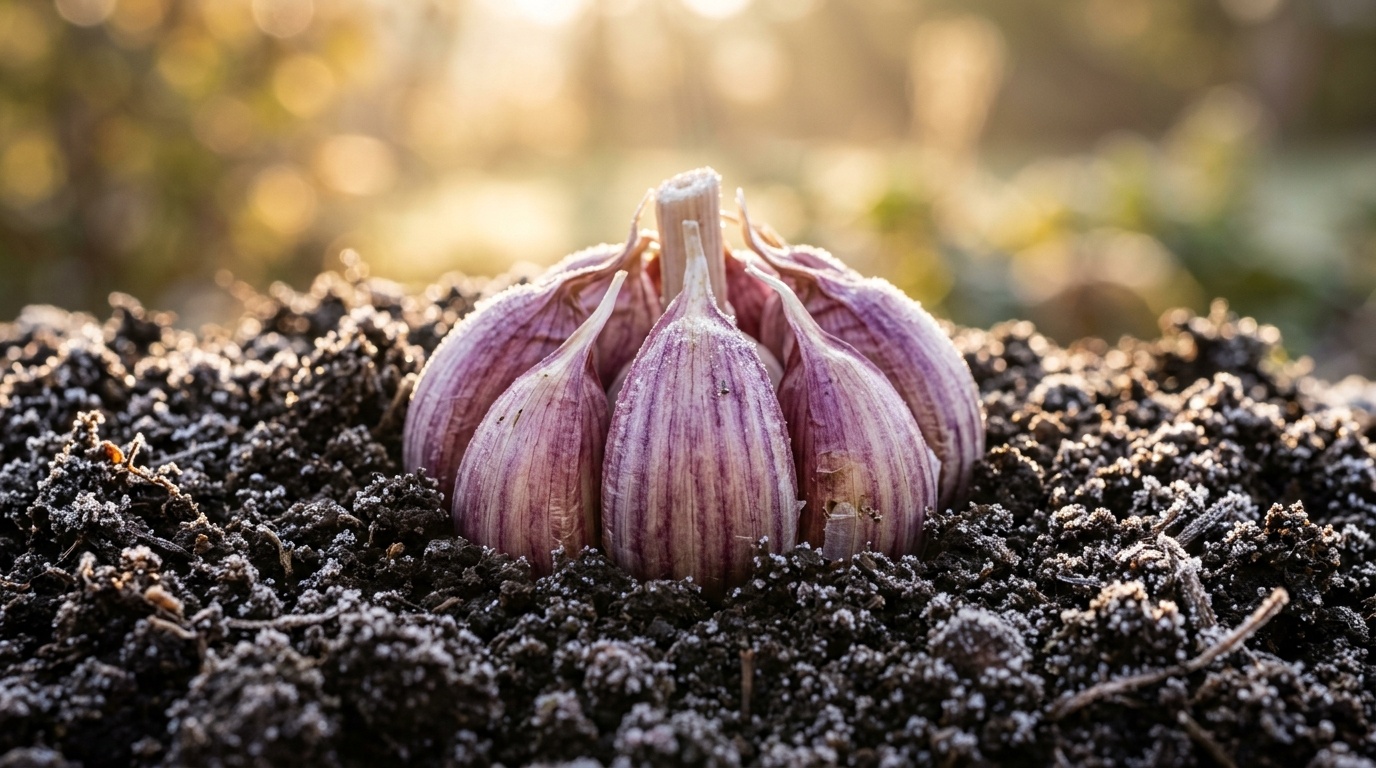
Planting garlic in the crisp, golden chill of late autumn is one of the most deeply satisfying rituals in the vegetable gardener’s calendar. While summer crops have withered and the rest of the garden settles into long winter dormancy, garlic quietly buries its future in the cold earth. Each individual clove tucked beneath the soil before the ground freezes solid will spend the winter developing an extensive, fibrous root system beneath a blanket of snow. When spring arrives, these well-rooted cloves erupt into vigorous emerald shoots months ahead of spring-sown crops, ultimately swelling into colossal, aromatic, multi-clove heads ready for summer harvest. Master our 4-step autumn planting guide to ensure massive bulb yields and zero winter rot.
The botanical reason garlic must be planted in fall rather than spring centers on a physiological cold process known as vernalization. Garlic (Allium sativum) requires a sustained period of cold temperatures—specifically 40°F (4°C) or colder for at least 8 to 10 weeks—to trigger bulb differentiation. If you plant garlic cloves in warm spring soil, the clove will only grow leafy green foliage and produce a disappointing single, rounded “solo” bulb resembling an onion. Planting in autumn gives the cloves the exact duration of winter chilling required to stimulate the clove to split into 8 to 15 distinct, fat cloves wrapped in papery wrappers.
Why You’ll Love Fall Garlic Planting
- Colossal Bulb Size: Fall-planted cloves establish deep, cold-hardy root systems before freeze-up, yielding bulbs twice the size of spring-sown garlic.
- Effortless Early Summer Harvest: While spring crops are still struggling to grow, fall garlic matures early in July, clearing valuable raised bed space for fall succession brassicas.
- Delicious Spring Garlic Scapes: Hardneck varieties produce curly, edible floral stems (scapes) in late spring—a gourmet culinary delicacy with a mild, sweet garlic flavor.
- Natural Pest Deterrent: Garlic sulfur compounds naturally repel common garden pests, aphids, and nematodes from neighboring perennial beds.
Essential Fall Garlic Supplies & Soil Amendments
Garlic is a heavy-feeding crop that demands fertile, loose soil and protective organic insulation against frost heaving.

- Certified Disease-Free Seed Garlic: Always buy certified seed garlic from reputable growers or nurseries. Never plant cloves from grocery store garlic! Supermarket garlic is typically treated with growth-inhibiting chemicals (to prevent sprouting on store shelves) and often carries latent fungal pathogens like white rot that can permanently contaminate your garden soil.
- Bone Meal or Rock Phosphate: High phosphorus stimulates explosive root development in cold soil without encouraging tender, freeze-vulnerable top foliage.
- Well-Rotted Compost or Worm Castings: A 2-inch layer amended into the bed provides slow-release nitrogen, potassium, and beneficial soil microbes.
- Hand Trowel or Dibber: Allows precise trench digging and depth calibration so cloves sit uniformly at 2 to 3 inches below the soil surface.
- Clean Wheat Straw or Seed-Free Oat Straw: The ultimate winter mulch. Creates a 4- to 6-inch insulating blanket that stops frost heaving and conserves winter moisture.
Step-by-Step Fall Garlic Planting Walkthrough
Follow these four chronological steps approximately 2 to 4 weeks before your ground freezes solid (late October to mid-November in most zones).
Step 1: Choose Your Variety (Hardneck vs. Softneck)
Before planting, match the correct botanical variety to your regional climate:
- Hardneck Garlic (Allium sativum var. ophioscorodon): The best choice for cold winter climates (USDA Zones 3–7). Produces a stiff central woody stalk (scape) and a single ring of 4 to 10 massive, easy-to-peel cloves with rich, complex, spicy flavors. Top varieties include ‘German Extra Hardy’, ‘Chesnok Red’, and ‘Music’.
- Softneck Garlic (Allium sativum var. sativum): Thrives in mild winter climates (USDA Zones 7–10) but also grows well in temperate regions. Softneck varieties do not produce a central woody stalk, making their pliable stems ideal for braiding. They produce 12 to 20 smaller cloves per bulb and boast the longest shelf life (storing 9 to 12 months). Popular varieties include ‘California Early’ and ‘Inchelium Red’.
Step 2: Bed Preparation & Soil Aeration
Garlic has zero tolerance for waterlogged, compacted clay soil. Sitting in soggy winter mud guarantees fungal clove rot and mold.
Select a location in full sun (at least 6 to 8 hours of direct daylight). Loosen the soil down to a depth of 8 to 10 inches using a garden fork. Generously work in a 2-inch layer of rich, well-cured compost alongside 1/2 cup of organic bone meal per 10-foot row. Rake the bed surface smooth and slightly elevated (raised beds or raised ridges are ideal to guarantee flawless winter drainage).
Step 3: Clove Separation & The “Pointy Side Up” Planting Rule
Separate your seed garlic heads into individual cloves on planting day only. If you separate cloves days in advance, the basal root plate dries out, reducing germination vigor.

Keep the papery skins on each clove (the wrapper shields the clove from soil-borne fungi). Select only the largest, plumpest outer cloves for planting—the size of the planted clove directly determines the size of the harvested bulb next summer. Reserve tiny inner cloves for kitchen cooking!
Dig a furrow 3 inches deep. Place each clove into the furrow root end (flat rough side) down, pointed tip up. Spacing is crucial: space cloves 6 inches (15 cm) apart within the row, with rows spaced 10 to 12 inches (25–30 cm) apart. Cover the cloves with 2 inches of fine crumbly soil and gently firm the soil with your palm to eliminate air pockets.
Step 4: Deep Watering & The 4-Inch Straw Mulch Blanket
Immediately after backfilling the trench, give the newly planted bed a thorough watering to settle the soil around the cloves and kickstart root cellular activity.
Finish by spreading a generous 4- to 6-inch blanket of clean golden wheat straw, shredded autumn leaves, or seed-free marsh hay over the entire bed surface. This thick mulch blanket serves three critical biological functions: it buffers soil temperatures to allow roots to grow through November, stops devastating frost heaving (which pops cloves out of the ground during freeze-thaw cycles), and suppresses early spring weeds.
3 Master Grower Secrets for Mammoth Garlic Heads
Elevate your garlic harvest to champion commercial farm standards with these field-tested botanical insights:
1. The “Pre-Planting Kelp & Baking Soda Soak”: Two hours before planting, soak your separated unpeeled cloves in a solution of 1 quart of warm water, 1 tablespoon of liquid kelp fertilizer, and 1 teaspoon of baking soda. The alkaline baking soda destroys latent fungal spores on the clove wrapper, while the natural kelp hormones supercharge root emergence.
2. Cut Garlic Scapes in June: In late spring, hardneck garlic sends up an elegant coiled floral stem called a “scape.” The moment the scape makes its first full curl, snip it off at the base with pruners. If left on the plant, the garlic diverts up to 30% of its photosynthetic energy into flowering. Removing the scape forces all energy downward into swelling the underground bulb, increasing harvested bulb size by up to 25%!
3. Stop Watering Two Weeks Before Harvest: As harvest approaches in mid-summer (when the lower 3 to 4 leaves turn golden brown and dry), cease all irrigation completely. Allowing the soil to dry out hardens the papery outer wrappers, preventing bulb rot and ensuring your garlic cures into long-lasting storage bulbs.
Companion Care & Vegetable Bed Integration
Garlic is an extraordinary companion plant in the perennial kitchen garden. Coordinate your late-autumn edible bed management alongside these companion guides:

- Perennial Vegetable Bed Neighbors: Garlic thrives alongside permanent perennial beds; coordinate your autumn cleanup with our guide on how to winterize asparagus beds and prevent rust disease.
- Crown Protection Routines: Synchronize your straw mulching across edible crops with our masterclass on winterizing rhubarb crowns and dividing mature roots.
- Fruit Cane Buffers: Garlic planted near cane berries deters fungal cane borers; read our field guide on pruning and winterizing blackberries in fall.
- Vegetable Guild Synergies: Expand your kitchen garden productivity using our comprehensive blueprint on the 12 best companion plants for organic vegetable gardens.
Spring Care: What to Expect After the Thaw
As winter snows melt in early March and temperatures climb above freezing, you will witness sturdy, sharp green garlic spears pushing boldly upward directly through the straw mulch.
There is no need to remove the straw mulch—the vigorous spears easily penetrate it, and the decomposing straw will retain moisture and suppress weeds throughout the spring. In early April, side-dress the emerging rows with a high-nitrogen organic fertilizer (such as blood meal, fish emulsion, or feather meal) every 3 weeks until scapes appear in June. Keep the bed consistently moist during spring bulb expansion, giving your garlic approximately 1 inch of water per week.
Frequently Asked Questions
What happens if green garlic shoots emerge before winter?
If an unseasonably warm autumn causes garlic cloves to sprout 2 to 3 inches of green foliage above ground before the first hard freeze, do not worry. While those tender green leaf tips will freeze and brown during winter, the root system and the underground clove remain completely healthy. In spring, the plant will rapidly send up fresh, vigorous new leaves.
Can I plant garlic purchased from the grocery store?
It is strongly discouraged. Most commercial supermarket garlic is treated with anti-sprouting chemical inhibitors and may carry soil-borne fungal pathogens like white rot that can ruin your garden soil for years. Furthermore, supermarket garlic is almost always softneck varieties grown in warm climates (like California or China) that lack the cold hardiness needed to survive freezing northern winters.
How deep should garlic be planted in cold northern climates?
In USDA Zones 5 and colder, plant cloves 3 to 4 inches deep (measured from the tip of the clove to the soil surface) and cover with 4 to 6 inches of straw mulch. In milder climates (Zones 6–8), a depth of 2 inches with 2 to 3 inches of mulch is ideal.
Can I grow garlic in containers or fabric raised beds?
Yes! Garlic performs magnificently in containers that are at least 10 to 12 inches deep to accommodate its deep root system. Space cloves 5 inches apart in rich, well-draining potting soil amended with compost and bone meal. In cold zones (Zone 6 and colder), wrap the container in burlap or move it into an unheated garage during sub-zero polar snaps to prevent roots from freezing solid.
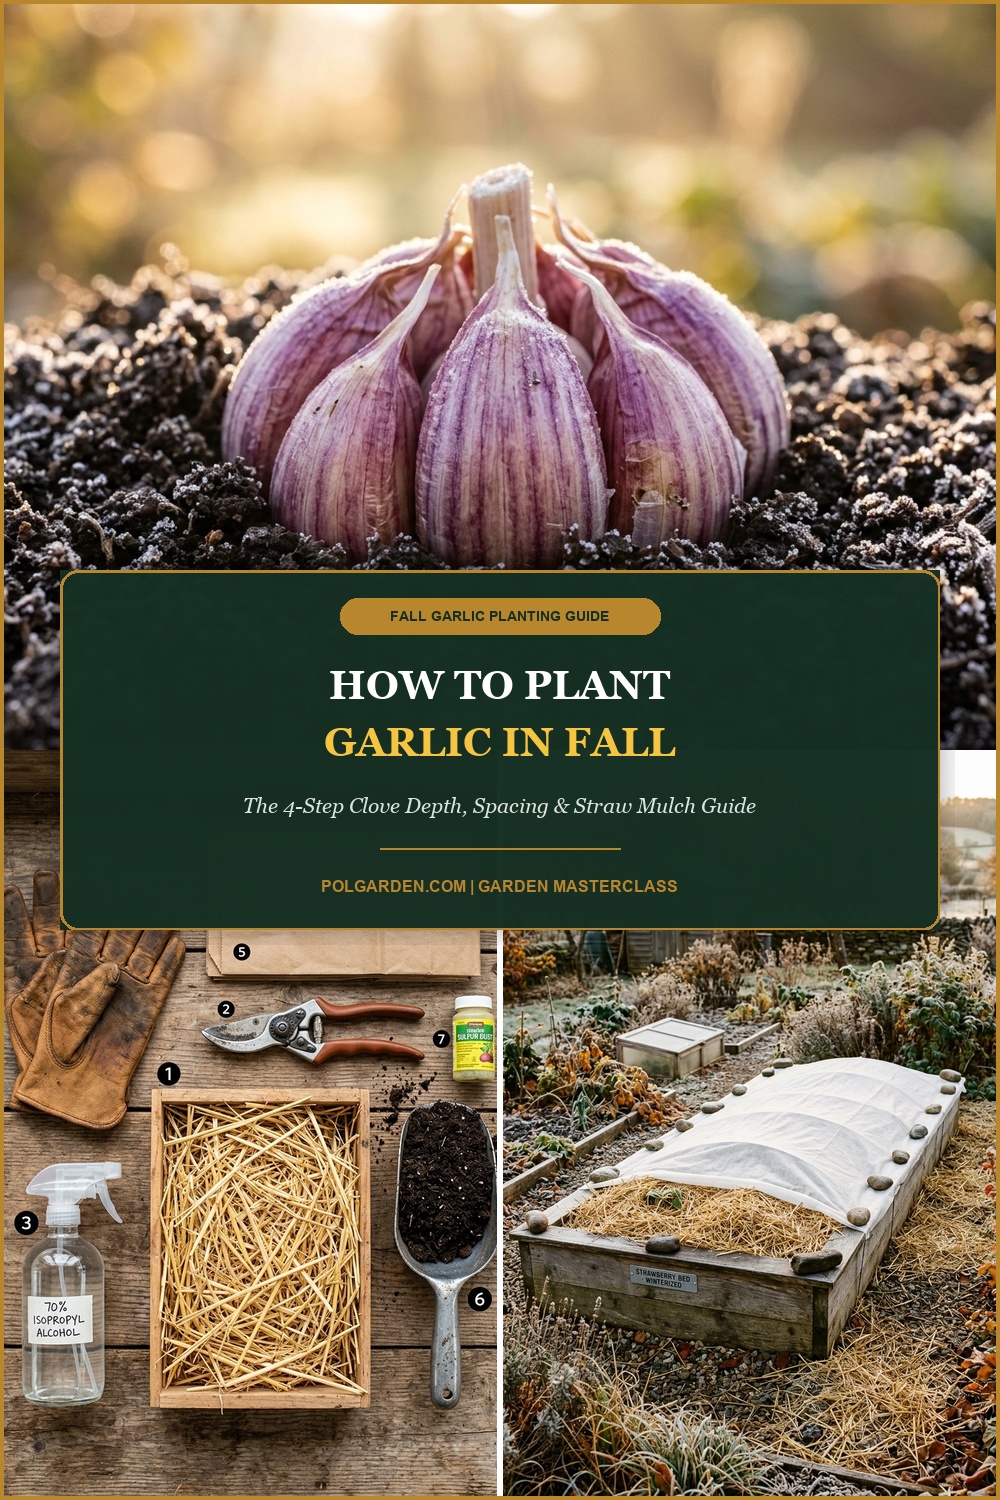
Pin This Fall Garlic Planting Guide for Later
Dreaming of harvesting colossal, homegrown garlic bulbs next summer? Save this pin to your Pinterest Gardening or Vegetable Care boards so you always have the trench depth, spacing rules, and straw mulching blueprint ready every autumn!