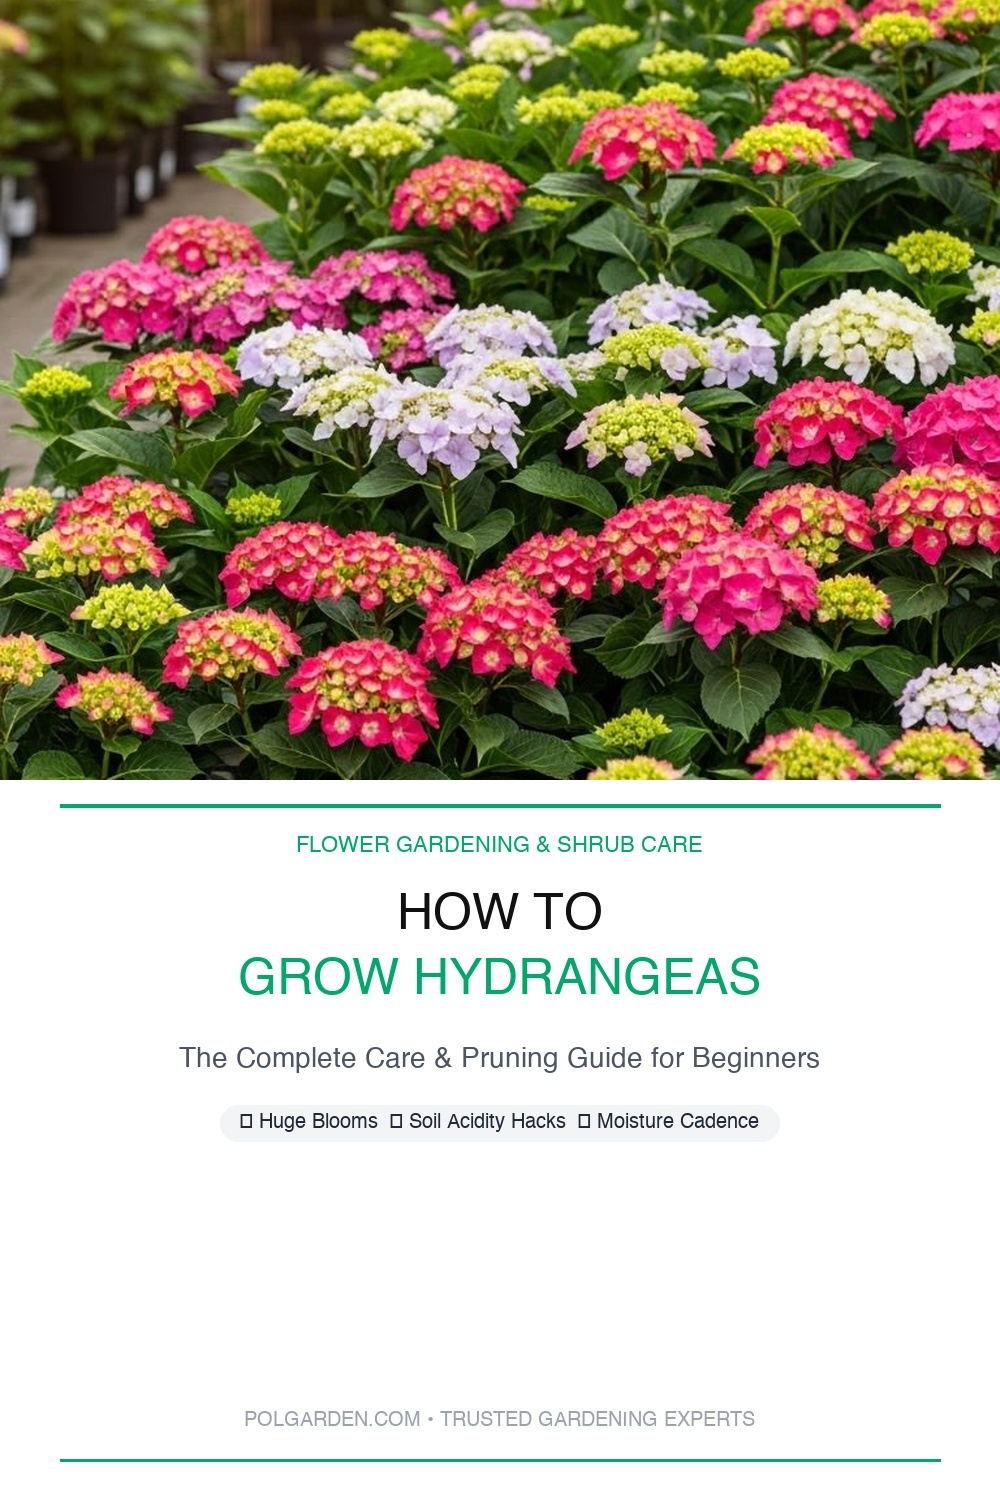
Have you ever wandered through a garden and been captivated by the lush blooms of hydrangeas? These stunning plants, with their big, beautiful flowers, can turn any garden into a paradise. If you’ve been dreaming of cultivating your own hydrangeas but feel a bit overwhelmed, you’re in the right place. This guide is here to help you grow these magnificent shrubs with confidence.
Growing hydrangeas is more than just planting a seed in the ground; it’s about understanding their needs and nurturing them to flourish. Whether it’s the classic blue or pink blooms you desire, or the elegant white varieties, hydrangeas can adapt to your garden’s conditions. With a little love and care, you’ll find yourself rewarded with a stunning display of colors that will brighten your outdoor space and bring joy for years to come.
Table of Contents
- What Are Hydrangeas?
- How Do Hydrangeas Work?
- Benefits of Growing Hydrangeas
- Step-by-Step Guide to Growing Hydrangeas
- Advanced Tips for Expert Hydrangea Care
- Essential Tools and Resources
- Common FAQs
- Conclusion
What Is It?
Hydrangeas are beautiful flowering shrubs known for their large, striking blooms that come in a variety of colors, including blue, pink, and white. These plants belong to the genus Hydrangea and thrive in many climates throughout the United States. They are loved for their ability to adapt to different soil types and their relatively low maintenance requirements, making them a favorite among both novice and seasoned gardeners.
Hydrangeas can grow as small bushes or large shrubs, depending on the species and variety you choose. They usually bloom in summer and can provide stunning visual interest in your garden. Understanding the different types of hydrangeas and their specific care needs will help you create a flourishing hydrangea garden that will impress your friends and family.
- Hydrangeas come in various colors and sizes, adapting to different garden styles.
- They thrive in both sunny and partially shaded conditions, depending on the variety.
- Soil pH affects the color of hydrangea blooms, especially in some species.
- Hydrangeas can be used for landscaping, cut flowers, or as focal points in gardens.
How It Works
Hydrangeas work through a fascinating process involving their flowers, leaves, and roots. The color of the blooms is primarily influenced by the pH level of the soil. In acidic soils (pH below 6), many hydrangea varieties produce blue flowers, while alkaline soils (pH above 7) yield pink blooms. This unique characteristic allows gardeners to experiment with soil amendments to achieve their desired flower color.
Additionally, hydrangeas have a deep root system that helps them absorb water and nutrients effectively. They require consistent moisture but can suffer from root rot if overwatered. Understanding their water needs and soil conditions is essential to growing healthy and vibrant hydrangeas.
- Soil pH influences the bloom color of hydrangeas.
- Deep roots help hydrangeas absorb nutrients efficiently.
- Consistent moisture is crucial, but overwatering can be harmful.
- Different species have varied sunlight and soil preferences.
Key Benefits
- Stunning Visual Appeal — Hydrangeas are renowned for their breathtaking blooms that can instantly elevate the aesthetic of any garden. With colors ranging from soft pastels to vibrant hues, they provide a dramatic focal point and can be used in various landscaping designs.
- Versatile Garden Use — These adaptable plants can thrive in different garden settings, from formal landscapes to cottage gardens. They can be planted as standalone specimens or grouped together for a lush, colorful display.
- Seasonal Interest — Hydrangeas bloom in summer, providing a burst of color when many other plants may be fading. Their foliage also adds texture to the garden, making them attractive even when not in bloom.
- Cut Flower Potential — Hydrangeas make excellent cut flowers, lasting a long time in arrangements. This allows you to bring the beauty of your garden indoors, brightening up your home with fresh blooms.
- Low Maintenance — Once established, hydrangeas are relatively easy to care for. They require minimal pruning and can withstand a variety of soil conditions, making them a great choice for beginner gardeners.
Step-by-Step Guide
Step 1: Choose the Right Variety

Selecting the appropriate hydrangea variety for your garden is the first step to success. There are several types available, including bigleaf, panicle, and smooth hydrangeas, each with unique characteristics and care requirements. Consider your climate, soil type, and the colors you wish to achieve. For instance, if you live in a cooler climate, the hardy ‘Endless Summer’ bigleaf hydrangea may be perfect for you.
Researching the specific needs of each variety will help you make an informed decision. Pay attention to bloom time, height, and sunlight requirements to ensure the plant will thrive in your space.
Example: If you want blue flowers, consider planting a ‘Nikko Blue’ hydrangea, which thrives in acidic soil.
Pro Tips:
- Check local garden centers for varieties suited to your area.
- Look for disease-resistant varieties to ensure a healthy garden.
- Consider your garden’s color scheme when choosing plants.
Step 2: Prepare Your Soil

Healthy soil is crucial for your hydrangeas to thrive. Start by selecting a location with well-draining soil and adequate sunlight—most varieties prefer at least six hours of sunlight daily. Conduct a soil test to determine pH levels and nutrient content. If your soil is too alkaline, you can amend it with sulfur to lower the pH and encourage blue blooms. If it’s too acidic, lime can help raise the pH.
Additionally, enrich your soil with organic matter, such as compost or well-rotted manure, to improve fertility and drainage. This preparation will set the foundation for your hydrangeas to flourish.
Example: You can mix in a handful of compost into the planting hole to enhance soil quality.
Pro Tips:
- Loosen the soil to a depth of at least 12 inches for better root growth.
- Consider raised beds if your garden has heavy clay soil.
- Test your soil in early spring to allow time for amendments.
Step 3: Plant Your Hydrangeas

Once your soil is ready, it’s time to plant your hydrangeas! Dig a hole that is twice the width of the root ball and just deep enough to accommodate the roots without bending them. Gently remove the plant from its container, and if the roots are tightly bound, loosen them slightly to encourage growth. Place the hydrangea in the hole, ensuring the top of the root ball is level with the surrounding soil.
Backfill the hole with soil, patting it down lightly to eliminate air pockets. Water thoroughly after planting to help settle the soil around the roots. Mulching around the base with organic mulch will help retain moisture and suppress weeds.
Example: You might plant a ‘Limelight’ hydrangea in a sunny spot with a well-drained area.
Pro Tips:
- Space your hydrangeas at least 3 to 5 feet apart to allow for growth.
- Water deeply at the time of planting to ensure proper root establishment.
- Consider planting in the early spring or fall for optimal results.
Step 4: Water Consistently

Hydrangeas thrive on moisture, especially during their growing season. It’s essential to establish a regular watering schedule to keep the soil consistently moist but not soggy. Water deeply once or twice a week, depending on rainfall and temperature, ensuring the roots receive adequate moisture. A good rule of thumb is to provide about an inch of water per week.
Avoid watering the leaves, as this can promote fungal diseases. Instead, direct the water at the base of the plant. If you’re unsure, check the soil moisture by sticking your finger about an inch into the soil; if it feels dry, it’s time to water.
Example: On hot days, you may need to water your hydrangeas more frequently to prevent wilting.
Pro Tips:
- Use a soaker hose for efficient watering that reaches deep into the soil.
- Mulching can help retain soil moisture and reduce evaporation.
- Monitor for signs of wilting or yellowing leaves, which may indicate watering issues.
Step 5: Fertilize Regularly

To ensure your hydrangeas are healthy and blooming beautifully, regular fertilization is key. Use a balanced, slow-release fertilizer designed for flowering plants, applying it in early spring when new growth begins. Follow the instructions on the fertilizer package for the proper amount, as over-fertilizing can harm the plants. Typically, a light application every 6-8 weeks during the growing season is beneficial.
Organic options, such as compost or fish emulsion, can also provide a nutrient boost without the risk of chemical buildup. Fertilizing helps promote lush foliage and vibrant blooms, so don’t skip this important step!
Example: You might apply a slow-release fertilizer in early spring to kickstart growth.
Pro Tips:
- Choose fertilizers with a higher phosphorus content to encourage blooms.
- Avoid fertilizing in late summer or fall, as this can promote new growth that may not survive winter.
- Always water your hydrangeas before and after applying fertilizer to prevent root burn.
Step 6: Prune Thoughtfully

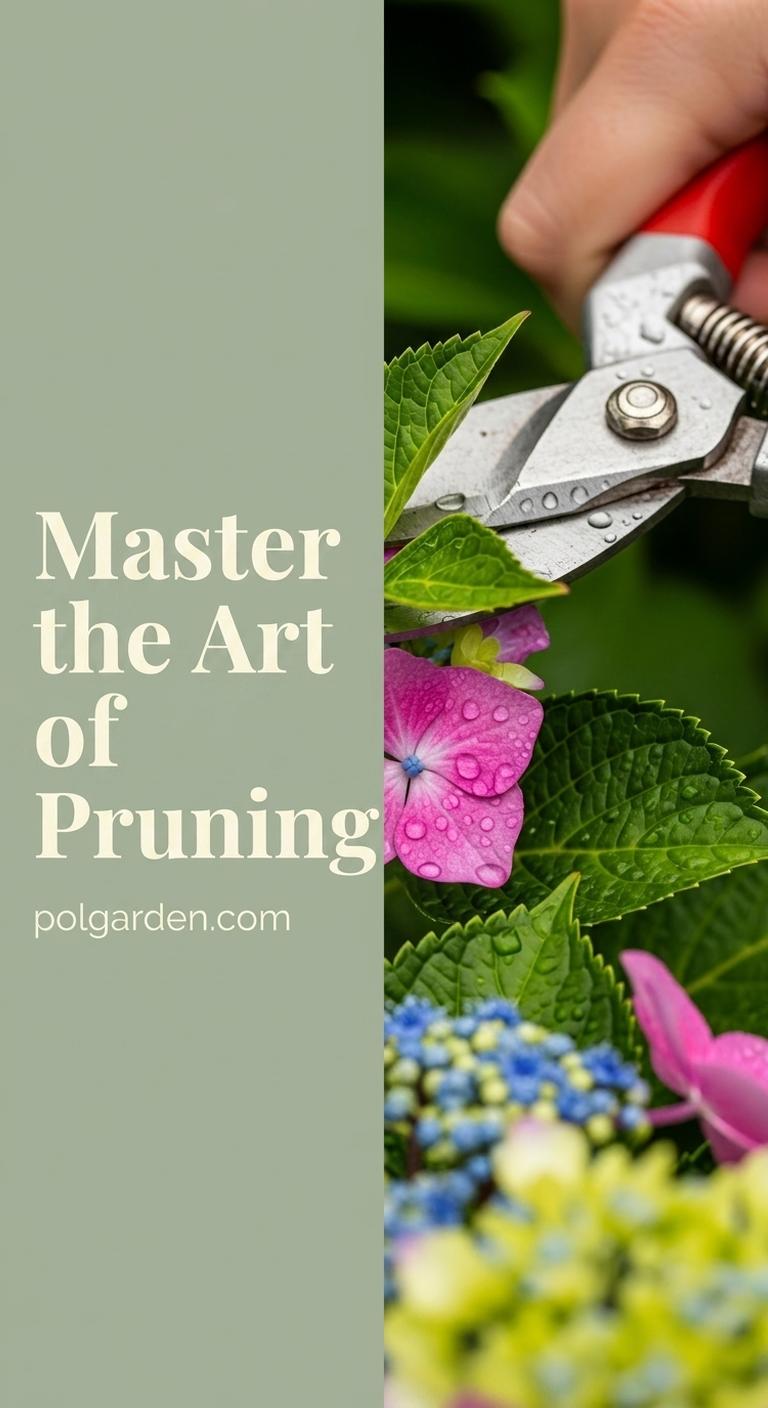
Pruning hydrangeas can be a bit daunting, but it’s essential for maintaining their shape and encouraging blooms. The timing and method of pruning depend on the type of hydrangea you have. For bigleaf varieties, prune them in late summer after blooming to remove spent flowers and shape the plant. Panicle and smooth hydrangeas can be pruned in late winter or early spring before new growth begins.
Use clean, sharp shears to make precise cuts, removing any dead or crossing branches. This will improve air circulation and sunlight penetration, promoting healthier growth. Remember, less is often more; aim for a light pruning to maintain the plant’s natural form.
Example: You may prune a ‘PeeGee’ hydrangea in late winter to encourage robust blooms.
Pro Tips:
- Always research your specific hydrangea type to determine the best pruning practices.
- Consider leaving some spent flowers on the plant for winter interest.
- Use the ‘one-third rule’—never remove more than one-third of the plant at a time.
Step 7: Monitor for Pests and Diseases

Keeping an eye on your hydrangeas for signs of pests and diseases is crucial for their health. Common pests include aphids, spider mites, and scale, which can sap the plant’s strength. Inspect the leaves regularly for any discoloration or unusual spots. If you spot pests, treat them with insecticidal soap or neem oil for a natural approach.
Fungal diseases, such as powdery mildew, can also occur, particularly in humid conditions. Ensure good air circulation by spacing your plants adequately and avoid overhead watering to minimize humidity around the leaves. If diseases do strike, early detection is key to treatment and prevention.
Example: You might notice aphids clustering on the undersides of leaves and take action quickly.
Pro Tips:
- Introduce beneficial insects, like ladybugs, to help control pests naturally.
- Use organic fungicides at the first sign of fungal infections to keep plants healthy.
- Regularly clean up fallen leaves and debris to prevent disease buildup.
Step 8: Enjoy Your Blooms

After all your hard work, it’s time to sit back and enjoy the gorgeous hydrangea blooms in your garden! Take moments to appreciate the stunning colors and shapes as they transform your outdoor space. Consider cutting a few stems to bring indoors for a beautiful floral arrangement; they make lovely centerpieces and brighten up your home.
Remember that caring for hydrangeas is a journey. With every season, you’ll learn more about their needs and preferences, which will only enhance your gardening experience. Celebrate your achievements and share your hydrangea success with family and friends; they’ll surely be impressed with your new gardening skills!
Example: You could create a lovely bouquet from your hydrangeas and place it on your dining table.
Pro Tips:
- Change the water in cut flower arrangements every few days to prolong their life.
- Take photos of your hydrangeas as they bloom to document their beauty.
- Invite friends over for a garden tea party to showcase your blooms.
Advanced Tips
Experiment with Colors
If you’re keen on changing the color of your hydrangea blooms, consider adjusting the soil pH. Adding aluminum sulfate to acidic soil will produce blue flowers, while lime will encourage pink blooms. By testing your soil regularly, you can create stunning color displays that evolve with the seasons. Just remember, changes may take time, so be patient!
Layering for Depth
To create a more visually appealing garden, consider layering your hydrangeas with other plants. Pair them with perennials that bloom at different times to ensure continuous color. Additionally, using plants of varying heights creates depth and interest in your garden design. This technique not only enhances the beauty of your hydrangeas but also provides a more dynamic garden space.
Create a Hydrangea Hedge
For a striking garden feature, consider planting a hydrangea hedge. Choose a variety that grows tall and dense, such as ‘Annabelle’ or ‘Limelight.’ Space the plants about 3 feet apart to form a lush, flowering wall that provides privacy and serves as a beautiful backdrop for your garden. Regular pruning will help maintain the shape and encourage abundant blooms.
Companion Planting
Companion planting can enhance the health of your hydrangeas by pairing them with plants that share similar water and light requirements. Consider planting them alongside ferns or astilbes, which thrive in similar conditions. This not only boosts the health of your hydrangeas but also creates a beautifully layered and textured garden.
Tools & Resources
- Soil Test Kit — A soil test kit helps you assess pH levels and nutrient content, allowing you to make informed decisions about amendments. These kits are easy to use and provide quick results, essential for successful hydrangea growth. — Available at: Home Depot, Amazon
- Hydrangea Fertilizer — Specialized hydrangea fertilizers are formulated to provide essential nutrients tailored for these flowering shrubs. They encourage healthy growth and vibrant blooms, ensuring your plants thrive throughout the season. — Available at: Lowe’s, Local nurseries
- Pruning Shears — Quality pruning shears are essential for maintaining the shape and health of your hydrangeas. A sharp, clean cut helps prevent damage to the plant and promotes new growth. — Available at: Home Depot, Amazon
- Mulch — Organic mulch helps retain moisture, suppress weeds, and regulate soil temperature around your hydrangeas. It also breaks down over time, adding nutrients back into the soil. — Available at: Local garden centers, Home Depot
- Watering Can or Hose — A good-quality watering can or hose is vital for ensuring your hydrangeas receive adequate moisture. Look for options with adjustable settings to control water flow, making it easier to water efficiently. — Available at: Home Depot, Lowe’s
Frequently Asked Questions
How often should I water my hydrangeas?
Hydrangeas need consistent moisture to thrive, especially during their growing season. Water them deeply about once or twice a week, depending on rainfall. A good rule of thumb is to provide about an inch of water weekly. During hot weather or dry spells, you may need to increase the frequency of watering to prevent wilting. Always check the soil moisture before watering; if the top inch feels dry, it’s time to give them a drink.
Why are my hydrangea blooms not as vibrant?
Several factors can affect the vibrancy of your hydrangea blooms. One common reason is insufficient sunlight; ensure your plants receive at least six hours of sunlight daily. Additionally, inadequate fertilization may lead to poor bloom quality. Applying a balanced fertilizer during the growing season can help. Lastly, soil pH plays a crucial role in bloom color; if the soil is too alkaline, it may affect the vibrancy of blue blooms.
When is the best time to prune hydrangeas?
The best time to prune hydrangeas depends on the variety you have. Bigleaf hydrangeas should be pruned in late summer after blooming, while panicle and smooth varieties can be pruned in late winter or early spring before new growth begins. Pruning at the right time helps maintain the plant’s shape and encourages abundant blooms. Always check the specific needs of your hydrangea type to ensure optimal care.
Can I change the color of my hydrangeas?
Yes, you can change the color of your hydrangeas, particularly with bigleaf varieties. The color is influenced by soil pH; acidic soils (pH below 6) will produce blue flowers, while alkaline soils (pH above 7) will yield pink blooms. To adjust the pH, you can add aluminum sulfate for blue blooms or lime for pink blooms. Keep in mind that changes might take time, so be patient as you experiment with soil amendments.
What pests should I watch for on my hydrangeas?
Common pests that may affect hydrangeas include aphids, spider mites, and scale. These pests can weaken your plants by sucking their sap. Regularly inspect your hydrangeas for signs of infestation, such as discoloration or sticky residue. If you notice pests, treat them promptly with insecticidal soap or neem oil. Maintaining good air circulation and avoiding overhead watering can also help prevent pest problems.
Congratulations on taking the first step towards growing your own hydrangeas! With a little patience, care, and the right knowledge, you’ll be rewarded with stunning blooms that bring joy to your garden and home. Remember, gardening is a journey, and every season offers new lessons and rewards. So embrace the experience, celebrate your successes, and don’t hesitate to share your beautiful hydrangeas with friends and family.
Now, it’s time to roll up your sleeves and get started on your hydrangea adventure. Happy planting, and may your garden flourish with vibrant colors and delightful blooms!
Save This Guide on Pinterest