

Have you ever considered turning your kitchen scraps into something truly magical for your garden? Vermicomposting is not only a sustainable choice but also a fun and rewarding way to recycle waste. Imagine transforming your vegetable peels, coffee grounds, and even paper into nutrient-rich compost that can breathe life into your soil and plants.
As a beginner, you might feel a bit overwhelmed by all the information out there, but don’t worry! This guide is designed to walk you through the ins and outs of vermicomposting, making it easy and enjoyable. By the end, you will have the knowledge and confidence to start your very own worm bin, creating garden gold right at home.
Table of Contents
- What is Vermicomposting?
- Benefits of Vermicomposting
- Types of Worms for Vermicomposting
- Tools Needed for Vermicomposting
- Steps to Start Vermicomposting
- Seasonal Tips for Vermicomposting
- Common Mistakes in Vermicomposting
- Expert Tips for Successful Vermicomposting
- FAQs about Vermicomposting
- Conclusion
What Is It?

Vermicomposting is the process of using worms, particularly red wigglers, to break down organic waste into nutrient-rich compost. Unlike traditional composting, which relies on aerobic bacteria, vermicomposting harnesses the natural digestion abilities of worms to convert kitchen scraps and yard waste into ‘worm castings.’ These castings are packed with essential nutrients and beneficial microorganisms, making them a fantastic amendment for your garden beds.
This method is not only efficient but also space-saving, making it perfect for those living in apartments or homes with limited outdoor space. With the right setup, you can create a thriving worm colony that will produce a continuous supply of compost, enriching your garden and reducing waste in landfills.
- Uses worms to compost organic waste efficiently.
- Produces nutrient-rich castings that enhance soil health.
- Ideal for small spaces and reduces kitchen waste.
Key Benefits
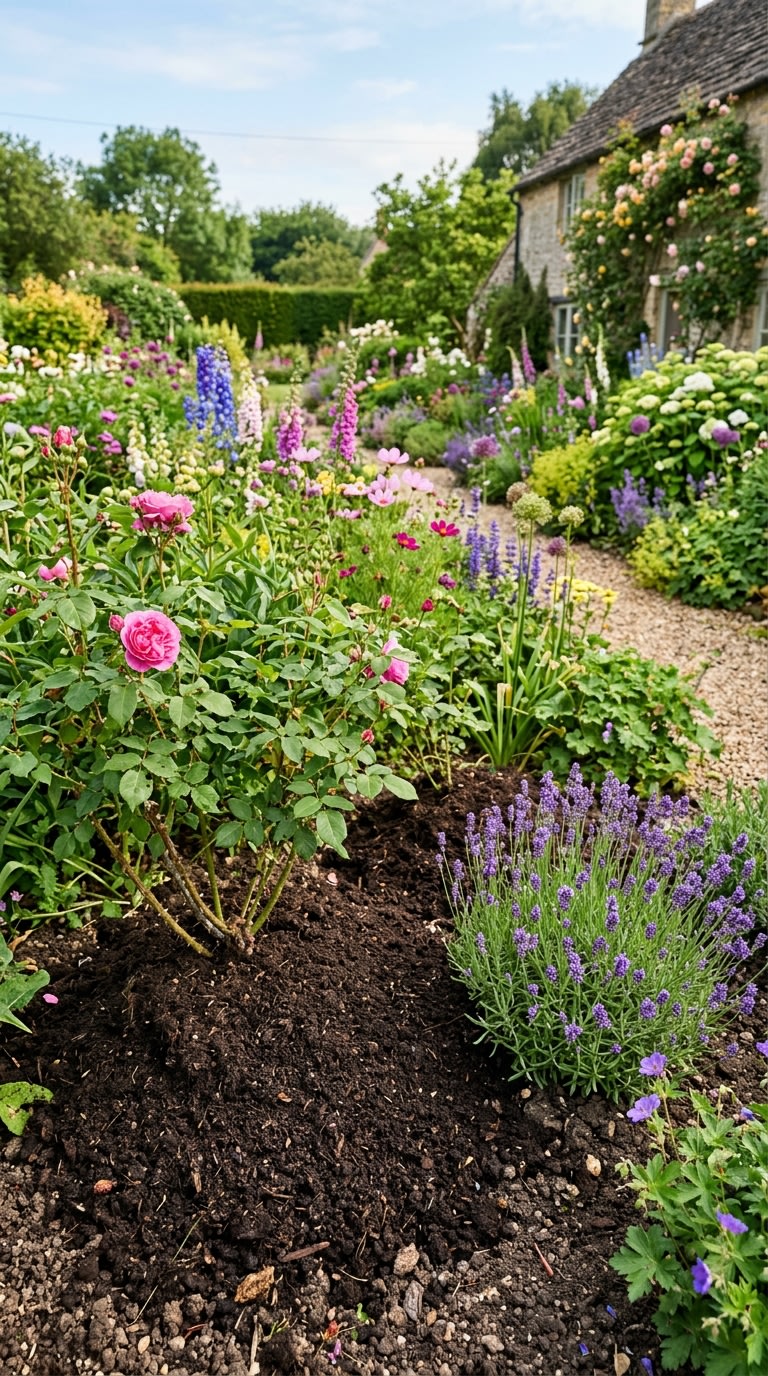
- Nutrient-Rich Compost — Vermicompost is packed with essential nutrients like nitrogen, phosphorus, and potassium, which are vital for plant growth. It also contains beneficial microorganisms that improve soil health, making your plants stronger and more productive.
- Waste Reduction — By vermicomposting, you are diverting organic waste from landfills, helping to reduce methane emissions. This eco-friendly practice not only benefits your garden but also contributes to a more sustainable planet.
- Improved Soil Structure — The castings produced by worms enhance soil aeration and moisture retention. This leads to healthier root systems and better drainage, creating an optimal environment for your plants to thrive.
- Less Need for Chemical Fertilizers — Using vermicompost allows you to reduce or eliminate reliance on synthetic fertilizers. The organic nutrients released over time provide a slow, steady feed for your plants, promoting long-term growth.
- Easy and Fun to Maintain — Vermicomposting is an engaging way to connect with nature. Watching worms do their magic can be a delightful experience, especially as you see the transformation of scraps into valuable compost.
Step-by-Step Guide
Step 1: Choose Your Worm Bin

Start by selecting a suitable bin for your worms. You can purchase a pre-made worm bin or make your own using a plastic storage container. Ensure your bin has adequate ventilation holes and drainage to keep your worms happy. A bin of about 10-20 gallons is ideal for beginners, as it provides ample space for your worm population to thrive.
Remember to place your bin in a location that maintains a consistent temperature between 55°F and 77°F, ensuring your worms stay comfortable and active.
Example: For a DIY option, you can use a plastic storage tote with holes drilled in the lid and sides.
Pro Tips:
- Choose a bin with a lid to minimize odors.
- Consider using a dark container to help keep the temperature stable.
- Ensure the bin is elevated to allow for drainage.
Step 2: Prepare the Bedding

Bedding provides a comfortable home for your worms and helps maintain moisture levels. Shredded newspaper, cardboard, or coconut coir are excellent choices. Aim for a bedding layer of about 4-6 inches deep in your worm bin. Before adding the bedding, moisten it lightly; it should feel damp but not soaking wet. This moisture will help your worms thrive while also absorbing excess moisture from kitchen scraps.
You can mix in a bit of soil or compost to introduce beneficial microorganisms that will aid in the composting process.
Example: Use shredded newspaper combined with coconut coir for an ideal bedding mix.
Pro Tips:
- Avoid using glossy paper or colored inks in your bedding.
- Ensure the bedding is fluffy and aerated to promote airflow.
- Regularly check the moisture and adjust as needed.
Step 3: Add Your Worms

Once your bedding is prepared, it’s time to introduce your worms to their new home. Gently place them on top of the bedding and allow them to burrow down on their own. It’s important not to handle the worms too much, as they can be sensitive to light and stress. The worms will gradually acclimate to their new environment and start munching on the food scraps you provide.
Make sure to give them a few days to settle in before adding any significant amounts of food. This period allows them to adapt and helps minimize any potential shock.
Example: If you ordered 1,000 red wigglers, gently spread them over the bedding and let them dive in.
Pro Tips:
- Avoid direct sunlight when adding worms to prevent stress.
- Keep the bin covered to maintain darkness.
- Monitor the worms for movement to ensure they are settling in.
Step 4: Feed Your Worms

Feeding your worms is one of the most enjoyable parts of vermicomposting. Start with small amounts of kitchen scraps, such as vegetable peels, coffee grounds, and crushed eggshells. Avoid using meat, dairy, and oily foods, as these can attract pests and create odors. It’s best to chop the scraps into smaller pieces to speed up the composting process.
Feed them every few days, but monitor how quickly they consume the scraps. If you notice that food is left over after a week, you may be feeding them too much. Remember, the worms are not only processing the scraps but also breaking them down into rich compost.
Example: Start with a handful of vegetable scraps and gradually increase as the worms adjust.
Pro Tips:
- Bury the scraps under the bedding to reduce odors and pests.
- Rotate feeding spots in the bin to ensure even distribution.
- Keep a record of what and how much you feed for future reference.
Step 5: Maintain Moisture Levels

Maintaining the right moisture level in your worm bin is crucial for the health of your worms. The bedding should be damp but not soggy, resembling a wrung-out sponge. If it feels too dry, lightly mist with water; if it’s too wet, add dry bedding materials to absorb the excess moisture.
Regularly check the bin for signs of dryness or overwatering. If you notice a strong odor or pests, it’s a sign that conditions are not optimal, and you may need to adjust accordingly. Remember, worms thrive in a balanced environment, so monitoring moisture is key.
Example: Aim for a moisture level that allows worms to move freely without feeling slimy.
Pro Tips:
- Use a moisture meter to help gauge levels accurately.
- Cover the bin with a lid or cloth to retain moisture.
- Adjust your feeding practices based on moisture levels.
Step 6: Harvest Your Compost

After about three to six months, your worms will have transformed your kitchen scraps into rich, dark vermicompost. To harvest, stop feeding the worms for a week, allowing them to consume all available food. Then, you can gently move the compost to one side of the bin and add fresh bedding and scraps to the other side. The worms will migrate to the new food source over a few days, making it easier to collect the finished compost from the other side.
Sift through the castings to separate any remaining worms and bedding. You can use the harvested compost in your garden beds or potting mixes, providing your plants with a healthy boost.
Example: Use a small shovel to collect the dark, crumbly compost from one side of the bin.
Pro Tips:
- Consider using a light source to encourage worms to move away from the compost.
- Store harvested compost in a breathable container to maintain its quality.
- Use the compost within a few months for best results.
Types & Varieties
Red Wigglers

These worms are the most popular choice for vermicomposting due to their voracious appetite and ability to thrive in a confined environment. Red wigglers can consume their weight in food each day, making them highly efficient at breaking down organic matter.
Best for: Ideal for indoor composting bins and small spaces.
European Nightcrawlers

These worms are larger than red wigglers and are known for their ability to tolerate colder temperatures. They work well both in composting systems and garden beds, enriching the soil with their castings as they burrow.
Best for: Best for outdoor composting and larger bins.
Tiger Worms

Known for their distinctive stripes, tiger worms are another excellent option for vermicomposting. They are particularly efficient at breaking down waste and thrive in moist environments, making them great for beginners.
Best for: Perfect for indoor and outdoor composting setups.
African Nightcrawlers

These robust worms are known for their high reproduction rates and ability to consume large amounts of organic waste. African nightcrawlers thrive in warmer climates and are excellent for composting tasks.
Best for: Best for warm environments and larger composting systems.
Tools You Need

- Worm Bin — A dedicated container for your worms is essential for vermicomposting. It should have ventilation holes and be made of materials like plastic or wood. You can purchase pre-made bins or easily build your own at home. — Available at: Available at garden centers or online retailers.
- Moisture Meter — This handy tool helps you monitor the moisture levels in your worm bin. Keeping the right moisture is crucial for worm health and the composting process. — Available at: Find moisture meters at garden supply stores or online.
- Bedding Materials — Materials like shredded newspaper, cardboard, or coconut coir serve as bedding for your worms. They provide a habitat and also absorb excess moisture, creating a balanced environment. — Available at: Available at craft stores, garden centers, or online.
- Kitchen Scraps Container — A small container for collecting kitchen scraps makes it easy to feed your worms. Look for one with a lid to minimize odors and pests. — Available at: You can find these at home goods stores or online.
- Compost Aerator — This tool helps aerate your compost, ensuring proper airflow. While not strictly necessary, it can improve the efficiency of your vermicomposting system. — Available at: Available at garden supply stores or online.
Seasonal Tips
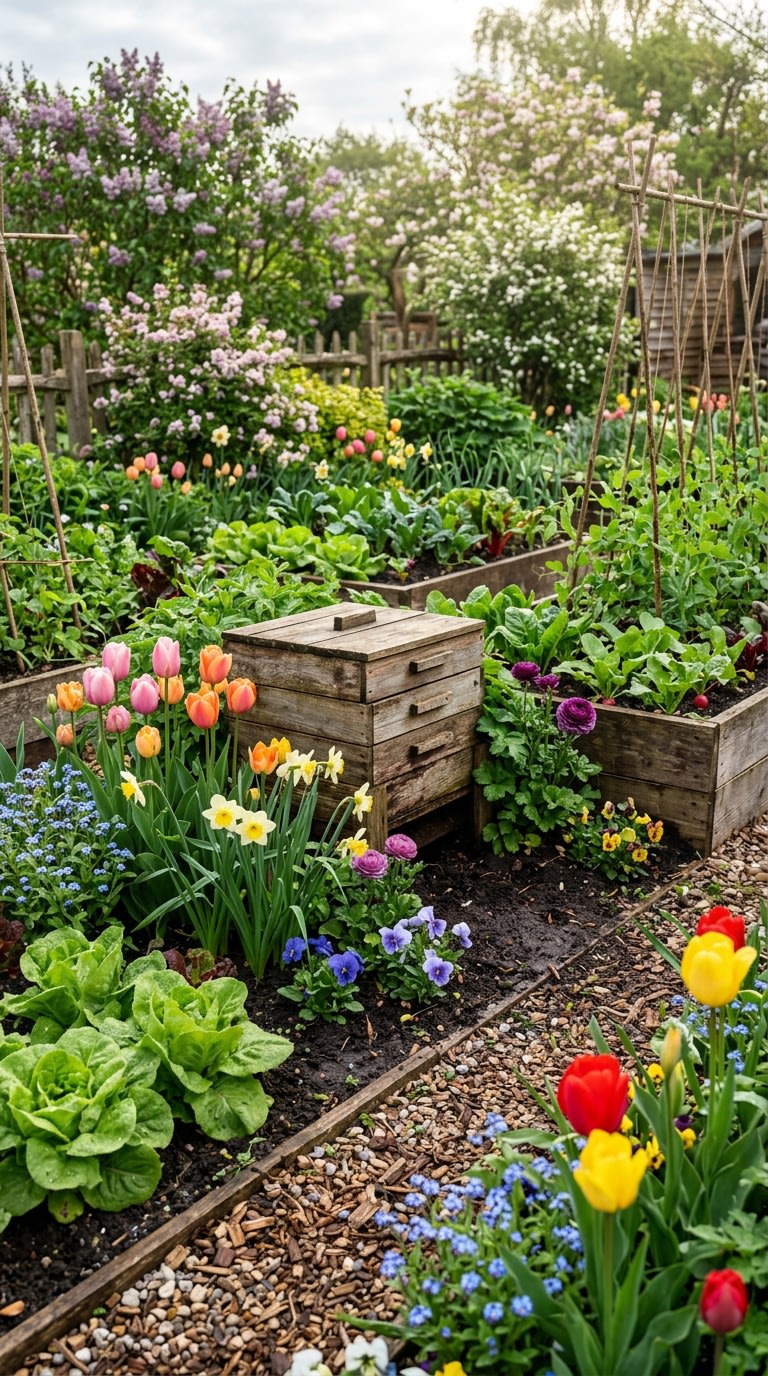
Understanding the seasons is vital for successful vermicomposting, as temperature and moisture levels can significantly impact your worms’ health. Each season presents unique challenges and opportunities that can enhance your composting efforts.
By adjusting your practices according to seasonal changes, you can ensure a thriving worm population and optimal compost production throughout the year.
Spring
- Start fresh by setting up your worm bin as temperatures warm.
- Monitor moisture levels as spring rains can increase humidity.
- Prepare to add more kitchen scraps as your cooking routines change.
Spring is an excellent time to kickstart your composting efforts. Focus on setting up your bin and monitoring conditions regularly.
Summer
- Keep your bin shaded to prevent overheating in the summer sun.
- Increase moisture checks as hot weather can dry out bedding.
- Feed worms more frequently with fresh scraps.
Ensure worms remain healthy by providing a cool, moist environment. Regularly check for signs of stress.
Fall
- Prepare for colder temperatures by insulating your worm bin.
- Continue feeding worms, but adjust quantities as their activity decreases.
- Harvest compost before winter to ensure a ready supply for spring planting.
Fall is a great time to assess your composting progress and prepare for the colder months ahead.
Winter
- Keep your worm bin indoors or use insulation to protect against cold.
- Reduce feeding as worms become less active in colder temperatures.
- Monitor moisture levels closely to prevent freezing.
Focus on maintaining the right conditions for your worms during winter, ensuring they remain healthy for spring.
Common Mistakes to Avoid

Overfeeding Your Worms
Providing too much food can lead to odors and attract pests, disrupting the composting process.
How to fix: Start with small amounts of food and gradually increase as you observe how quickly the worms consume it.
Using the Wrong Bedding
Using glossy paper or synthetic materials can harm your worms and hinder the composting process.
How to fix: Stick to natural bedding materials like shredded newspaper, cardboard, or coconut coir.
Not Monitoring Moisture Levels
Too much or too little moisture can stress worms, leading to poor composting or even death.
How to fix: Regularly check the bedding; it should be moist but not soggy. Adjust as needed.
Ignoring Temperature Fluctuations
Extreme temperatures can harm your worms, affecting their activity and health.
How to fix: Keep your worm bin in a stable environment, ideally between 55°F and 77°F, and insulate if necessary.
Adding Meat or Dairy
These foods can attract pests and create unpleasant odors in the bin.
How to fix: Stick to vegetable scraps, coffee grounds, and eggshells for feeding.
Expert Tips

Experiment with Bedding Types
Explore different bedding materials to see which works best for your worms. Some worms prefer shredded paper, while others thrive in coconut coir. Mixing bedding types can also enhance moisture retention and aeration.
Keep a Compost Diary
Document your feeding schedule, moisture levels, and harvest dates. This helps you track your progress and make necessary adjustments. Over time, you’ll develop a better understanding of what works best for your specific setup.
Use a Sifter for Harvesting
Invest in a compost sifter to make harvesting easier. This tool helps separate worms from compost efficiently, ensuring that you can collect clean castings for your garden.
Encourage Worm Migration
To harvest compost, encourage worms to move by placing fresh food in one corner of the bin. This strategy draws them away from the finished compost, making it easier to collect without harming the worms.
Frequently Asked Questions
How often should I feed my worms?
Feeding your worms depends on their population and the amount of kitchen scraps you produce. Start with small portions every few days and adjust based on how quickly they consume the food. If you notice leftover scraps, reduce the amount you feed them.
Can I use any kind of worm for vermicomposting?
Not all worms are suitable for vermicomposting. Red wigglers, European nightcrawlers, and tiger worms are the most popular choices. These species thrive in composting environments and are efficient at breaking down organic waste.
What should I avoid putting in my worm bin?
Avoid adding meat, dairy, oily foods, and citrus fruits to your worm bin. These items can create odors, attract pests, and disrupt the composting process. Stick to vegetable scraps, coffee grounds, and eggshells for the best results.
Is vermicomposting smelly?
When done correctly, vermicomposting should not produce unpleasant odors. If you notice strong smells, it may indicate overfeeding or excess moisture. Regular monitoring and adjustments can help maintain a healthy environment for your worms.
How do I know when my compost is ready?
Your vermicompost is ready when it appears dark, crumbly, and earthy-smelling. Typically, this takes about three to six months. You can also stop feeding for a week to encourage worms to migrate, making it easier to collect the finished compost.
Vermicomposting is a rewarding journey that not only enriches your garden but also helps you contribute to a more sustainable planet. By turning your kitchen scraps into nutrient-rich compost, you create a thriving ecosystem for your plants and a beautiful garden to enjoy.
With this guide, you have the tools and knowledge to embark on your vermicomposting adventure. Remember, every small step you take contributes to a healthier environment, and soon enough, you’ll be reaping the benefits of your hard work. So, gather your materials, set up your worm bin, and let the magic of vermicomposting begin!


