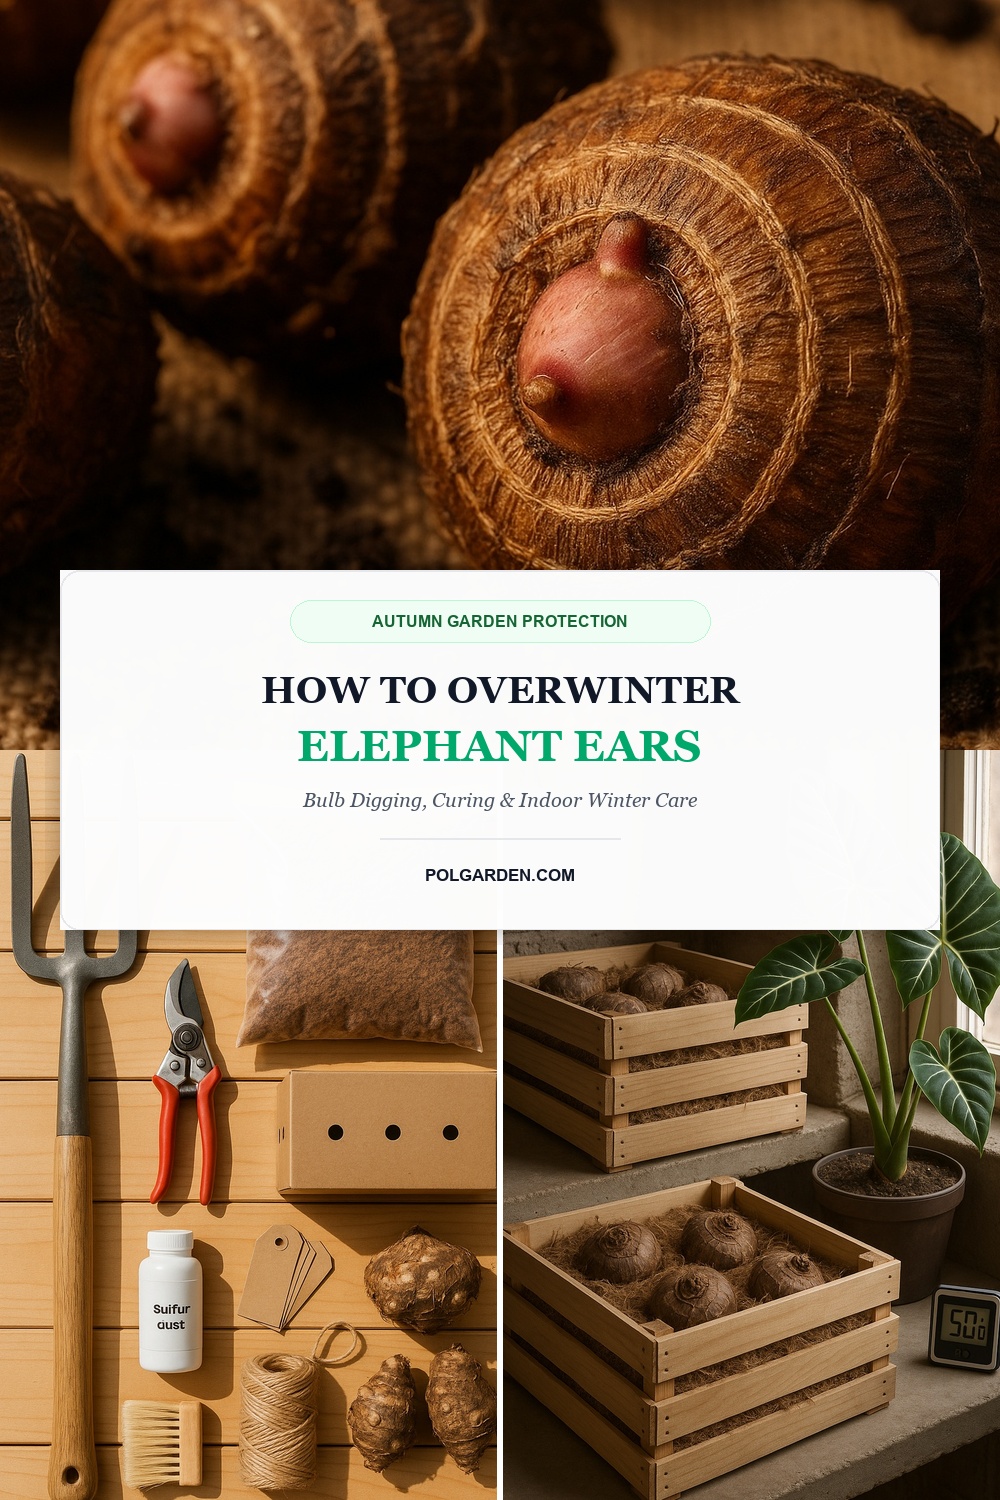
With their colossal heart-shaped emerald shields, dramatic architectural stature reaching up to eight feet tall, and unmistakable Jurassic tropical presence, elephant ears (Colocasia, Alocasia, and Xanthosoma) serve as the magnificent crown jewels of summer landscapes and poolside planters. Yet despite their vigorous summer growth, these tropical beauties are tender perennials built from water-dense cellular tissue and starchy subterranean corms that cannot survive freezing ground. In cold temperate regions where autumn frosts turn proud tropical leaves into limp, blackened ribbons, leaving elephant ear tubers buried in freezing soil guarantees a mushy, rotten failure by spring. Fortunately, learning how to overwinter elephant ears is a simple and deeply satisfying autumn gardening ritual: by lifting, air-curing, and storing their giant underground corms in a cool, dark cellar, you can safeguard your prize specimens indefinitely and enjoy bigger, bolder tropical foliage every single year.
Success begins by understanding the botanical differences among plants commonly sold as “elephant ears.” True wetland taro (Colocasia esculenta) features downward-pointing leaf tips with stems attaching indented into the leaf blade; it enters deep winter dormancy effortlessly and stores exceptionally well as a dry, bare corm. Conversely, upright elephant ears (Alocasia) feature stiff, upward-pointing leaves and tend to retain some active root vitality throughout winter; while mature Alocasia corms can be dry-stored, smaller container specimens often fare best overwintered as active indoor potted houseplants near a sunny window. In USDA Hardiness Zones 8 through 11, elephant ear tubers can remain outdoors year-round beneath a heavy insulating blanket of winter mulch. However, throughout USDA Zones 3 through 7, freezing soil temperatures penetrate cellular membranes, turning valuable tubers into liquefied compost. By executing a proven four-phase protocol—harvesting post-frost, air-curing to seal the outer skin, and packing in dry horticultural peat moss—you guarantee 100% spring survival.
Why You’ll Love Overwintering Elephant Ears
- Corms Grow Bigger and More Spectacular Each Season: Elephant ear bulbs accumulate starchy energy reserves with each growing cycle; a bulb that starts the size of a lemon can easily expand to the size of a bowling ball over three seasons, producing jaw-dropping eight-foot leaves.
- Massive Seasonal Budget Savings: Jumbo nursery-potted elephant ears or specialty cultivars (like ‘Black Magic’, ‘Mojito’, or ‘Thailand Giant’) retail for $35 to $75 each every spring; saving four bulbs keeps hundreds of dollars in your pocket.
- Effortless Plant Multiplication via Offset Pups: Mature mother corms naturally develop small side cormels (pups) around their perimeter; during autumn lifting, these can be separated to generate dozens of free new plants for borders and containers.
- Zero Expensive Winter Electricity Costs: Dormant elephant ear bulbs sleep quietly in a cardboard box on a dark cellar floor—requiring no supplemental grow lamps, daily misting, or greenhouse heaters.
Key Supplies & Pre-Winter Prep Station

Set up your autumn bulb lifting workstation before hard ground freezes arrive:
- Sturdy Long-Handled Garden Spading Fork: Far superior to shovels, a spading fork levers beneath massive root balls without slicing cleanly through large underground corms during extraction.
- Bypass Loppers or Serrated Pruning Saw: Mature elephant ear petioles (stalks) can measure 3 to 4 inches in diameter and contain heavy fibrous cords; heavy-duty loppers make clean, rapid cuts without crushing stem tissues.
- Dry Horticultural Peat Moss or Coarse Vermiculite: The premier breathable packing mediums that cushion stored corms, absorb micro-condensation, and prevent desiccating shrinkage.
- Perforated Cardboard Boxes or Slatted Wooden Crates: Porous containers with ventilation holes ensure steady air exchange. Storing bulbs in airtight plastic bins is fatal, as trapped humidity breeds soft rot and gray mold, as noted in our guide to overwintering caladium bulbs.
- Organic Sulfur Dust or Horticultural Cinnamon: Natural antifungal powders applied to cut stem stumps prevent airborne mold spores from infecting fresh wounds during the curing period.
- Heavy Leather Gardening Gloves: Some varieties of Colocasia and Alocasia contain calcium oxalate crystals in their sap that can irritate sensitive skin when handling cut stalks.
Step-by-Step Walkthrough to Overwinter Elephant Ears
1. Step One: Timing & Waiting for the First Foliage-Wilting Frost: Do not rush to dig up elephant ears in early autumn while their leaves are still vibrant green. Allow the very first light autumn frost to touch the garden. A light frost wilts and blackens the giant foliage, sending a sudden hormonal signal down through the vascular stalks that tells the plant to pull all remaining moisture, carbohydrates, and starches down into the basal storage corm. Within 24 to 48 hours after this foliage collapse—and well before a hard freeze solidifies the soil—begin the lifting process.
2. Step Two: Stem Pruning & Wide-Radius Excavation: Use your bypass loppers to cut the thick leaf stalks back to roughly 3 to 6 inches (7 to 15 cm) above the top of the corm. Do not cut completely flush with the bulb crown; these short stem stubs serve as sturdy handles and protect the apical growth bud from accidental bruising. Next, position your spading fork a generous 12 to 14 inches away from the base of the stalks to avoid puncturing the expanding corm. Push the tines deep into the earth and lever gently upward, working your way entirely around the perimeter until the massive root ball loosens, then slowly lift the clump from the garden bed.

3. Step Three: The Critical 1-to-2 Week Air-Curing Window: Shake away loose topsoil with your fingers, but do NOT wash the corms with a garden hose unless your garden has stubborn heavy clay. Introducing water into the dense crevices of the bulb drastically elevates winter rot risks. Move the lifted corms to a warm, dry, frost-free location with excellent air circulation (such as an airy garage, covered porch, or potting shed) between 60°F and 70°F (15°C to 21°C). Lay them out in a single layer on dry newspaper or cardboard for 7 to 14 days. During curing, the outer skin hardens into a protective bark, residual soil dries to dust and brushes off easily, and the cut stem stubs dry up into fibrous papery caps.
4. Step Four: Packing in Peat Moss & Ideal Cellar Storage: Once cured, inspect the corms thoroughly and trim away long, shriveled feeder roots. Dust the dry stem scar lightly with organic sulfur powder. Pour a 2- to 3-inch layer of dry horticultural peat moss, shredded paper, or vermiculite into the bottom of a ventilated cardboard box. Place the corms into the medium upright or slightly tilted, ensuring that individual bulbs do not touch each other. Pour additional peat moss around and over the corms until they are fully submerged in dry insulation. Transfer the boxes to a cool, dark, dry storage location that maintains a steady temperature between 45°F and 55°F (7°C to 13°C), such as an unheated basement, root cellar, or crawl space. This workflow harmonizes perfectly with storing canna lily rhizomes and tuberous begonia bulbs.
3 Botanist Secrets for Giant Corm Vitality
1. The “Stem Stub Natural Desiccation” Rule: One of the most common beginner mistakes is cutting the leaf stems flush against the bulb surface or peeling away outer layers of the corm. The upper neck of an elephant ear corm contains tender emerging growth tissue. Leaving a 4-inch stem handle allows the moisture in the stalk to evaporate outward naturally during the curing phase. As the stump dries into a leathery seal, it forms an impenetrable natural barrier against airborne fungal pathogens like Fusarium and Pythium.
2. The Monthly “Potato Firmness” Test: Set a calendar reminder to check your stored elephant ear boxes once a month in December, January, and February. Gently squeeze the base and sides of each corm: it should feel dense, heavy, and solid like a freshly harvested potato. If a corm feels lightweight, shriveled, or wrinkled, the storage room air is overly dry; lightly mist the top layer of peat moss with a spray bottle (avoiding saturating the bulb directly). If any corm feels soft, spongy, or oozes liquid, remove and discard it immediately before decay contaminates surrounding stock.
3. Storing Potted Specimens Whole in Dry Soil: If you grow elephant ears in large decorative patio containers (10 gallons or larger), you don’t even need to dig them up! After the first frost collapses the top foliage, cut the stalks back to soil level and stop watering entirely. Allow the potting soil to dry out thoroughly over two weeks, then dolly the entire container into a cool basement or frost-free garage (45°F to 55°F). The dry potting medium serves as the ultimate custom insulating blanket all winter long.
How to Overwinter Alocasia Indoors (Active Houseplant Method)

While large garden Colocasia corms thrive under dry dormant storage, upright jewel Alocasias (like Alocasia amazonica or ‘Polly’) often suffer if allowed to dry out completely. Follow this active indoor care protocol for potted varieties:
- Early Autumn Transition & Pest Quarantine: Bring potted Alocasias indoors in September before night temperatures drop below 55°F (13°C). Wash both sides of the leaves thoroughly with insecticidal soap or diluted neem oil to eliminate hitchhiking spider mites and thrips, exactly as practiced when overwintering fuchsias.
- Bright Filtered Window Light: Position indoor containers in an east- or south-facing window that receives abundant indirect daylight. Avoid harsh direct midday rays, which scorch the lush leaf surface.
- Restricted Winter Irrigation: Because growth slows during low-light winter months, elephant ears consume far less water. Allow the top 2 inches of potting soil to dry completely between waterings, and never leave pots standing in stagnant drainage saucers to prevent bacterial root rot.
- Humidity Protection Against Dry Furnace Air: Forced home heating dries indoor air rapidly, which can cause brown, crispy leaf margins. Place pots over a humidity tray filled with pebbles and water or group them alongside other tropicals to preserve 50% relative ambient humidity.
Spring Awakening & Outdoor Reintroduction Protocol
To enjoy enormous eight-foot foliage before midsummer arrives, wake your dormant elephant ear bulbs indoors 6 to 8 weeks before your local last spring frost date (typically March or early April):
- Step 1: Pot Up in Early Spring: Remove corms from winter storage crates. Plant each corm upright (pointy growth eyes facing upward, flat root scar facing downward) 2 to 3 inches deep in a 2-to-3-gallon container filled with high-quality, moisture-retentive potting mix enriched with worm castings.
- Step 2: Provide Bottom Heat & Moisture: Place containers on a waterproof seedling heat mat set to 75°F to 80°F (24°C to 27°C). Water once thoroughly to settle the soil, then keep slightly damp. Bottom heat is the magic key that awakens tropical corms weeks ahead of outdoor soil. In 3 to 4 weeks, thick green shoots will break through the soil surface.
- Step 3: Outdoor Hardening Off in Late May: Elephant ears despise cold, soggy ground. Wait until nighttime temperatures consistently remain above 60°F (15°C) and all frost threat has ended before transitioning plants outdoors. Acclimate them to partial sun over 7 to 10 days before planting in rich, compost-amended garden soil or patio containers, following similar acclimation protocols used for waking overwintered geraniums.
Frequently Asked Questions
Can elephant ears survive winter in the ground?
Elephant ears can survive outdoors in the ground year-round in USDA Zones 8 through 11, where winter soil rarely freezes. In USDA Zones 3 through 7, freezing soil temperatures will rupture the cellular structure of the corms, requiring autumn digging and indoor storage.
When should I dig up elephant ear bulbs in the fall?
The ideal time to dig elephant ear bulbs is within 48 hours after the first light autumn frost wilts the top foliage. The frost cues the plant to transfer remaining sugars down into the storage corm without damaging the underground bulb.
Which side of an elephant ear bulb faces up when planting?
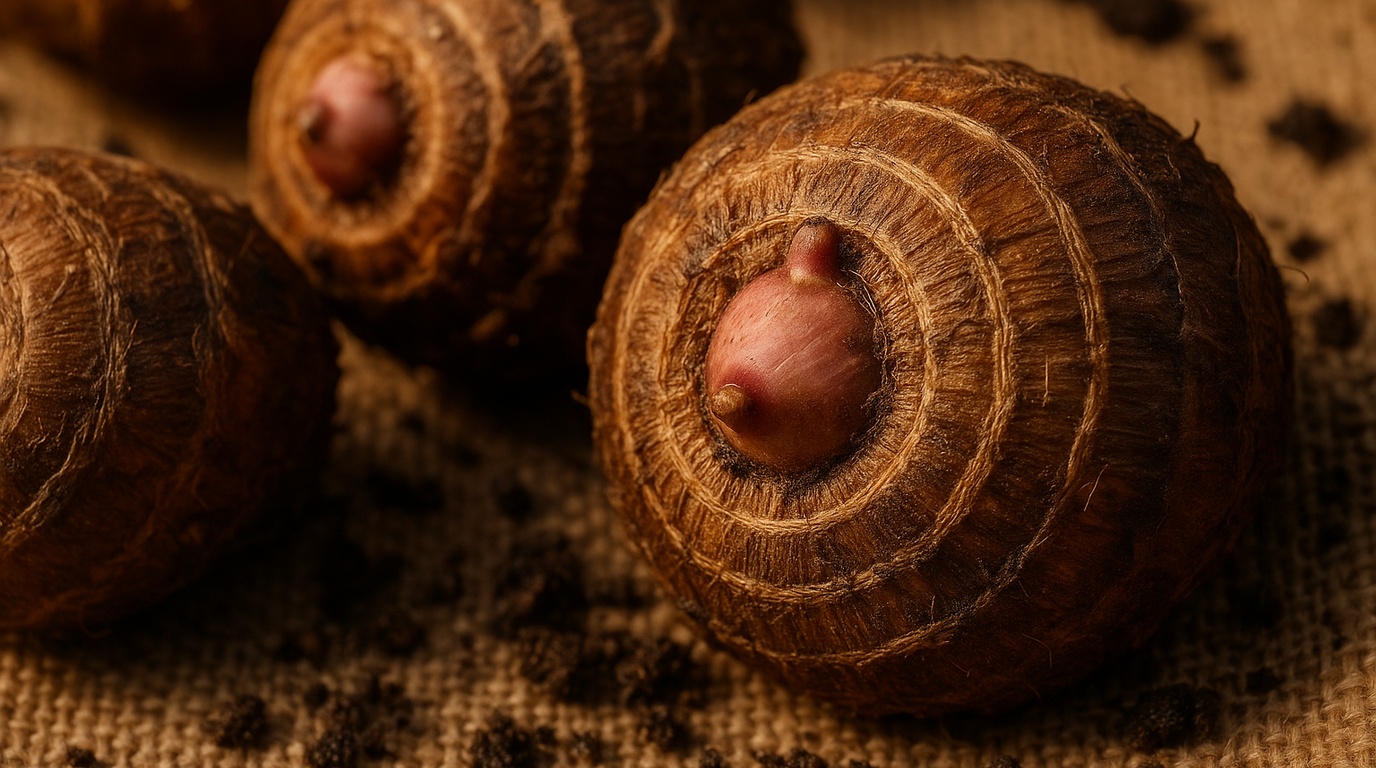
Elephant ear corms feature a rounded or flattened bottom with concentric fibrous root rings, and a pointed top crown with visible growth rings or dried stem stubs. Always plant the pointed crown side facing upward.
Can I store elephant ear bulbs in plastic containers over winter?
No, never store dormant elephant ear bulbs in sealed airtight plastic totes. Living dormant corms continue micro-respiration; plastic traps moisture and humidity, rapidly inducing gray botrytis mold and bacterial soft rot. Always use breathable cardboard boxes or wooden slatted crates.
Save This Winter Garden Guide for Later
Love this guide? Save this pin to your Pinterest gardening, tropical plants, bulb care, or autumn garden protection board so you have the 4-step elephant ear digging, curing, and winter storage blueprint ready whenever autumn frost arrives!