
Container gardening brings unparalleled architectural versatility, vivid seasonal color, and spatial freedom to patios, wooden decks, stone terraces, and urban entryways. From potted Japanese maples and boxwood globes to hardy flowering perennials like coneflowers, hostas, and ornamental grasses, containerized plants elevate outdoor living spaces throughout spring and summer. However, when late autumn temperatures tumble toward freezing, these potted beauties face an existential vulnerability that in-ground landscape plantings never encounter: the absence of geothermal ground insulation. In garden beds, the vast thermal mass of the earth buffers subterranean roots, keeping root temperatures 10°F to 20°F warmer than ambient winter air. In stark contrast, an elevated container is exposed to sub-freezing arctic air on all sides, the top, and underneath. Within hours of a hard freeze, container potting soil freezes solid into a brick of ice, rupturing delicate feeder roots, cracking expensive glazed ceramics, and causing fatal root death. Fortunately, you don’t need an expansive heated greenhouse to rescue your outdoor pots. By mastering how to winterize potted plants outdoors through our proven 4-step protocol—deep freeze hydration, thermal pot insulation, microclimate grouping, and trenching or silo insulating—your container plantings will survive arctic winters completely unscathed and surge into lush growth next spring.
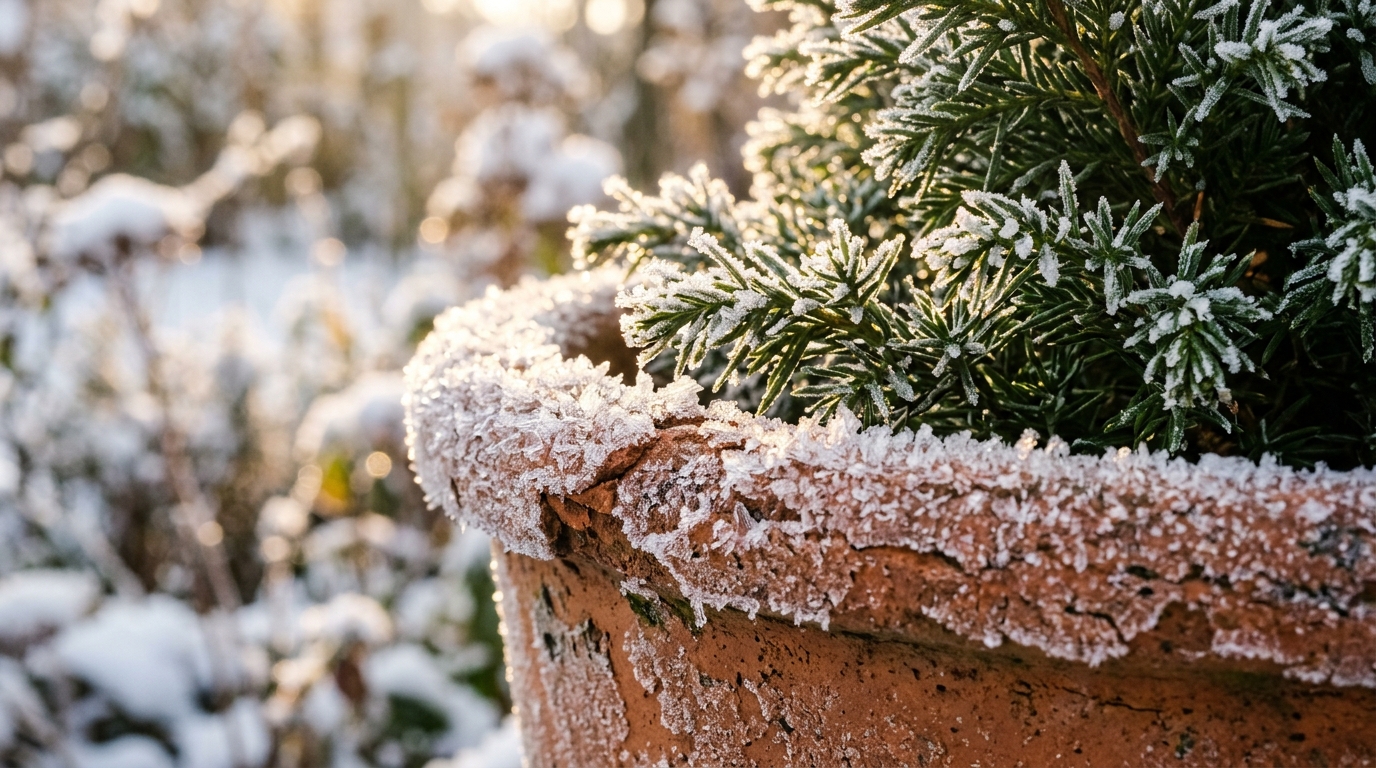
To successfully winterize potted plants outside, gardeners must first master the fundamental “Two-Zone Hardiness Rule.” Because roots are substantially less cold-tolerant than the top stems and crowns of a plant, a perennial or woody shrub grown in a container effectively loses two USDA hardiness zones of cold resilience. For example, a dwarf shrub rated hardy to USDA Zone 5 (-20°F / -29°C) in the ground can only tolerate Zone 7 (0°F / -18°C) temperatures when confined to an exposed, uninsulated pot! While tender tropical plants like mandevilla vines must be brought indoors before frost, hardy perennials and woody shrubs can remain outdoors all winter if their root balls are physically buffered against rapid freeze-thaw cycles. Much like shielding broadleaf foliage when protecting winter camellias or wrapping delicate Japanese maples, mitigating rapid thermal shock and cold winter wind is the secret to container winter survival.
Why Outdoor Container Winterizing Saves Roots, Pots & Spring Growth
- Prevention of Fatal Root System Freezing: Plant roots lack the dormancy dormancy mechanisms possessed by above-ground woody bark. Fine feeder roots perish when container soil drops below 20°F to 24°F (-4°C to -7°C), resulting in dead plants by spring.
- Elimination of Thermal Freeze-Thaw Shock: Sunny winter afternoons warm container sides rapidly, initiating premature sap flow. When night crashes below zero, sudden refreezing ruptures vascular tissues and separates soil from root balls.
- Protection Against Container Cracking and Shattering: Moist soil expands when freezing into ice. In porous materials like terracotta, ceramic, and concrete, ice expansion generates enormous hydraulic pressure, shattering expensive pottery.
- Desiccation Defense Against Winter Windburn: Cold winter winds evaporate moisture from container soil and evergreen leaves. If the root ball remains frozen solid, roots cannot absorb water, causing severe foliar scorch.
Essential Supplies & Smart Container Winterizing Toolkit

- Multi-Layer Bubble Wrap & Coarse Natural Burlap: Bubble wrap provides superior dead-air thermal insulation against container walls, while an outer layer of breathable burlap provides structural durability and aesthetic warmth.
- Clean Golden Straw or Pine Needle Mulch: The premier insulating fill for surrounding container clusters. As detailed in our guide to the best winter mulches, straw traps air pockets to insulate root collars.
- Terracotta or Rubber Pot Risers (Pot Feet): Elevates pots 1 inch off freezing concrete or wooden deck boards, preventing drainage holes from freezing shut and facilitating free drainage.
- Heavy-Duty Natural Jute Twine: Binds insulation securely around container perimeters without cutting into plant crowns or leaving synthetic waste.
- Moisture Meter or Wooden Dowel: Essential for checking subterranean container moisture levels during winter warm spells without disturbing insulated wraps.
Step-by-Step Outdoor Container Winterizing Walkthrough
Step 1: Deep Autumn Hydration & Saucer Removal
In late autumn, after deciduous perennials have died back and woody shrubs have dropped their leaves, give all outdoor pots a deep, thorough soaking until water runs freely through the drainage holes. Moist potting mix holds significantly more heat and freezes much slower than bone-dry soil, protecting delicate root tips from rapid cold penetration.
Immediately remove all drainage saucers, drip trays, and cachepots from beneath your outdoor containers! Saucers trap autumn rainwater, which freezes into solid ice sheets that seal drainage holes and crack container bottoms.

Step 2: Insulate the Container Body (The Double-Wrap Method)
For large individual planters that cannot be moved, insulate the container walls directly. Wrap 2 to 3 layers of large-cell bubble wrap snugly around the pot exterior, extending from the base up to the container rim. Cover the bubble wrap with heavy natural burlap to protect it from ultraviolet degradation and give your patio a polished winter aesthetic. Secure tightly with jute twine. Add a 2- to 3-inch layer of straw or shredded bark mulch on top of the soil surface to cap in warmth.
Step 3: Cluster Pots Together in a Protected Foundation Microclimate
For smaller to mid-sized pots, grouping is the most effective defense. Move containers off exposed decks, open patio edges, and cold steps. Huddle them tightly together against the warm south- or east-facing brick or concrete foundation wall of your home. Grouping creates a shared microclimate where the mass of multiple pots insulates interior root balls. Place the largest, most cold-hardy pots on the exterior perimeter, and nestle smaller, more delicate pots in the protected center. Pack dry straw, fallen oak leaves, or shredded mulch densely into the spaces between the pots.
Step 4: Elevate on Pot Feet Away from Cold Surfaces
Place small pot feet, cedar shingle scraps, or rubber risers underneath every container. Elevating pots 1/2 inch to 1 inch above cold flagstone, pavers, or wood decks breaks thermal bridging, preventing direct frost transfer from frozen ground into the pot bottom, and ensures winter rain and melting snow drain freely away from root crowns.
3 Master Secrets for Outdoor Container Cold Hardiness
1. Trenching / Heel-In Method for Severe Climates (USDA Zones 3-5): In cold northern zones where temperatures routinely plummet below zero, pot wrapping alone may prove insufficient for borderline plants. Dig a trench in an empty vegetable bed or vegetable plot deep enough to accommodate the pots. Lower the entire container into the trench so the pot rim sits flush with the garden soil surface, then backfill around the pot with soil and top with 4 inches of straw mulch. The earth provides 100% natural geothermal insulation all winter.
2. Straw Bale Corral for Patio Collections: If you cannot dig trenches, construct a temporary “silo corral” on your patio using 4 to 6 square bales of agricultural straw arranged in a perimeter. Pack all your potted perennials inside the corral, fill all gaps between pots with loose straw, and cover with breathable burlap during severe sub-zero cold waves.
3. Winter Watering Rule: Never Water Frozen Soil: Potted evergreens (like dwarf conifers and boxwoods) lose moisture all winter through their foliage. Check containers once every 3 to 4 weeks during extended dry winter spells. If the top 2 inches of soil feel dry and temperatures rise above 40°F (4°C) on a sunny morning, give the pots a light watering. Never pour water into pots when the soil is frozen solid, as standing water will freeze and suffocate roots.
Container Materials: Understanding Freeze-Thaw Risks

- Terracotta & Low-Fire Ceramic: Highly porous and absorbs moisture readily. When moisture freezes inside the clay walls, it expands, causing flaking (spalling) or complete pot breakage. Empty and store unglazed terracotta indoors, or double-pot plants into plastic nursery liners before outdoor wintering.
- High-Density Polyethylene & Resin: Outstanding winter materials. Flexible plastic containers flex as soil freezes and expands without cracking. They are ideal outer or inner pots for outdoor wintering.
- Cast Stone & Concrete: Durable and dense, providing modest thermal buffering. However, standing water inside concrete can crack the base; ensure unobstructed drainage holes and use pot feet.
- Metal & Galvanized Steel: Highly conductive materials that transfer ambient cold into root balls almost instantaneously. Metal planters must be lined with 1-inch rigid foam insulation board on the interior walls.
Spring Uncovering & Root Awakening Protocol
- Timing Insulation Removal: In early spring when hard winter freezes subside and nighttime temperatures consistently stay above 30°F (-1°C) (typically late March to mid-April), remove exterior burlap and bubble wrap layers on an overcast day.
- Clearing Mulch from Crowns: Gently pull back straw mulch from perennial crowns to expose emerging buds to warm spring sunshine and prevent mold development.
- Soil Refresh & Slow-Release Feeding: Scrape away the top 2 inches of tired potting mix and replace with fresh organic compost and potting soil. Apply a balanced slow-release organic fertilizer as new green growth awakens.
- Explore Companion Winterizing Guides: Pair your container care with our seasonal tutorials on winterizing boxwood shrubs and protecting rhododendrons.
Frequently Asked Questions
Can I winterize potted plants inside an unheated dark garage?
Yes, an unheated, attached garage or shed is one of the best locations for dormant deciduous perennials, roses, and hydrangeas. Because deciduous plants lose their leaves, they require zero light during winter dormancy. However, evergreen potted plants (like dwarf conifers and boxwoods) still require light for minimal photosynthesis and must be placed near a sunny garage window or kept outdoors with root insulation.
Should I prune back potted perennials before winterizing them?
For herbaceous perennials (like hostas and daylilies) whose foliage collapses into mush after the first frost, cut back dead stems to 2 inches above the soil line to eliminate overwintering slugs and fungal spores. For perennials with attractive winter seedheads (like coneflowers and ornamental grasses), leave top growth intact to insulate the central crown and provide forage for winter birds.
What is the best way to prevent wind from blowing clustered pots over?
Arrange containers tightly with the heaviest, widest pots on the windward outer perimeter. You can wrap a long strap or heavy natural rope completely around the entire cluster, securing them together into a unified, heavy block that resistant winter gales cannot tip.
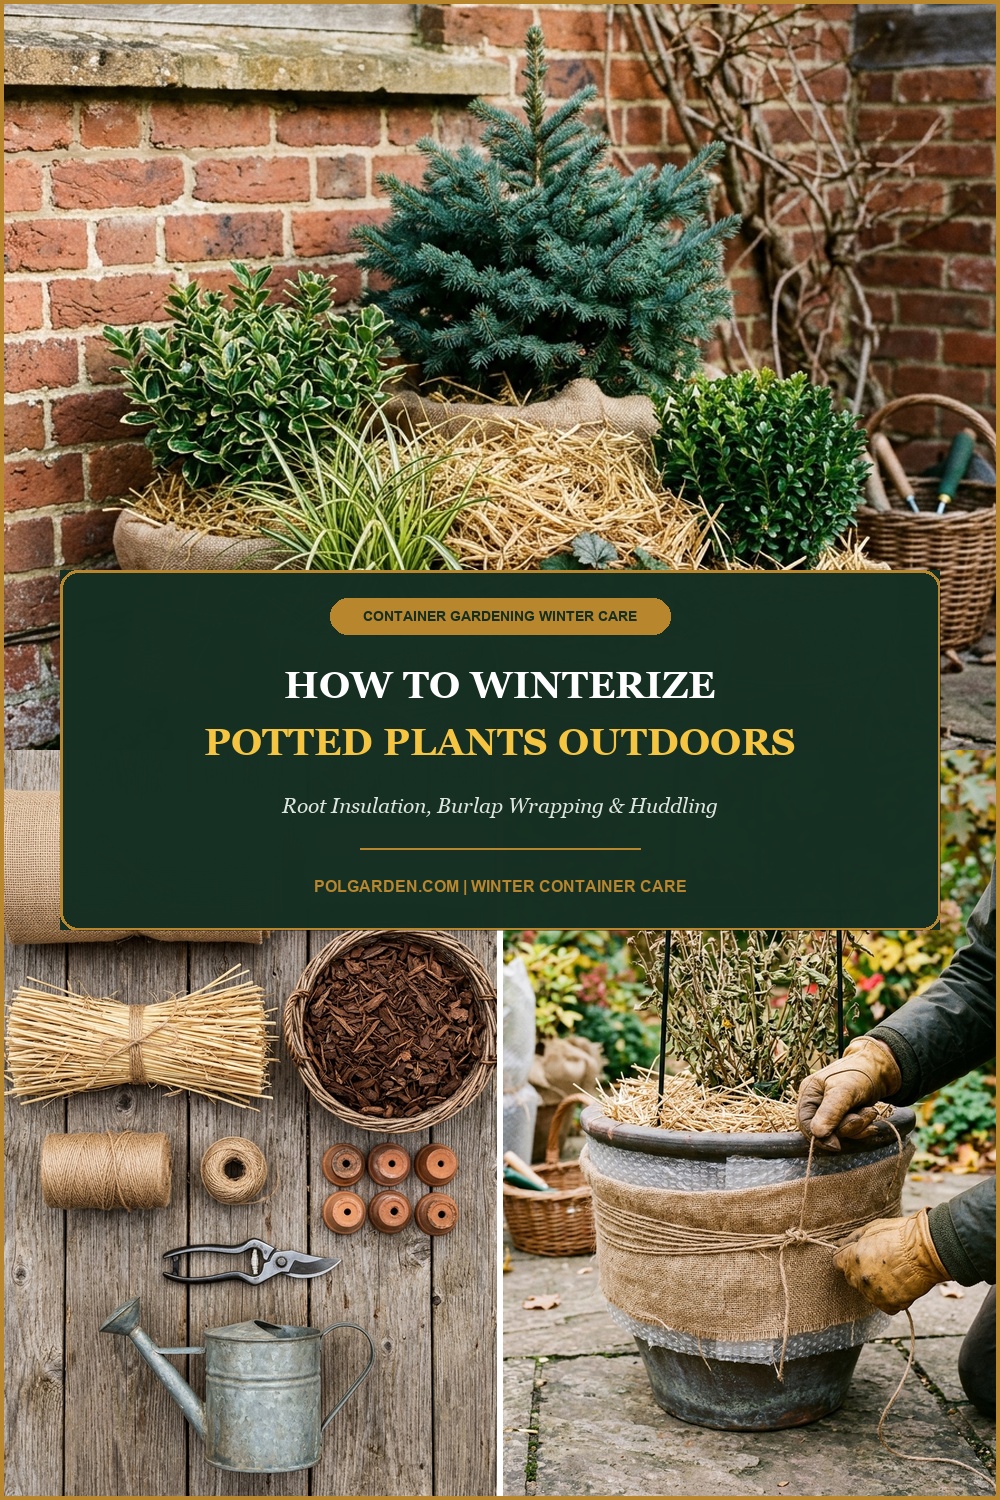 Save this pin to your Pinterest gardening board for easy seasonal reference!
Pin This Potted Plants Winterizing Guide for Later
Love this guide? Save this pin to your Pinterest gardening board so you have the container root insulation steps, bubble wrap techniques, and foundation grouping tips ready before the first freeze arrives!